
Claude Code (Beginner → Advanced)
The non-developer's guide to Claude Code


This is a collaborative issue. I cover the beginner setup. Sabahudin Murtic walks you through intermediate workflows with parallel agents for real client delivery. Walid Boulanouar shows what happens when Claude Code runs your entire agency. Three levels, one newsletter.
Everything in this newsletter is tested. I ran every workflow, hit every error, and documented what worked. If you are new here, welcome. If you have been reading for a while, thank you. Your subscription keeps this going.
Claude Code
Cowork is built on Claude Code. So is Claude’s coding environment. So are most of the serious AI automation workflows producing real business results.
I am not a Claude Code expert. I learnt most of what follows while researching and writing this newsletter. I came at it as a marketer, not a developer. The barrier around tools like this is largely gone. A few hours of learning-by-doing get you real results.
What Claude Code actually is
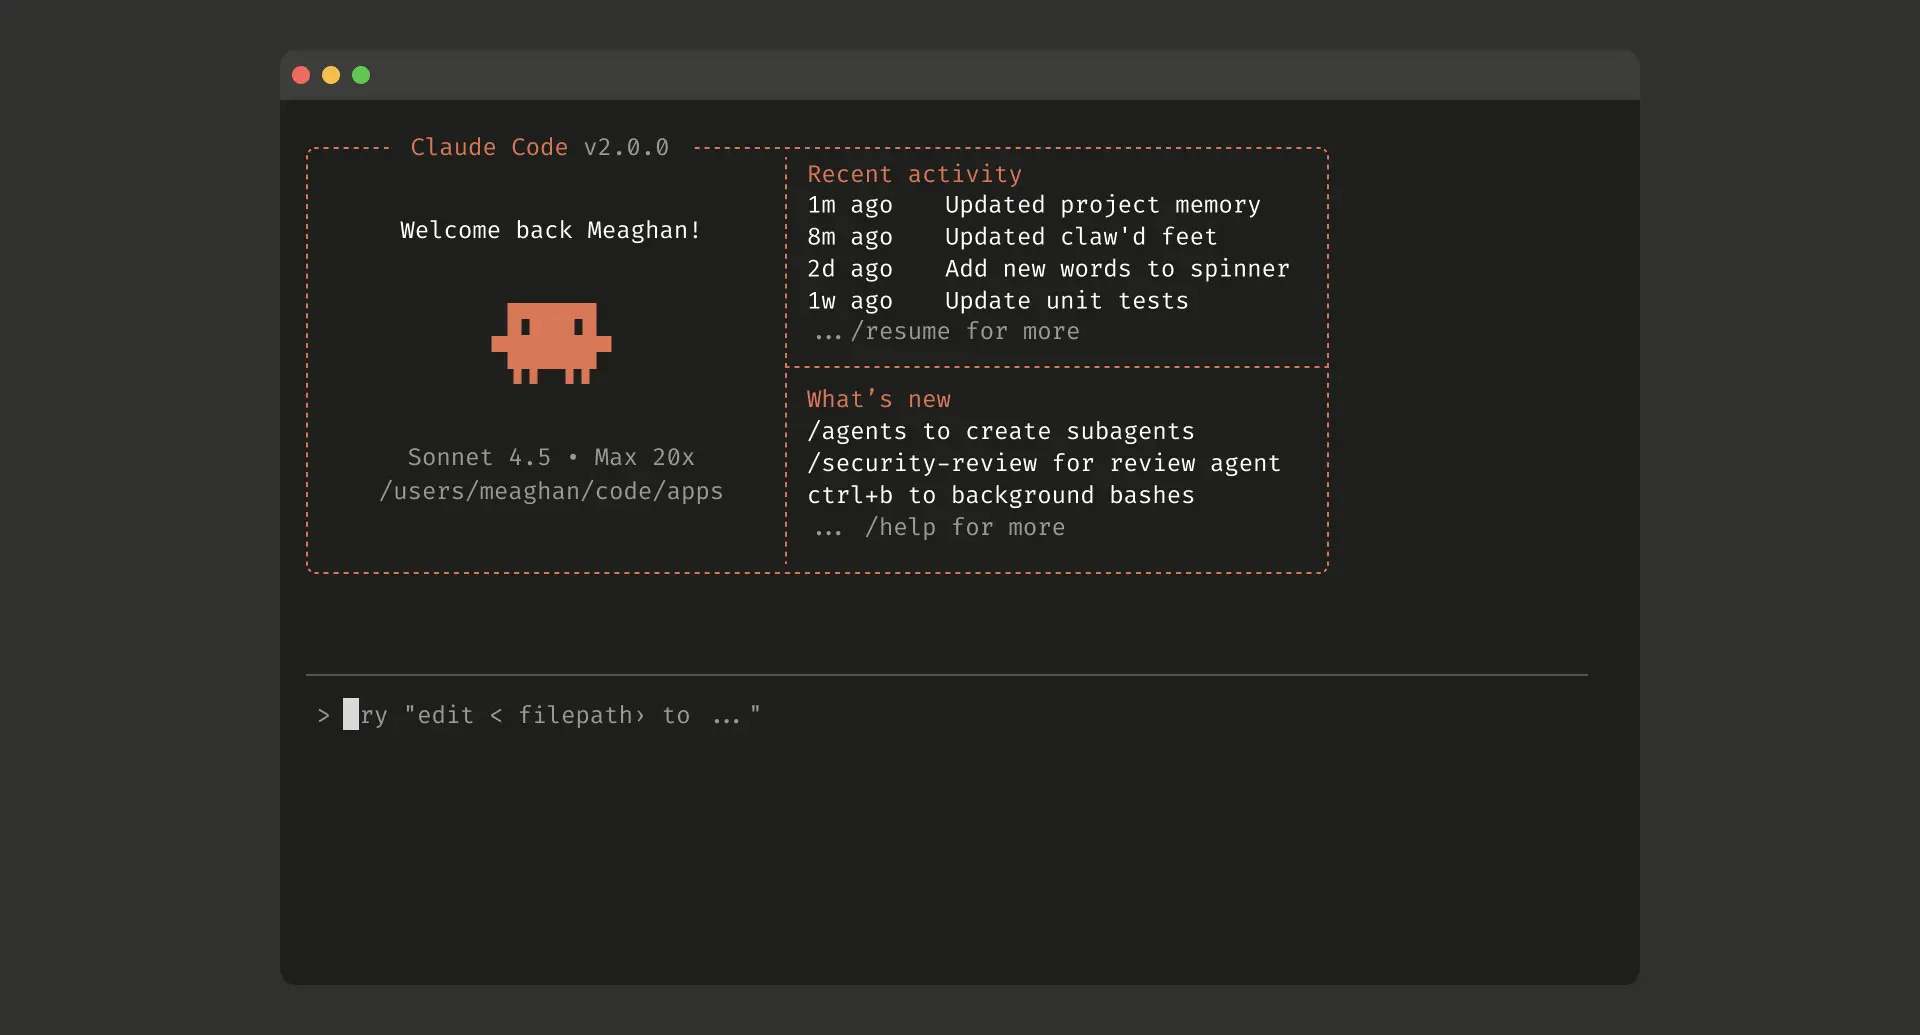
A command-line tool you install in your terminal. It runs locally on your machine. It reads, writes, creates, and modifies files directly. It calls APIs. It browses the web. It spawns sub-agents to run research in parallel. It executes Python scripts you have never written.
Think of it as an AI that lives inside your computer and works with your tools, not around them.
You do not have to be a developer to use it.
How to Claude Code (Beginner)
Getting set up
Step 1. Get a paid Claude plan. You need at least Pro at $20/month. Claude Max gives more usage for heavy workflows.
Step 2. Install Claude Code. Open your terminal. On Mac, open Spotlight and type “terminal.” On Windows, use CMD or PowerShell. Run the installation command from code.claude.com/docs. Takes about two minutes.
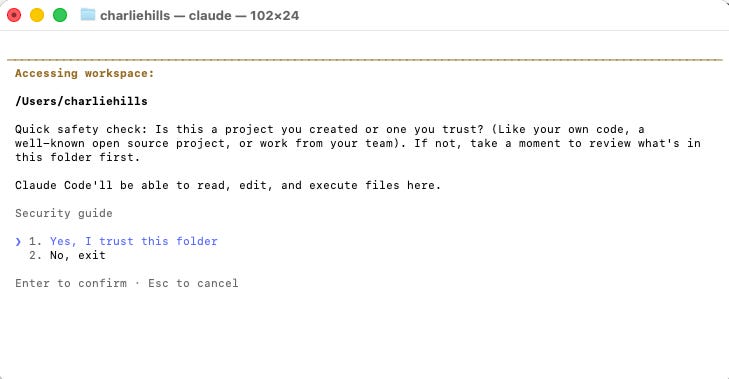
Step 3. Authenticate. Type “claude” in your terminal. It will prompt you to log in with your Claude account. Follow the steps.
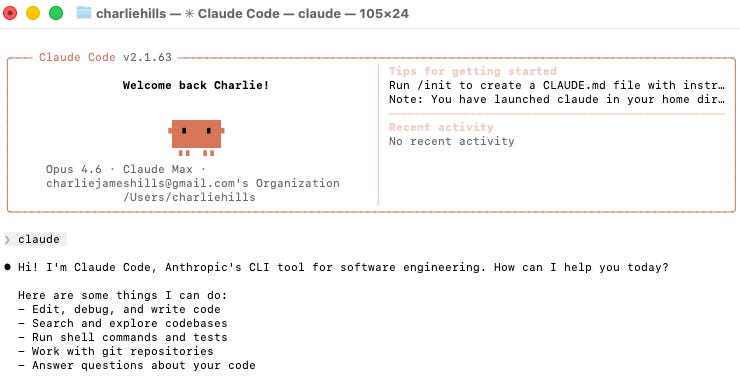
Step 4. Navigate to a project folder. In your terminal, go to whatever folder you want Claude Code to work in. Type “claude” again. You are running.
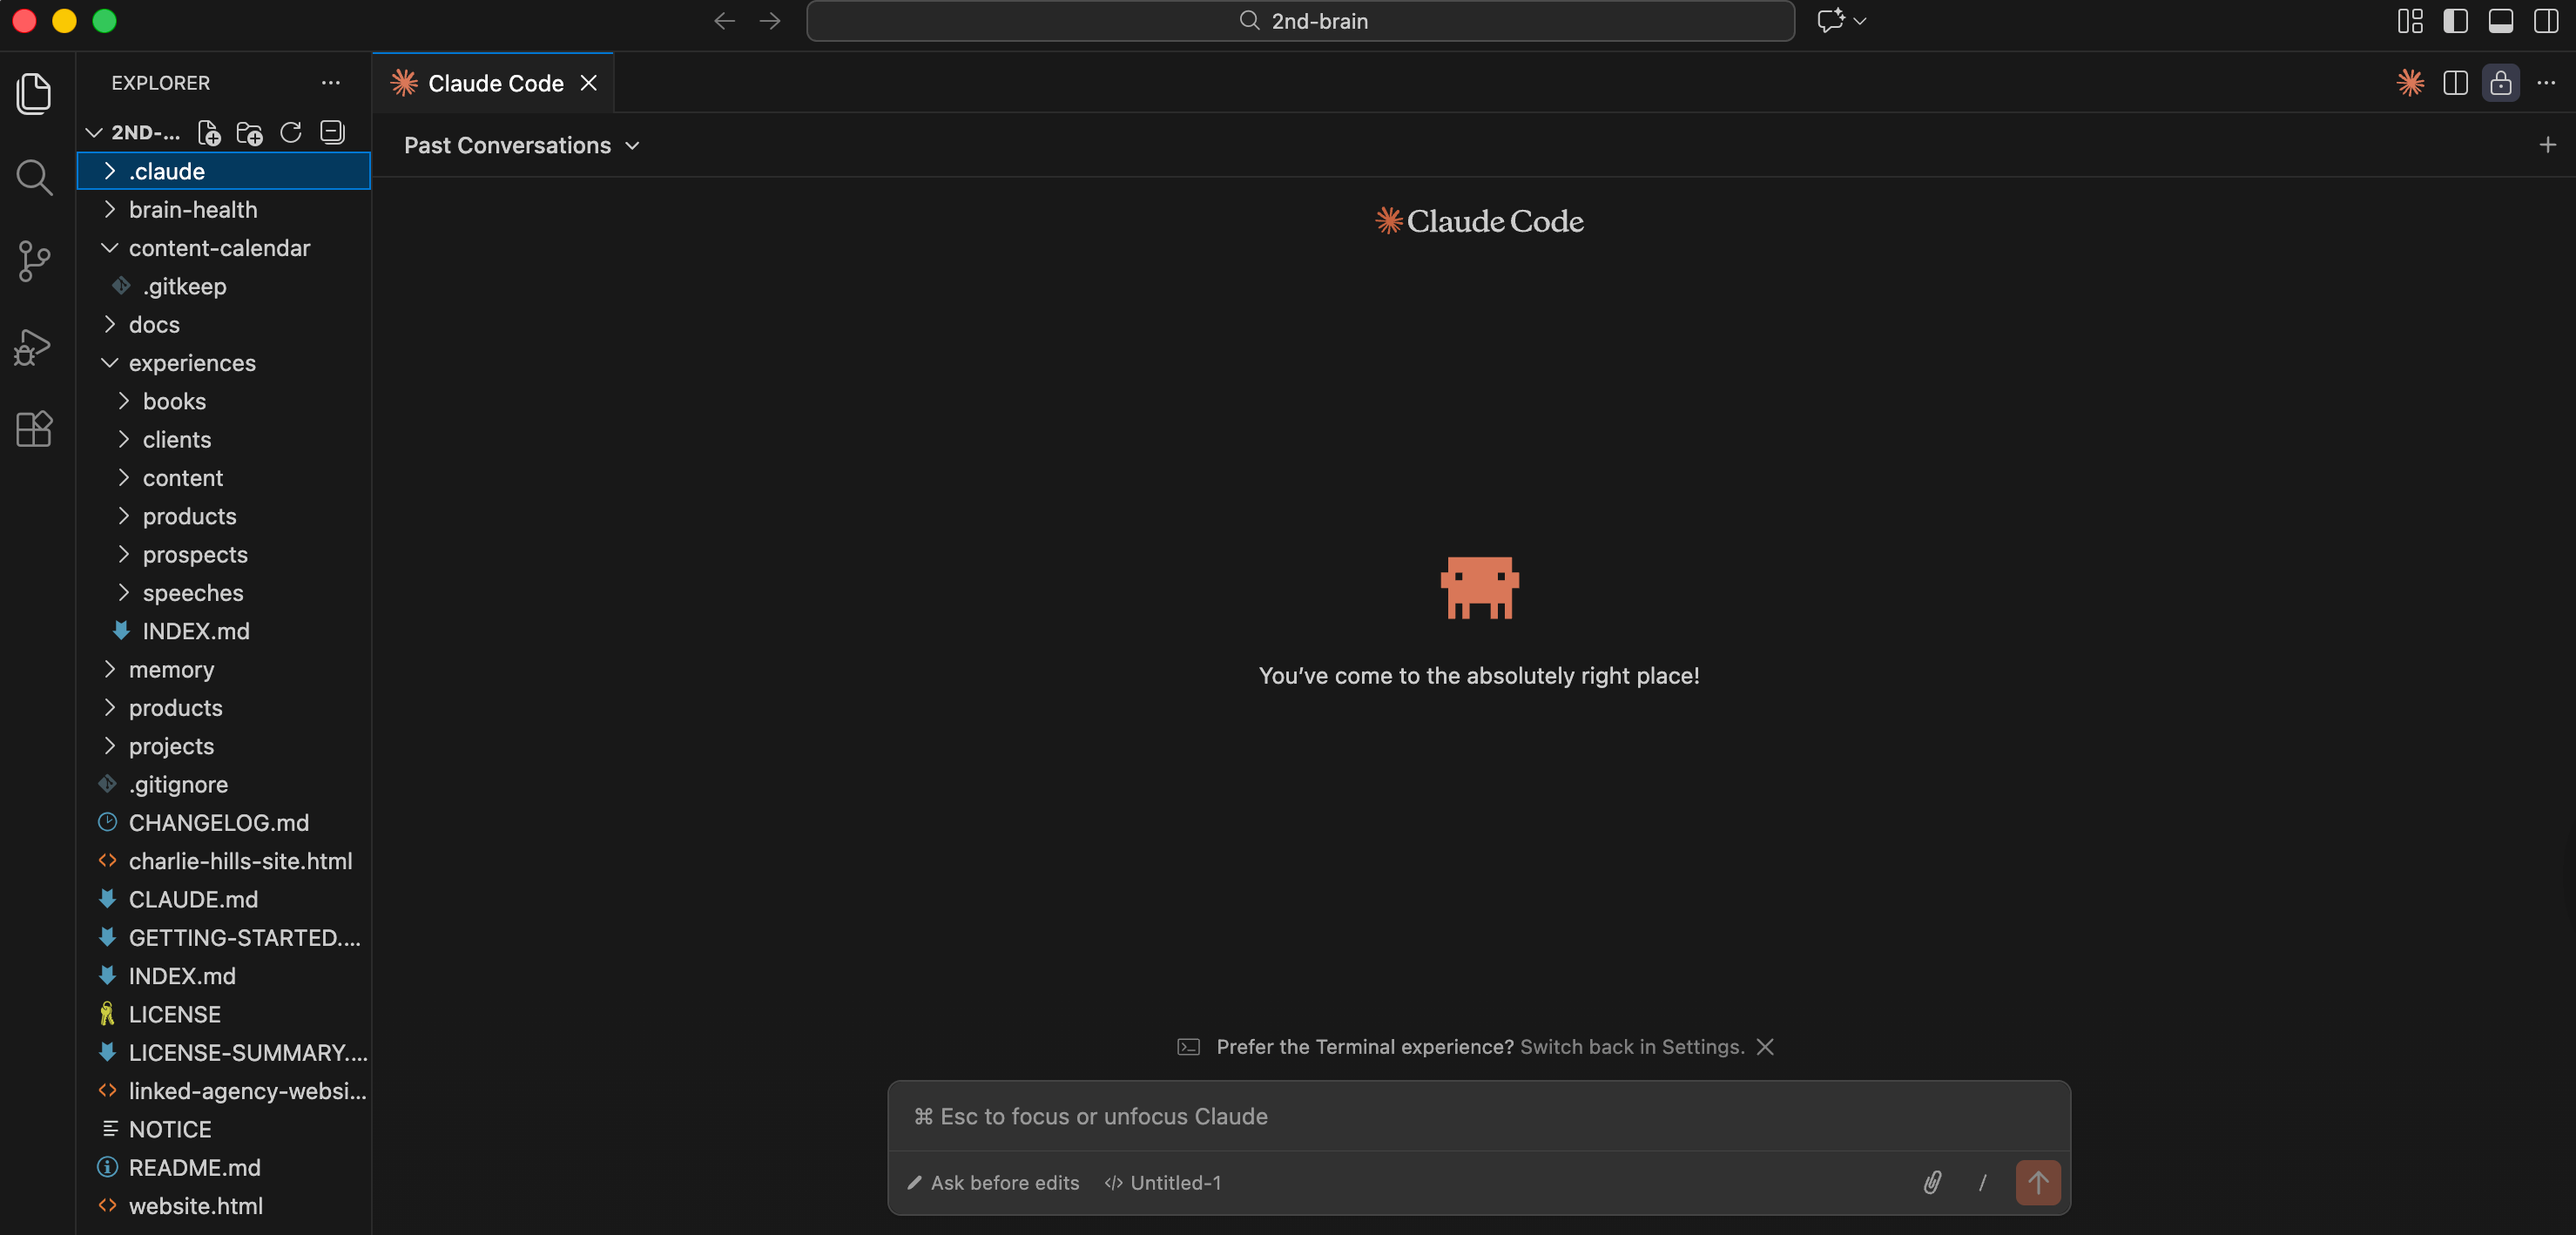
If the terminal is new to you, use Claude Code through an IDE instead. The two recommended options are VS Code (free, from Microsoft, at code.visualstudio.com) and Windsurf (newer, more AI-native). Both let you run Claude Code through a graphical chat panel on the right while your files sit on the left. No raw terminal required.
To add Claude Code to VS Code: go to the Extensions tab, search “Claude Code,” install the one from Anthropic, and click the Claude icon that appears in your editor panel.
Free option (with tradeoffs):

You can run Claude Code with local open-source models through Ollama at zero cost.
Install Ollama, pull a model like qwen3-coder or gpt-oss:20b, and point Claude Code at your local endpoint.
No API fees or data leaving your machine.
You need at least 32GB of RAM for a usable experience. The output quality is noticeably lower than Claude’s own models.
Good for learning the interface. Not enough for the multi-step workflows later in this newsletter.
Set up guide at docs.ollama.com/integrations/claude-code.
The CLAUDE.md file
This is the single highest-leverage thing you can do in Claude Code.
The CLAUDE.md file is a text file that sits in your project folder. Claude Code reads it automatically at the start of every session. It is injected into the context before you type a single message.
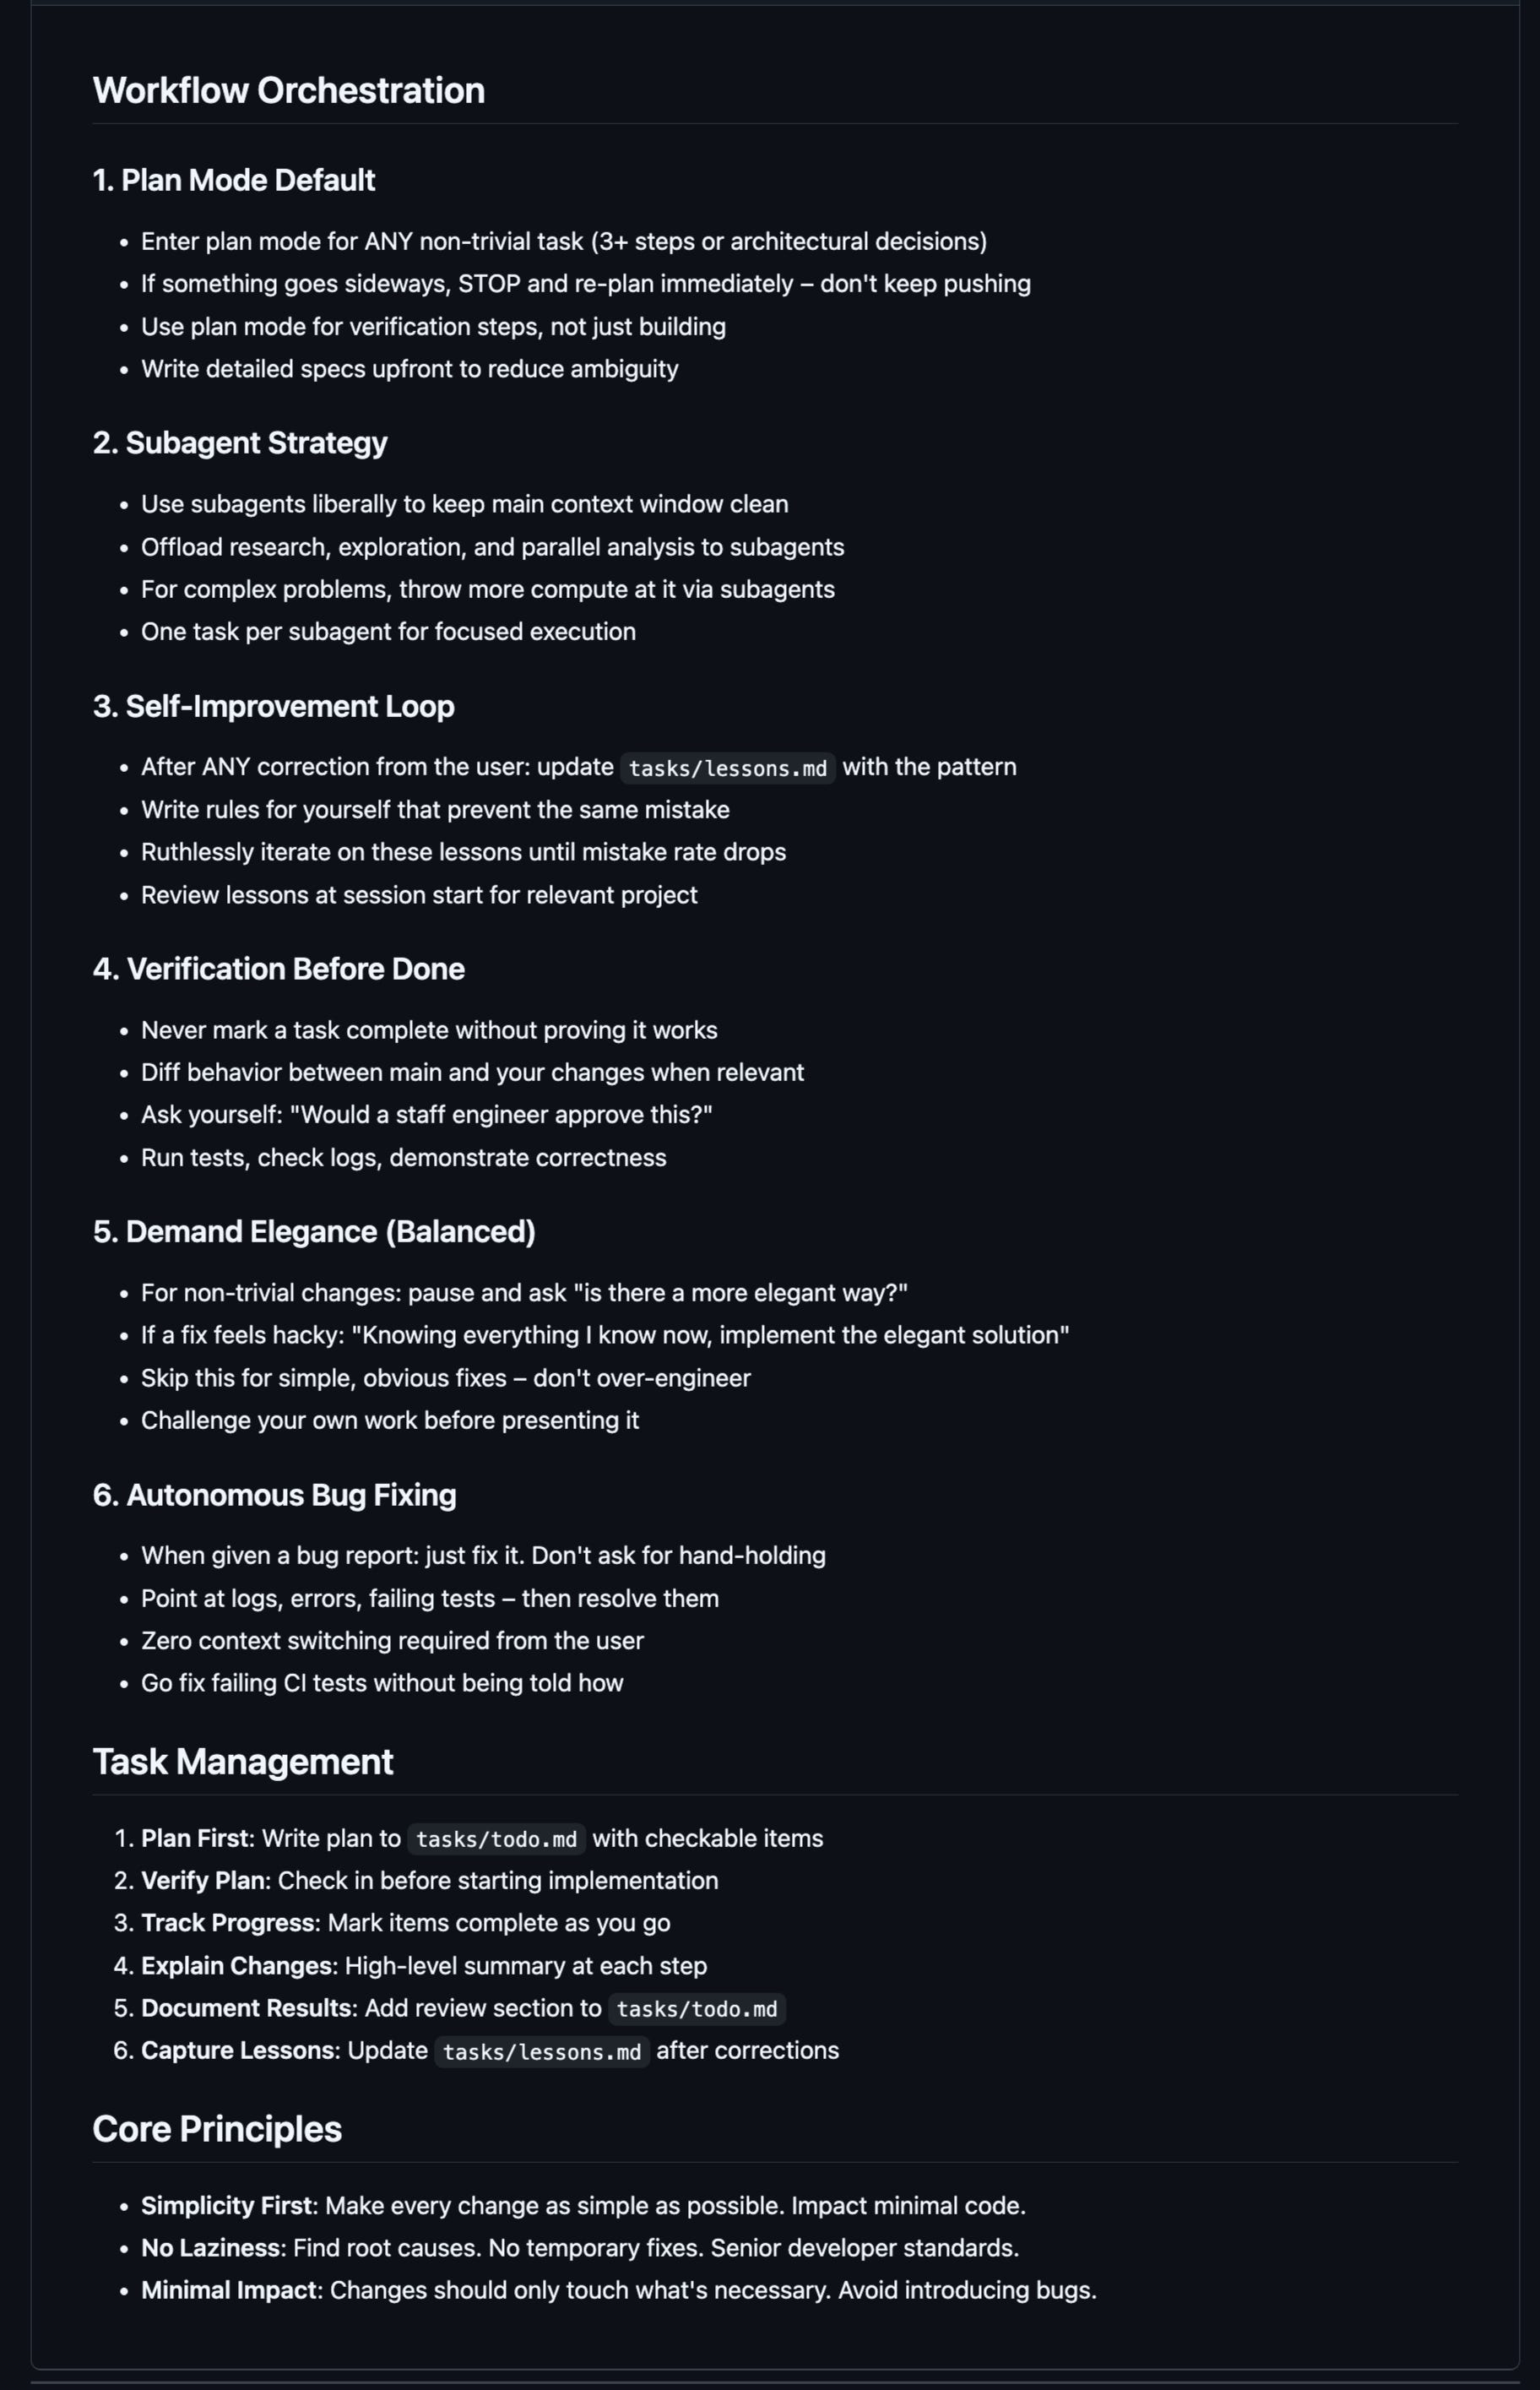
Think of it as the standing brief for this project. It tells Claude Code what the project is for, how you want it to behave, what it should never do, the tools and conventions you use, and any constraints specific to this work.
Every session with Claude Code starts cold. No memory of last time. The CLAUDE.md is what makes it feel like a tool that knows your work rather than a blank slate you brief every morning.
Your first CLAUDE.md does not need to be elaborate. Run /init in any project folder and Claude Code will read through your files and write one automatically. It analyses what is in the folder and produces a summary with working instructions. Then you refine it over time.
Rules for a good CLAUDE.md:
Keep the most important constraints at the very top. Claude Code has primacy bias. The first things it reads stick hardest.
Write in bullet points and short headings. High information density beats prose.
200 to 500 lines maximum. Longer than that and you are paying token costs that reduce output quality.
Never paste entire API documentation into it. Give Claude Code a summary and let it fetch the rest when required.
Update it when Claude Code keeps making the same mistake. If it trips on the same issue twice, add a rule.
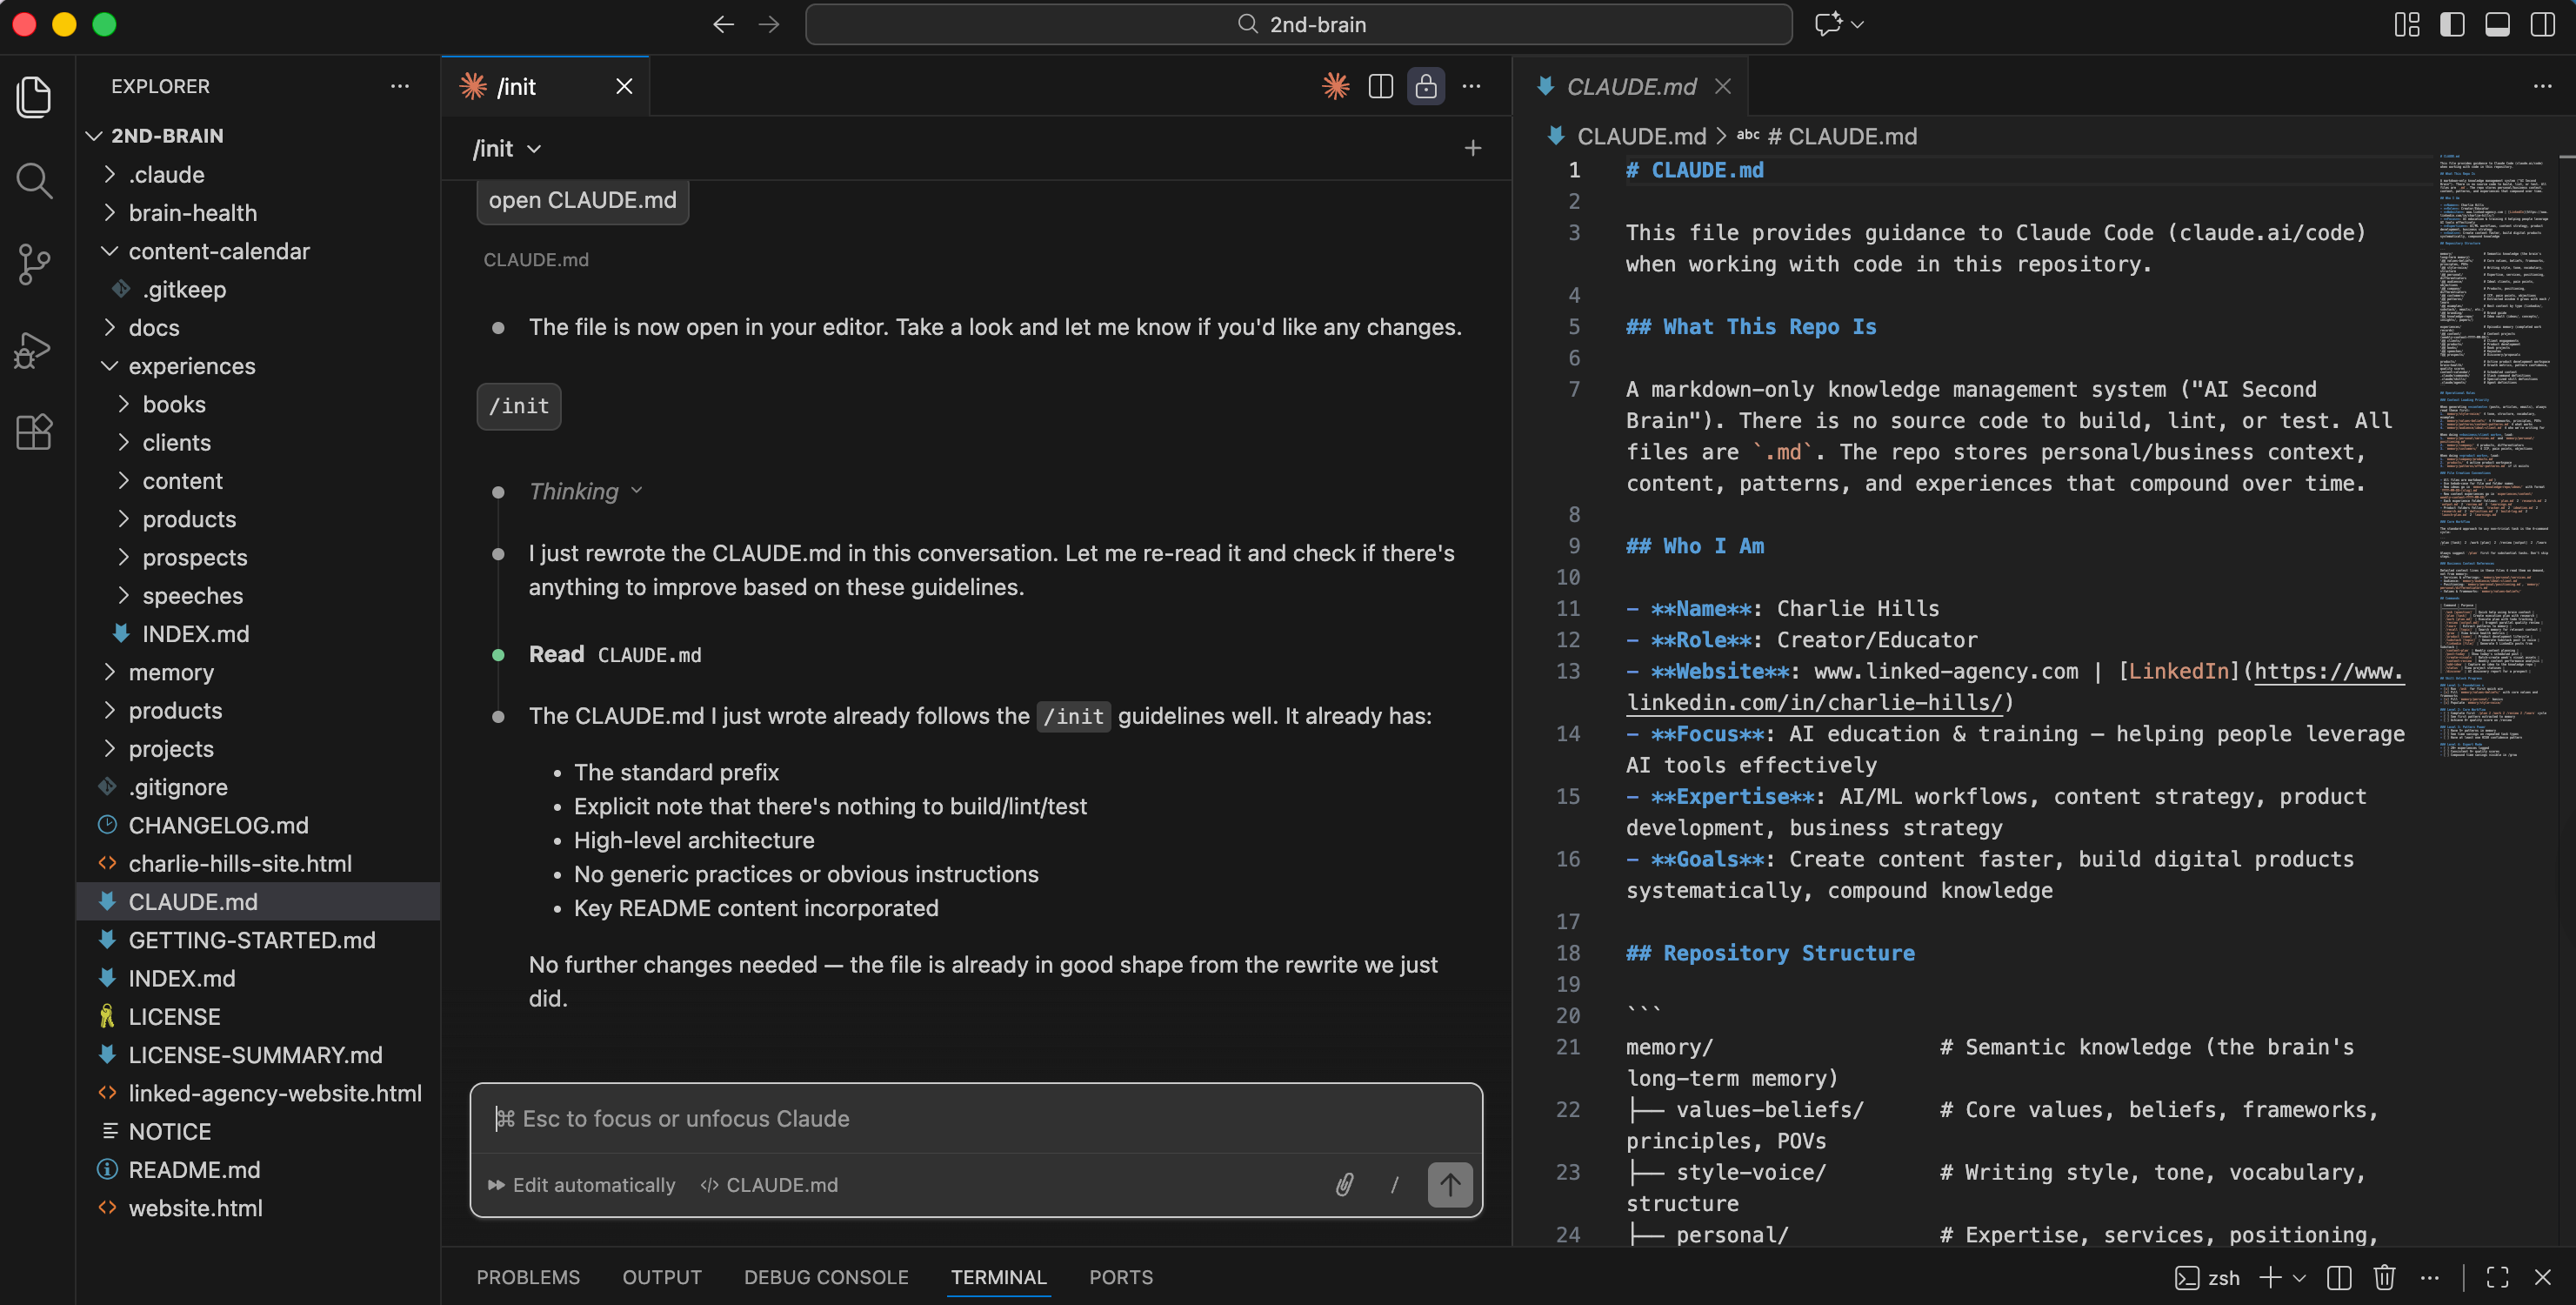
Permission modes
Claude Code has four modes. Understanding them changes how you use it.
Ask Before Edits is the default. Claude Code asks permission before changing any file. Safe, but slow. If it is asking you to approve every individual edit during a complex build, switch modes.
Edit Automatically auto-accepts changes to existing files but still asks before creating new ones. A good middle ground for most work.
Bypass Permissions removes all prompts. Claude Code works without interruption. To enable it, add the flag --dangerously-skip-permissions when launching Claude Code from your terminal. Type claude --dangerously-skip-permissions instead of just claude.
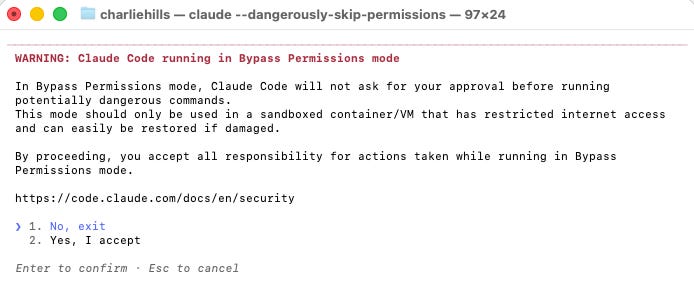
This is where most experienced users end up for knowledge work. The risk is real but low if you work in a non-critical folder. There was a widely shared incident where someone running bypass permissions on a Linux machine lost data. The command was valid. The context was wrong. Use with awareness.
Plan Mode is the one most beginners undervalue.
Plan Mode
A minute of planning saves ten minutes of building. That is not motivational language. It is token economics.
Here is the actual maths. You build something without planning. It is wrong. You rebuild. Total cost: build time plus rebuild time plus the tokens consumed by both attempts. You plan first. Claude Code identifies the approach problem before touching a single file. Total cost: five minutes of planning plus one correct build.
Plan Mode is read-only. Claude Code researches your project, reads your files, checks documentation, and produces a plan before executing anything. The plan is not cosmetic. It is load-bearing. Every hour I have saved in complex builds came from spending five minutes in Plan Mode first.
How to use it: click “Plan Mode” in the permission toggle at the bottom of the chat panel. Describe what you want to build. Let Claude Code produce the plan. Read it. Push back if something looks off. Switch to Bypass Permissions when the plan looks right, and let it build.
Context management
Context is the scarce resource in Claude Code. Managing it well is the difference between a smooth build and a degraded one.
Slash commands worth knowing
You do not need to memorise all 62.
These are the most important ones to learn:
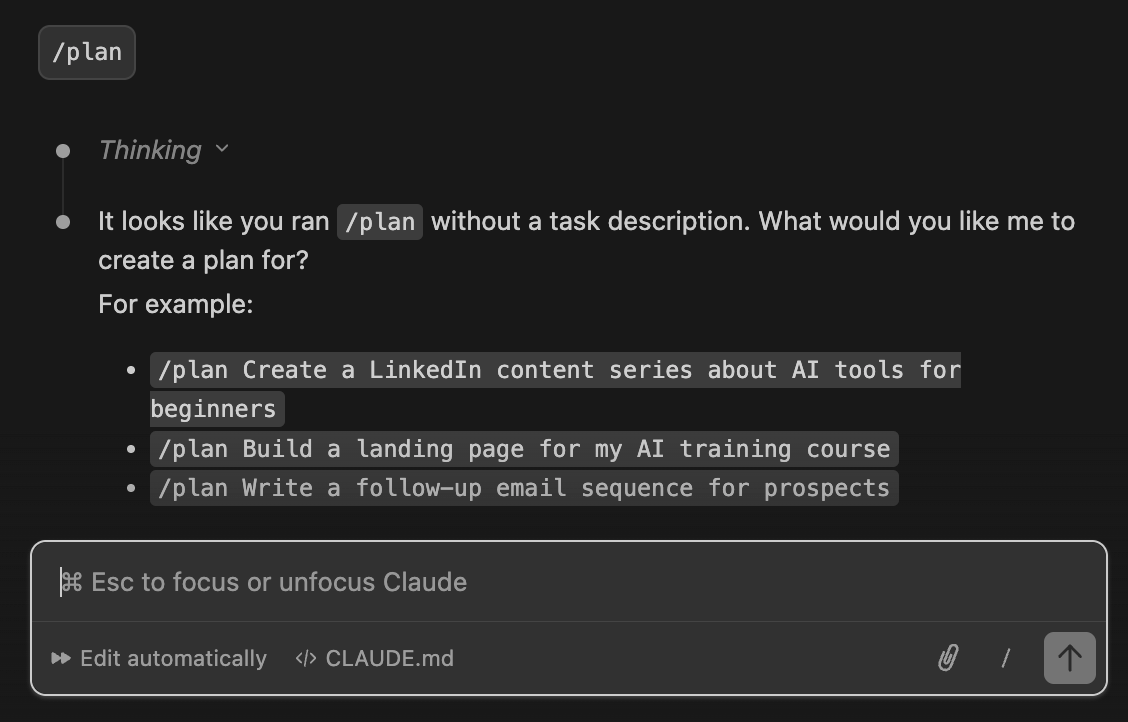
/plan — start Plan Mode before any complex task
/context — see exactly what is consuming your context window
/compact — free up context (do this at around 50%, not 95%)
/clear — reset context entirely when switching to a new task
/model — switch models or reasoning level mid-session
/init — generate your first CLAUDE.md automatically
/doctor — diagnose installation and authentication issues
/rewind — undo when Claude goes off track (or hit Esc twice)
/permissions — pre-allow safe commands instead of using bypass mode
/btw — ask a side question without interrupting the main task
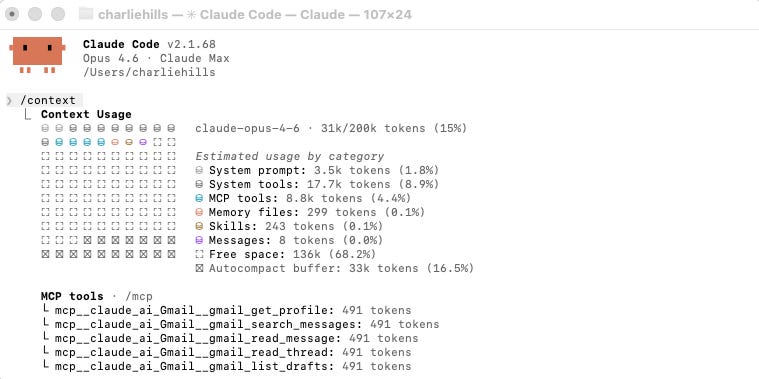
Run /context in any session to see exactly what is consuming your context window. You will see your system prompt, tools, MCP tools, memory files, skills, and messages with their exact token counts. Most people are surprised. Before they type a single message, they are often 15-20% through their window from system-level overhead alone.
What you can actually build
This is where Claude Code stops being a productivity tool and starts being a business infrastructure layer.
Each use case below is built as a skill. A skill is a Markdown file that sits in your .claude/skills/ folder. Claude Code reads it on demand and follows it as a step-by-step workflow. You define it once. After that, one line runs the whole thing.
The connector layer
Every skill above gets more useful the moment the right connector is active.
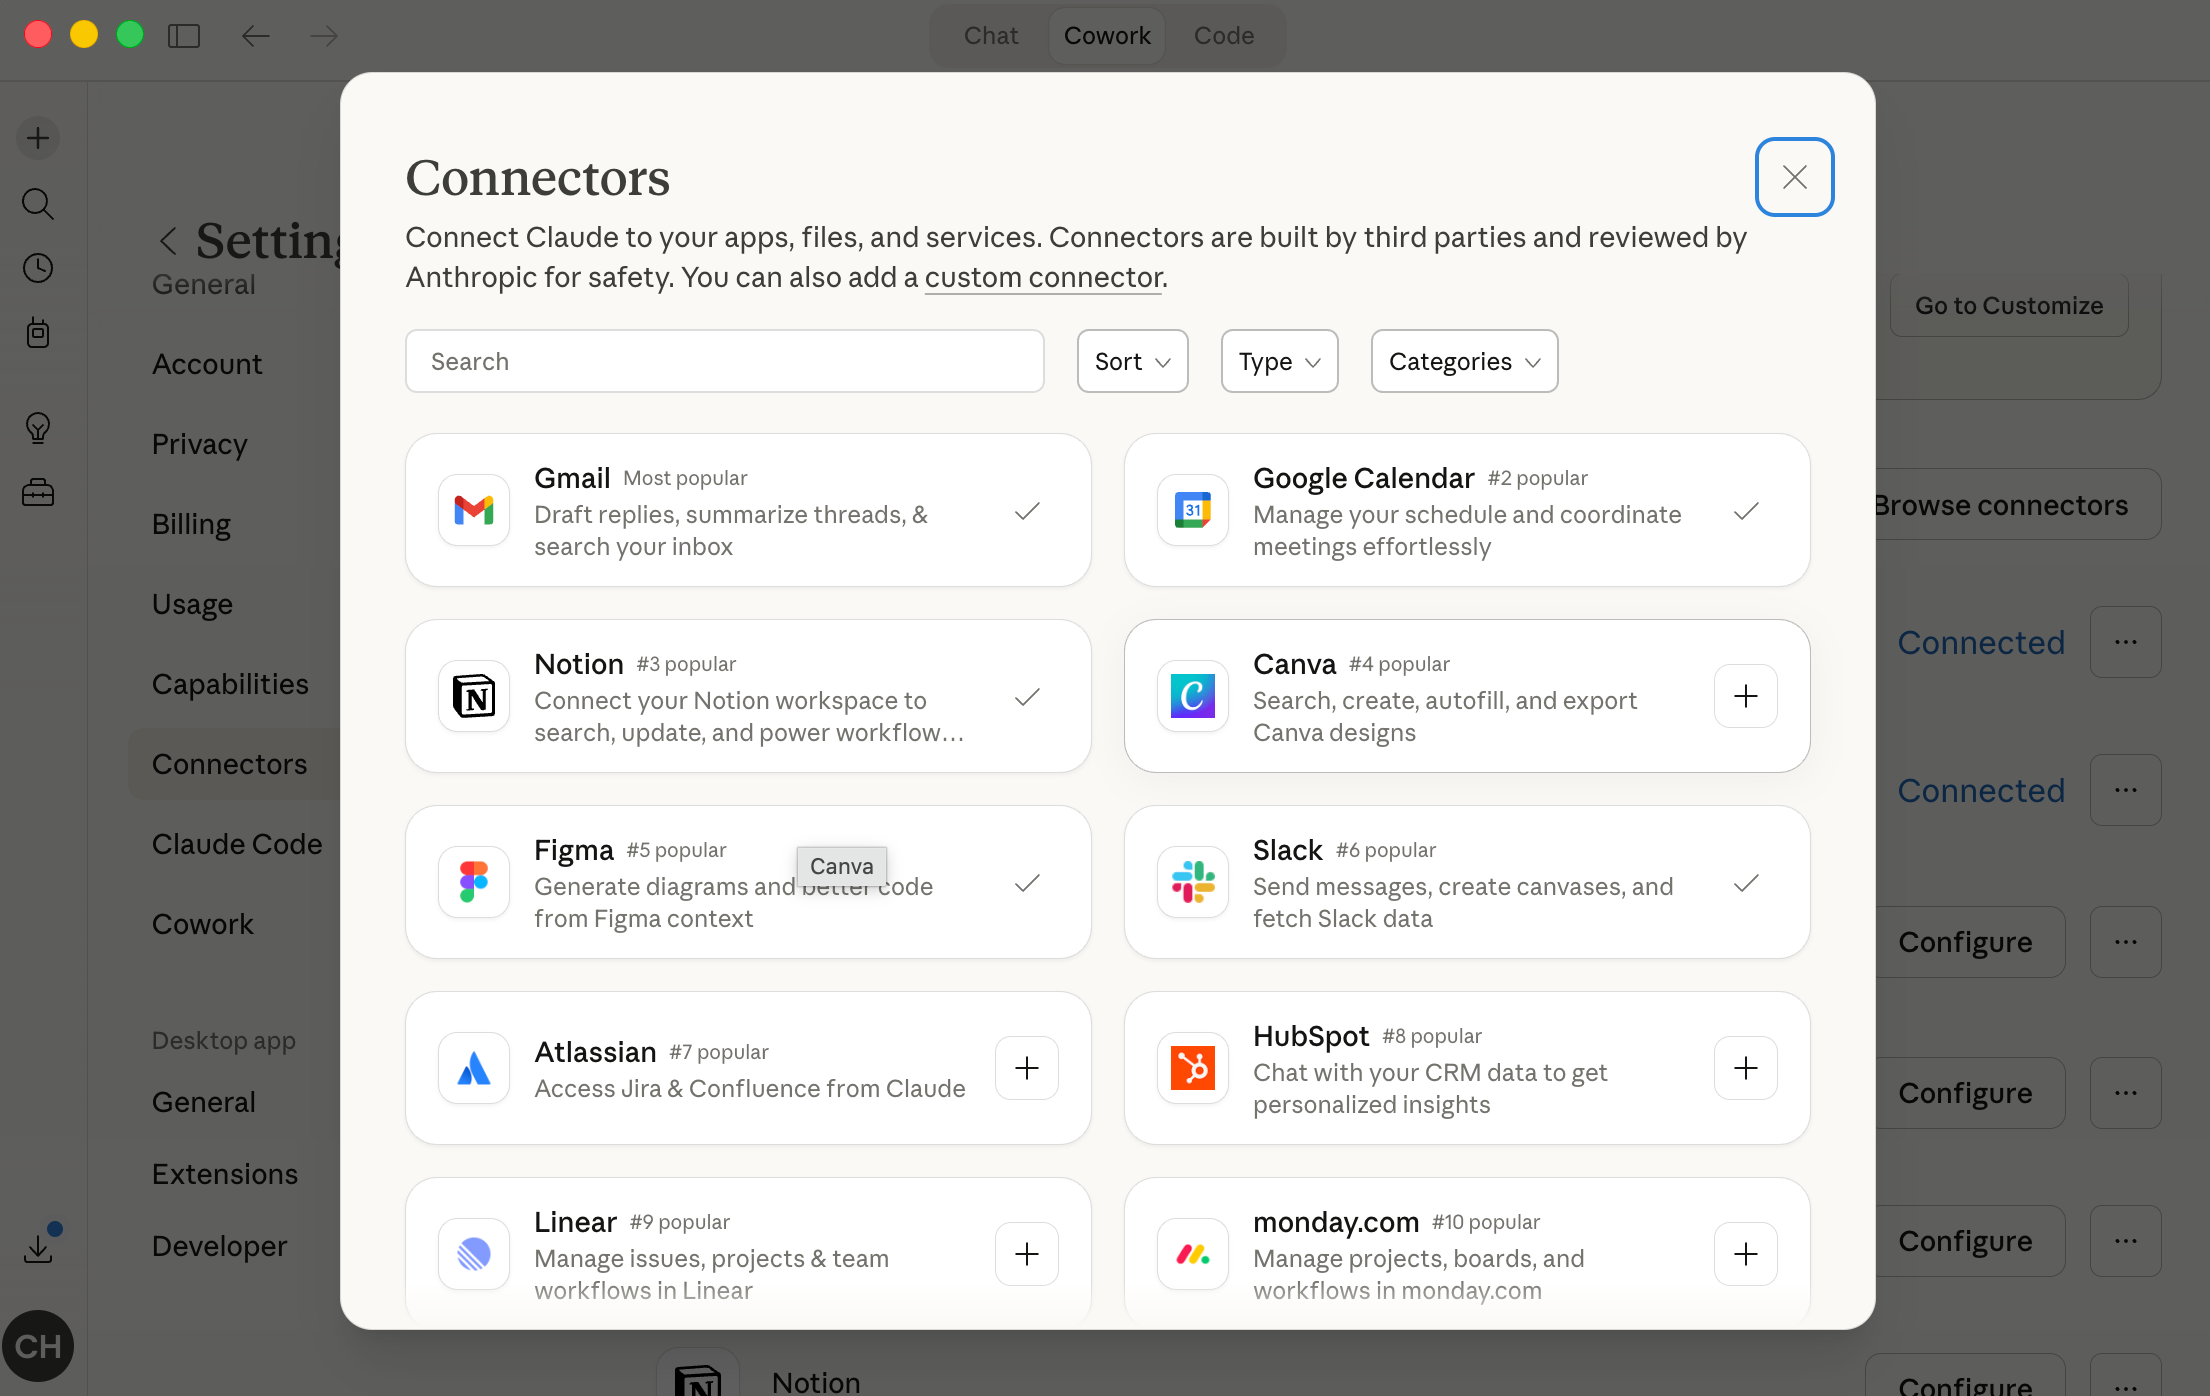
Connect Google Sheets and the lead scraping skill uploads results directly. Connect Gmail and the email classification skill reads and labels your real inbox. Connect Figma and your built interfaces land on the design canvas as editable frames.
The skill provides the workflow. The connector provides the live data and the destination. Without connectors you are working on local files. With them you are running operations inside the tools your business already depends on.
Go to Settings > Connectors in Claude Desktop. Over 50 integrations are listed. Authenticate once. Every future session picks them up automatically.
Four MCP servers worth installing first:
Context7 fetches up-to-date library documentation into context. Stops Claude from hallucinating outdated APIs.
Playwright gives Claude browser automation. It can implement, test, and verify UI features by navigating your app itself.
Excalidraw lets Claude generate architecture diagrams and flowcharts as hand-drawn sketches from a prompt.
DeepWiki pulls structured documentation for any GitHub repo. Point Claude at a repo and it gets the full picture without you pasting README files into the chat.
Lead scraping
A skill that scrapes a target industry, classifies leads with AI, enriches contact emails, and uploads everything to a Google Sheet.
Build the skill. Open Claude Code and paste:
Create a Claude Code skill file called lead-scraping.md in a
.claude/skills/ folder.

The skill should:
1. Scrape business leads for a target industry and location using web search
2. Classify each lead with AI (business name, website, phone, category)
3. Enrich a contact email for each lead where publicly available
4. Upload all results to a Google Sheet

Accept three inputs from the user:
- Industry (e.g. dentists, accountants, solicitors)
- Location (e.g. Manchester UK, United States)
- Number of leads required

Write it as a step-by-step Markdown checklist Claude Code follows
when the skill is invoked.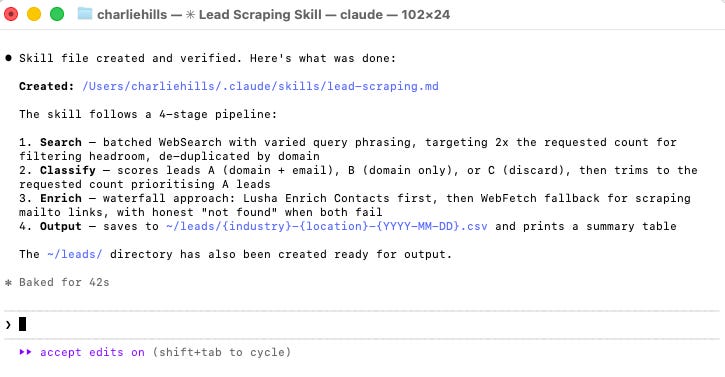
Run it with one line:
Use the lead-scraping skill.
Industry: dentists
Location: Manchester, UK
Leads required: 20
Upload to this Google Sheet: [YOUR SHEET URL]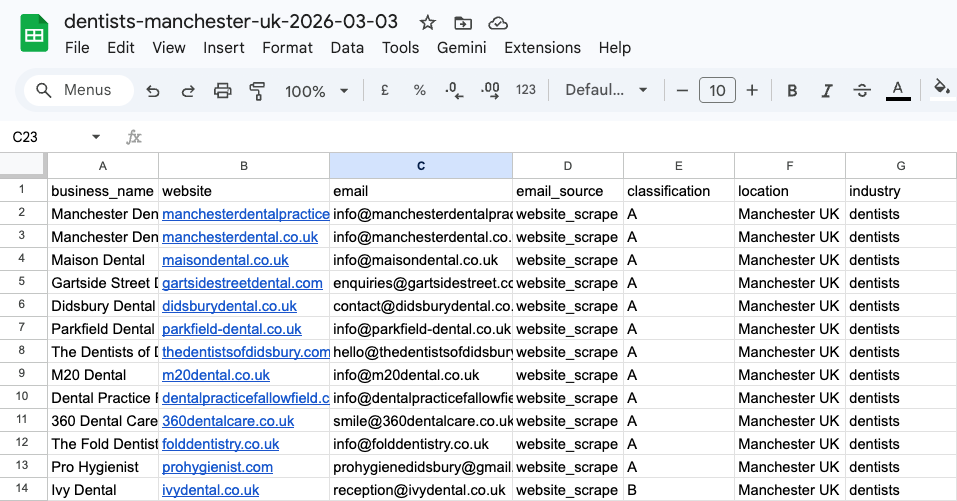
Proposal generation
A full proposal generator with a brief input form, AI-generated proposals in your voice, a client-facing view with an Accept button, and a payment link field. No PandaDoc subscription. No per-proposal cost.
Build it using Plan Mode. Switch to Plan Mode first, then paste:
/plan Build a proposal generator web app with the following:
- A brief input form (client name, industry, scope, budget)
- AI-generated proposal output written in my voice using my brand-voice.md file
- A client-facing view of the proposal with an Accept button
- A payment link field I can add manually before sending
- Each proposal saved as a Markdown file in a /proposals folder

Use plain HTML, CSS, and JavaScript. No frameworks.
Read all files in this folder before planning.
Ask me clarifying questions before you start building.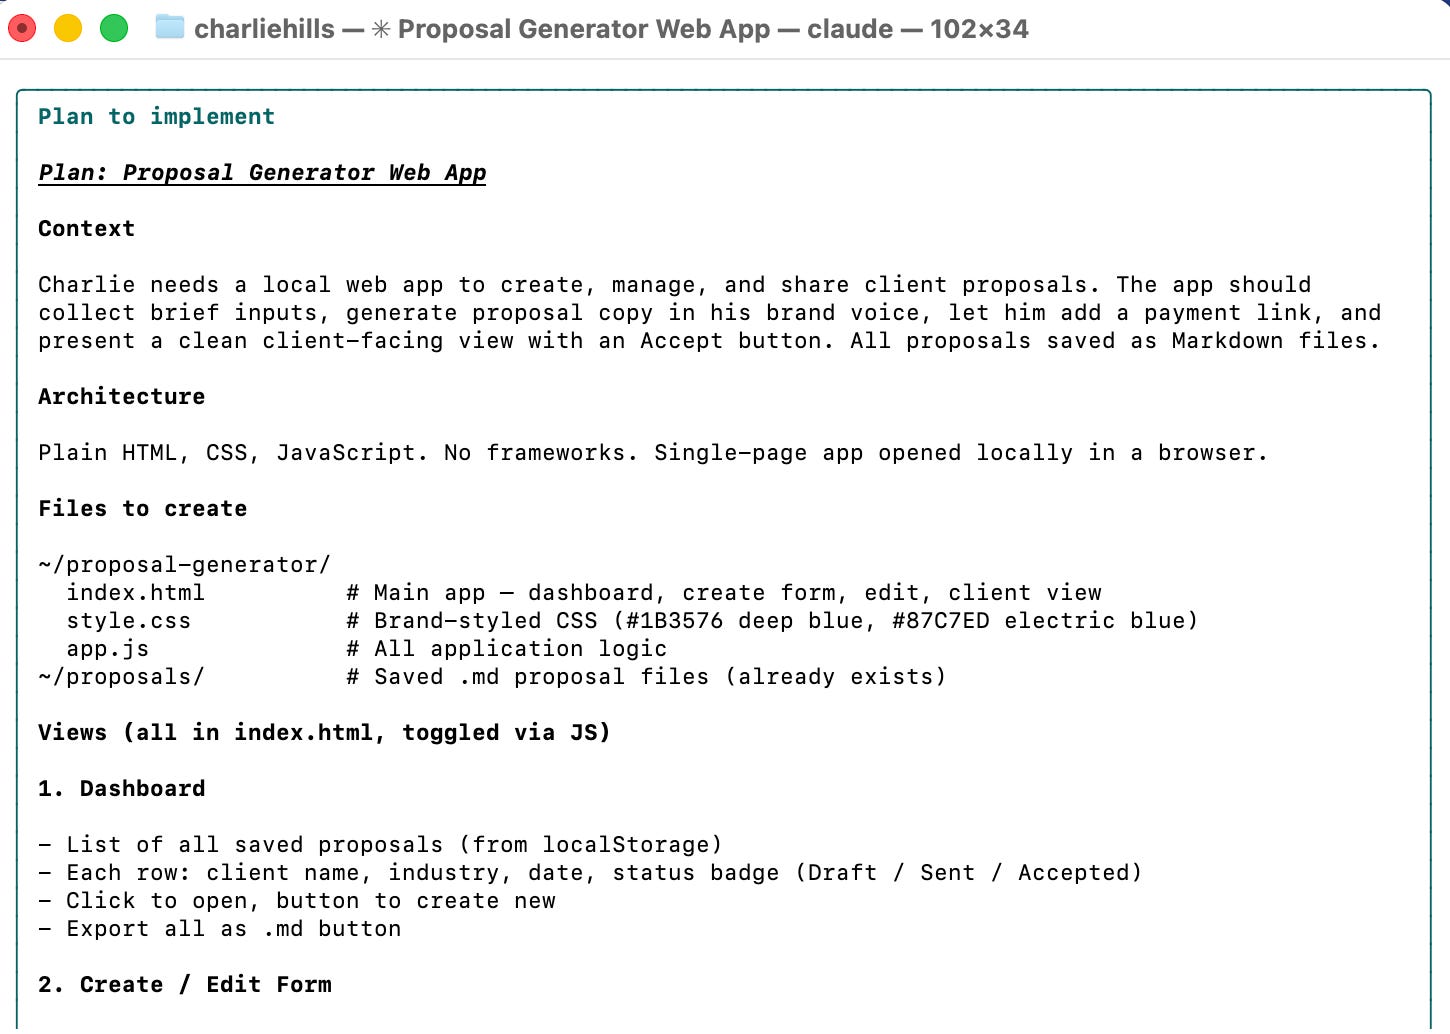
This clears the context window before building so tokens used during planning do not eat into your build. Claude Code then executes every step without stopping to ask permission.
Website generation
Screenshot a site you admire. Feed it to Claude Code alongside your content and brand guidelines. Get a complete, deployable website without touching a template or page builder.
Build it. Drag your reference screenshot into the terminal, then paste:
I am going to give you a screenshot of a website I like the design of
and my own content. Build me a complete single-page website using my
content but matching the visual style and layout of the reference.

My content:
Headline: [YOUR HEADLINE]
Subheadline: [YOUR SUBHEADLINE]
Key points: [POINT 1], [POINT 2], [POINT 3]
CTA: [YOUR CTA TEXT]
Brand colour: [HEX CODE]

Build as a single HTML file with embedded CSS.
Produce three layout variants: version-a.html, version-b.html, version-c.html
Run them in parallel.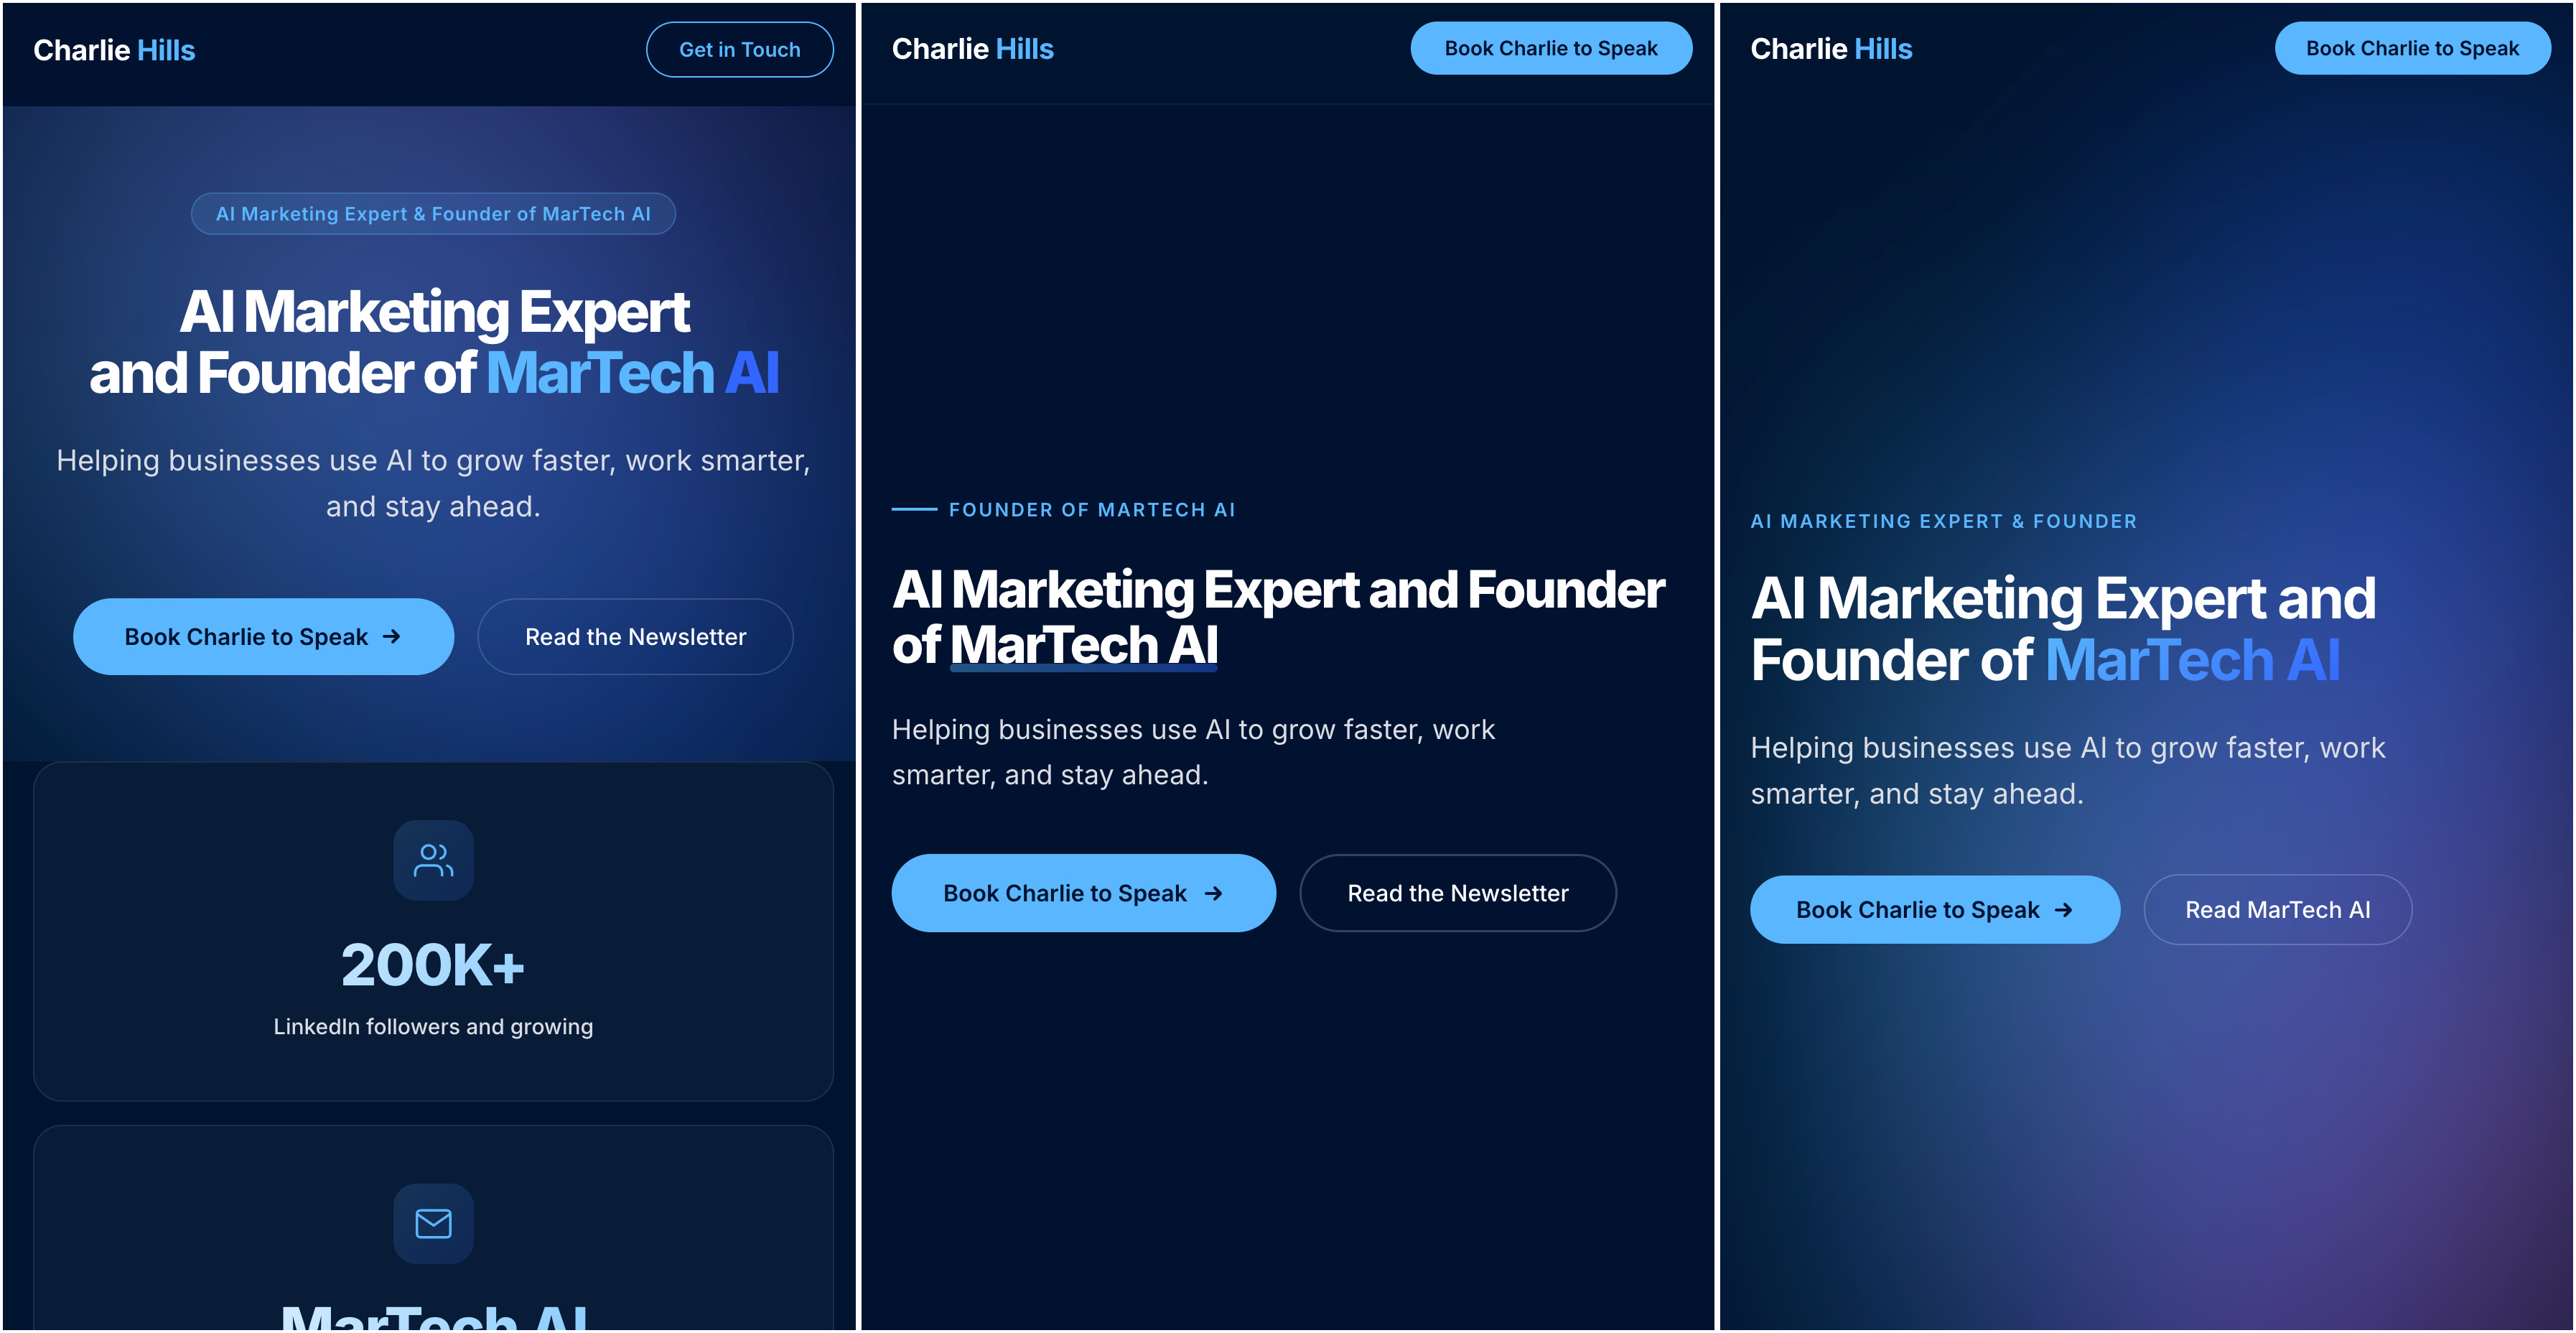
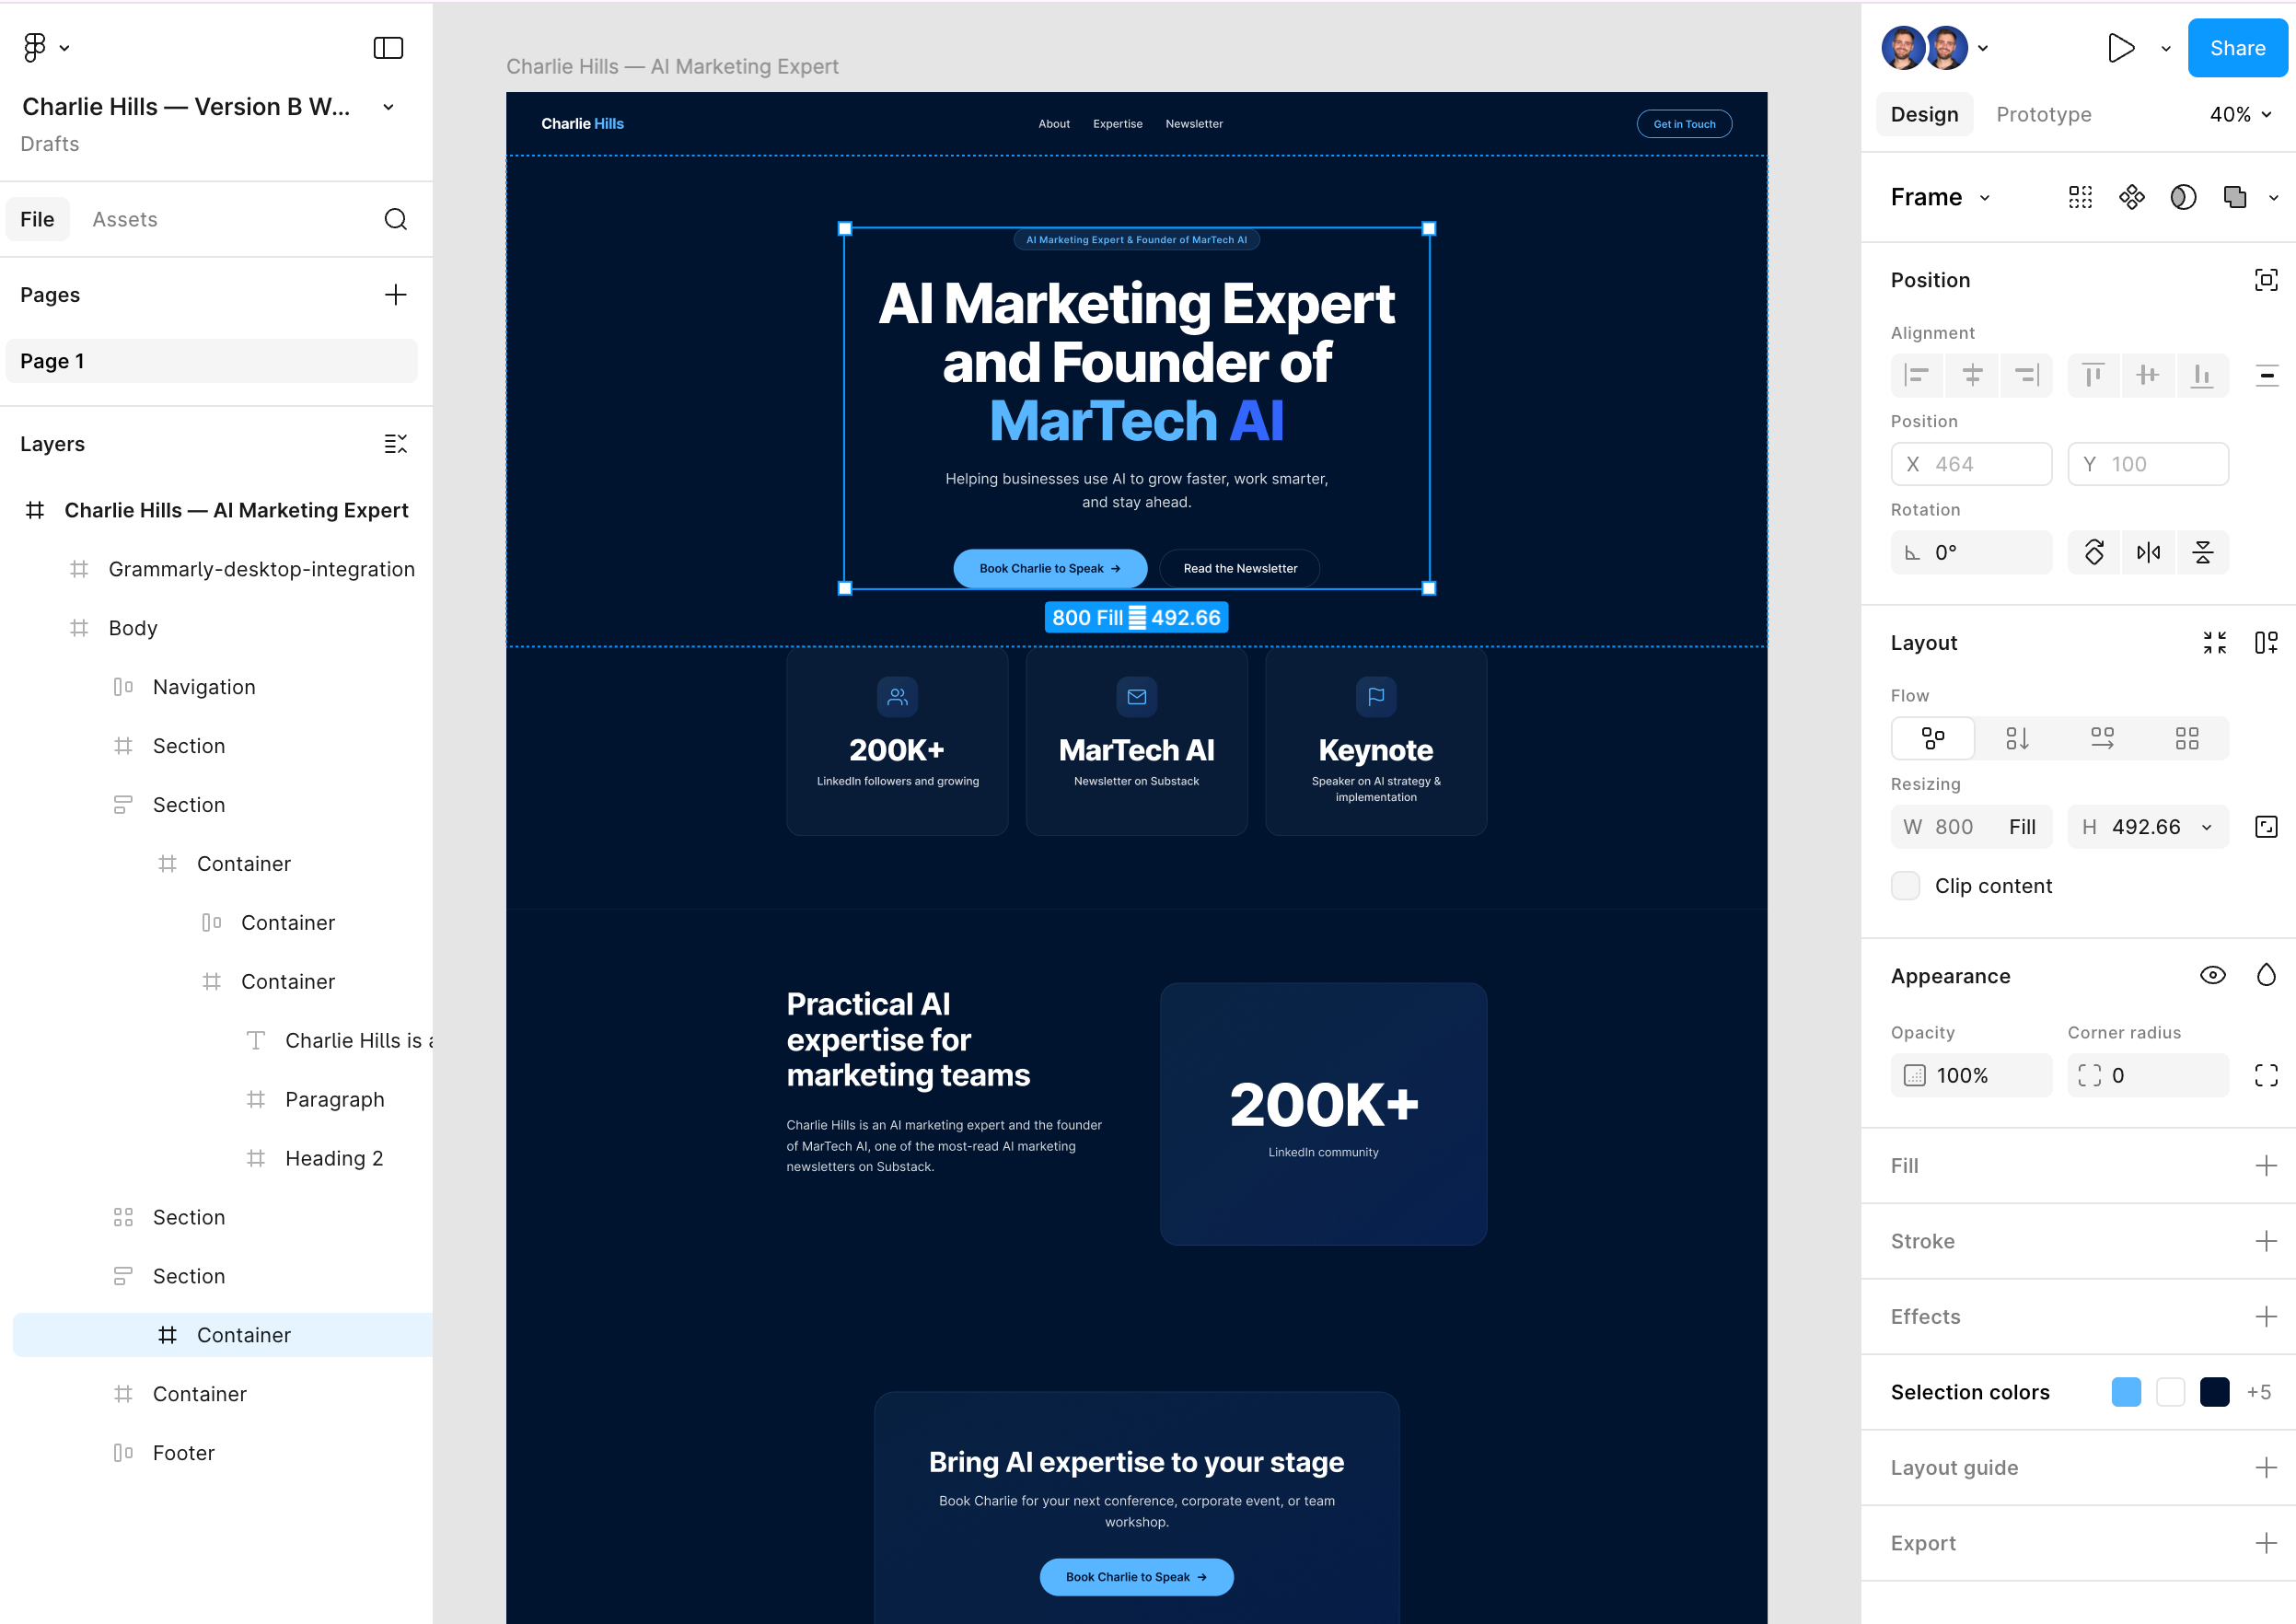
To push the finished build into Figma for design refinement, connect Figma MCP first:
claude mcp add --transport http figma https://mcp.figma.com/mcpThen:
Start a local server for my app and capture the UI in a new Figma file.Claude Code opens a browser, captures the live interface, and sends it to Figma as editable design layers. Refine it on the canvas, push updates back. Design and code stay in sync without manual handoff.
Video generation
Remotion is an open-source framework that lets you create videos programmatically using React. Every frame is a component. Every animation is code. You describe what you want and Claude Code builds it.
This is not AI generating random video from a text prompt. Claude Code writes the React components that render your video. You get full control, full editability, and the ability to generate variations from a single template.
I used this to build a product launch video for Vislo, my new AI infographic SaaS.
Created entirely from the terminal. The first version was rough, and that was down to the quality of the screen recordings I gave it rather than anything Claude Code did wrong. Once I provided better source material and refined the prompts over a few iterations, the output got genuinely good. The fact that you can produce motion graphics from a terminal window is still slightly surreal.
Set it up in four steps.
Step 1. Create a new Remotion project:
npx create-video@latestSelect the Blank template, say yes to TailwindCSS, and say yes to install Skills when prompted.
Step 2. Navigate into the folder and start the preview server:
cd my-video
npm install
npm run dev
Step 3. Open a second terminal window and start Claude Code:
cd my-video
claude
Step 4. Describe the video you want. Claude Code reads your project, writes the components, and the preview at localhost:3000 updates in real time. When you are happy with the result, render your final MP4:
npx remotion renderThe quality of your output depends almost entirely on the quality of your source material. Good screen recordings produce good videos. Blurry screenshots produce generic results. Give Claude Code sharp, high-resolution assets and it handles everything else.
One thing to check before using this commercially. Remotion is free for personal use and open source projects. Companies with three or more employees need a commercial licence to render videos for clients. Check remotion.dev/license before building client work on top of it.
Vislo, the tool I built the demo video for, is live. You describe what you want in plain text, Vislo generates share-ready infographics in seconds (no design skills needed). $19/month and the first 100 users lock in that price. Sign up at https://www.vislo.ai/
How to Claude Code (Intermediate)
Run Claude Code Workflows with Parallel Agents
Charlie just walked you through what Claude Code can do. The tools, the setup, the skills.
Now let me show you what it looks like when you package all of that and ship it to a real client. (btw Sabahudin writing here, from Unstuck newsletter)

Here is the thing to know before you deliver anything for a client.
I approach it like this: I set up a project folder with my client’s full context.
Who they target. How they talk. What a qualified lead looks like for them.
Claude Code reads that context at the start of every session. So every workflow I build already knows the client’s world.
That’s the real leverage. (and fast delivery from your side as a service provider)
Here are two workflows I run right now.
Workflow 1 - Target List Building
My client drops a CSV full of LinkedIn prospects.
One command kicks off the whole thing → in this case “ wf1-qualify-list “
The orchestrator reads the file, figures out the columns, cleans it up. Then it splits the leads into small batches and spawns parallel agents - all at once, not one by one.
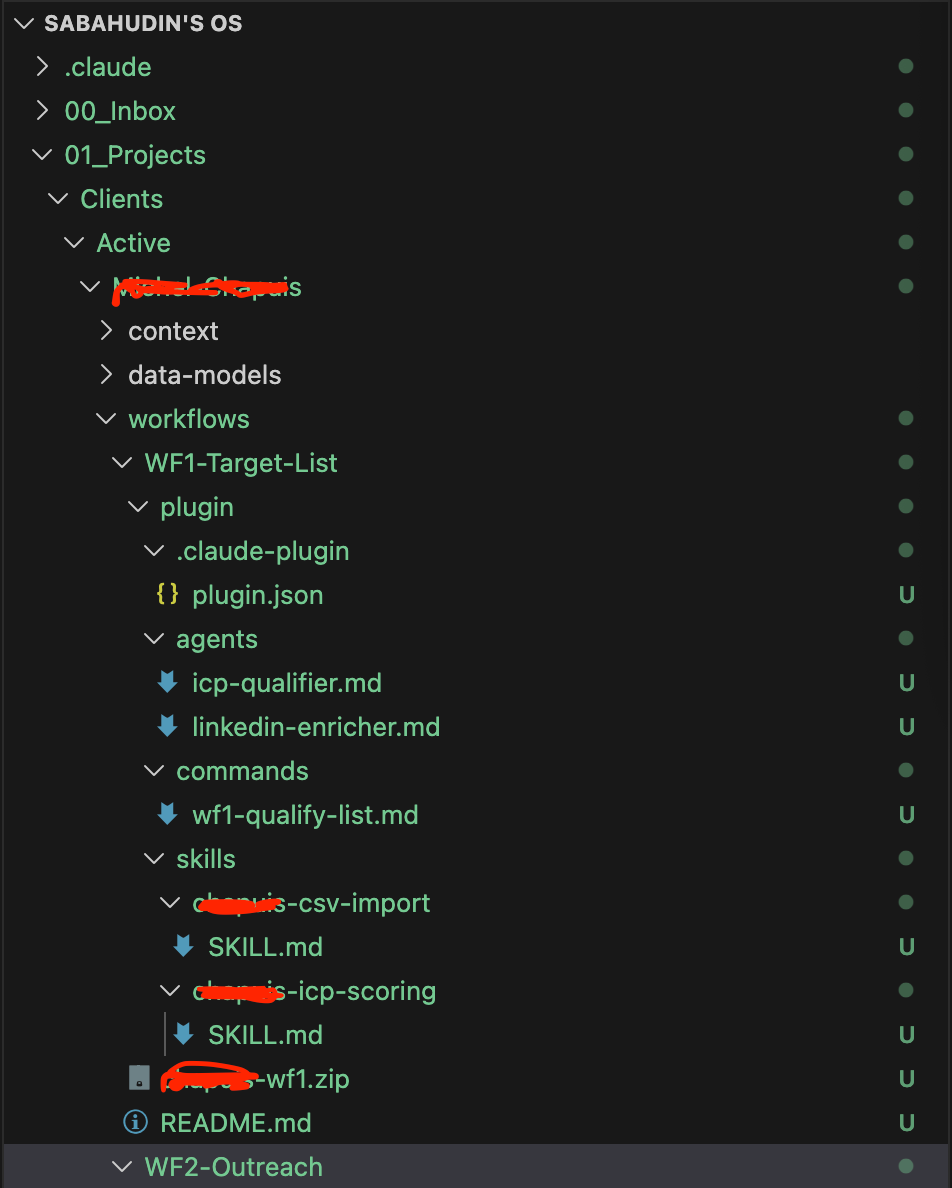
Each agent calls Bright Data to pull LinkedIn profiles and company data simultaneously (Bright Data setup - add coupon “sabahudin” and grab $20 of credits on me - it is pay as you go).
Results merge back. ICP scoring runs. Only qualified leads come out the other side. The rest get dropped silently.

To keep it simple:
Think of it like a kitchen.
The command is the head chef calling orders.
The agents are line cooks, each one working their station at the same time.
The skills are the recipes pinned above each station.
One chef coordinating five cooks is always faster than one chef doing everything alone.
Workflow 2 - Outreach Prep
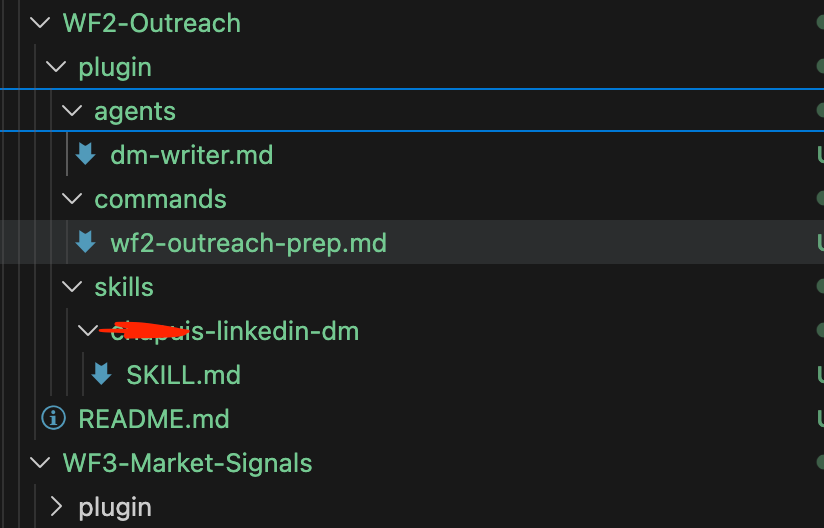
This one picks up where Workflow 1 stops. Takes the qualified leads, scrapes their recent LinkedIn posts for personalisation signals, then spawns another round of parallel agents - this time writing connection messages in my client’s voice.
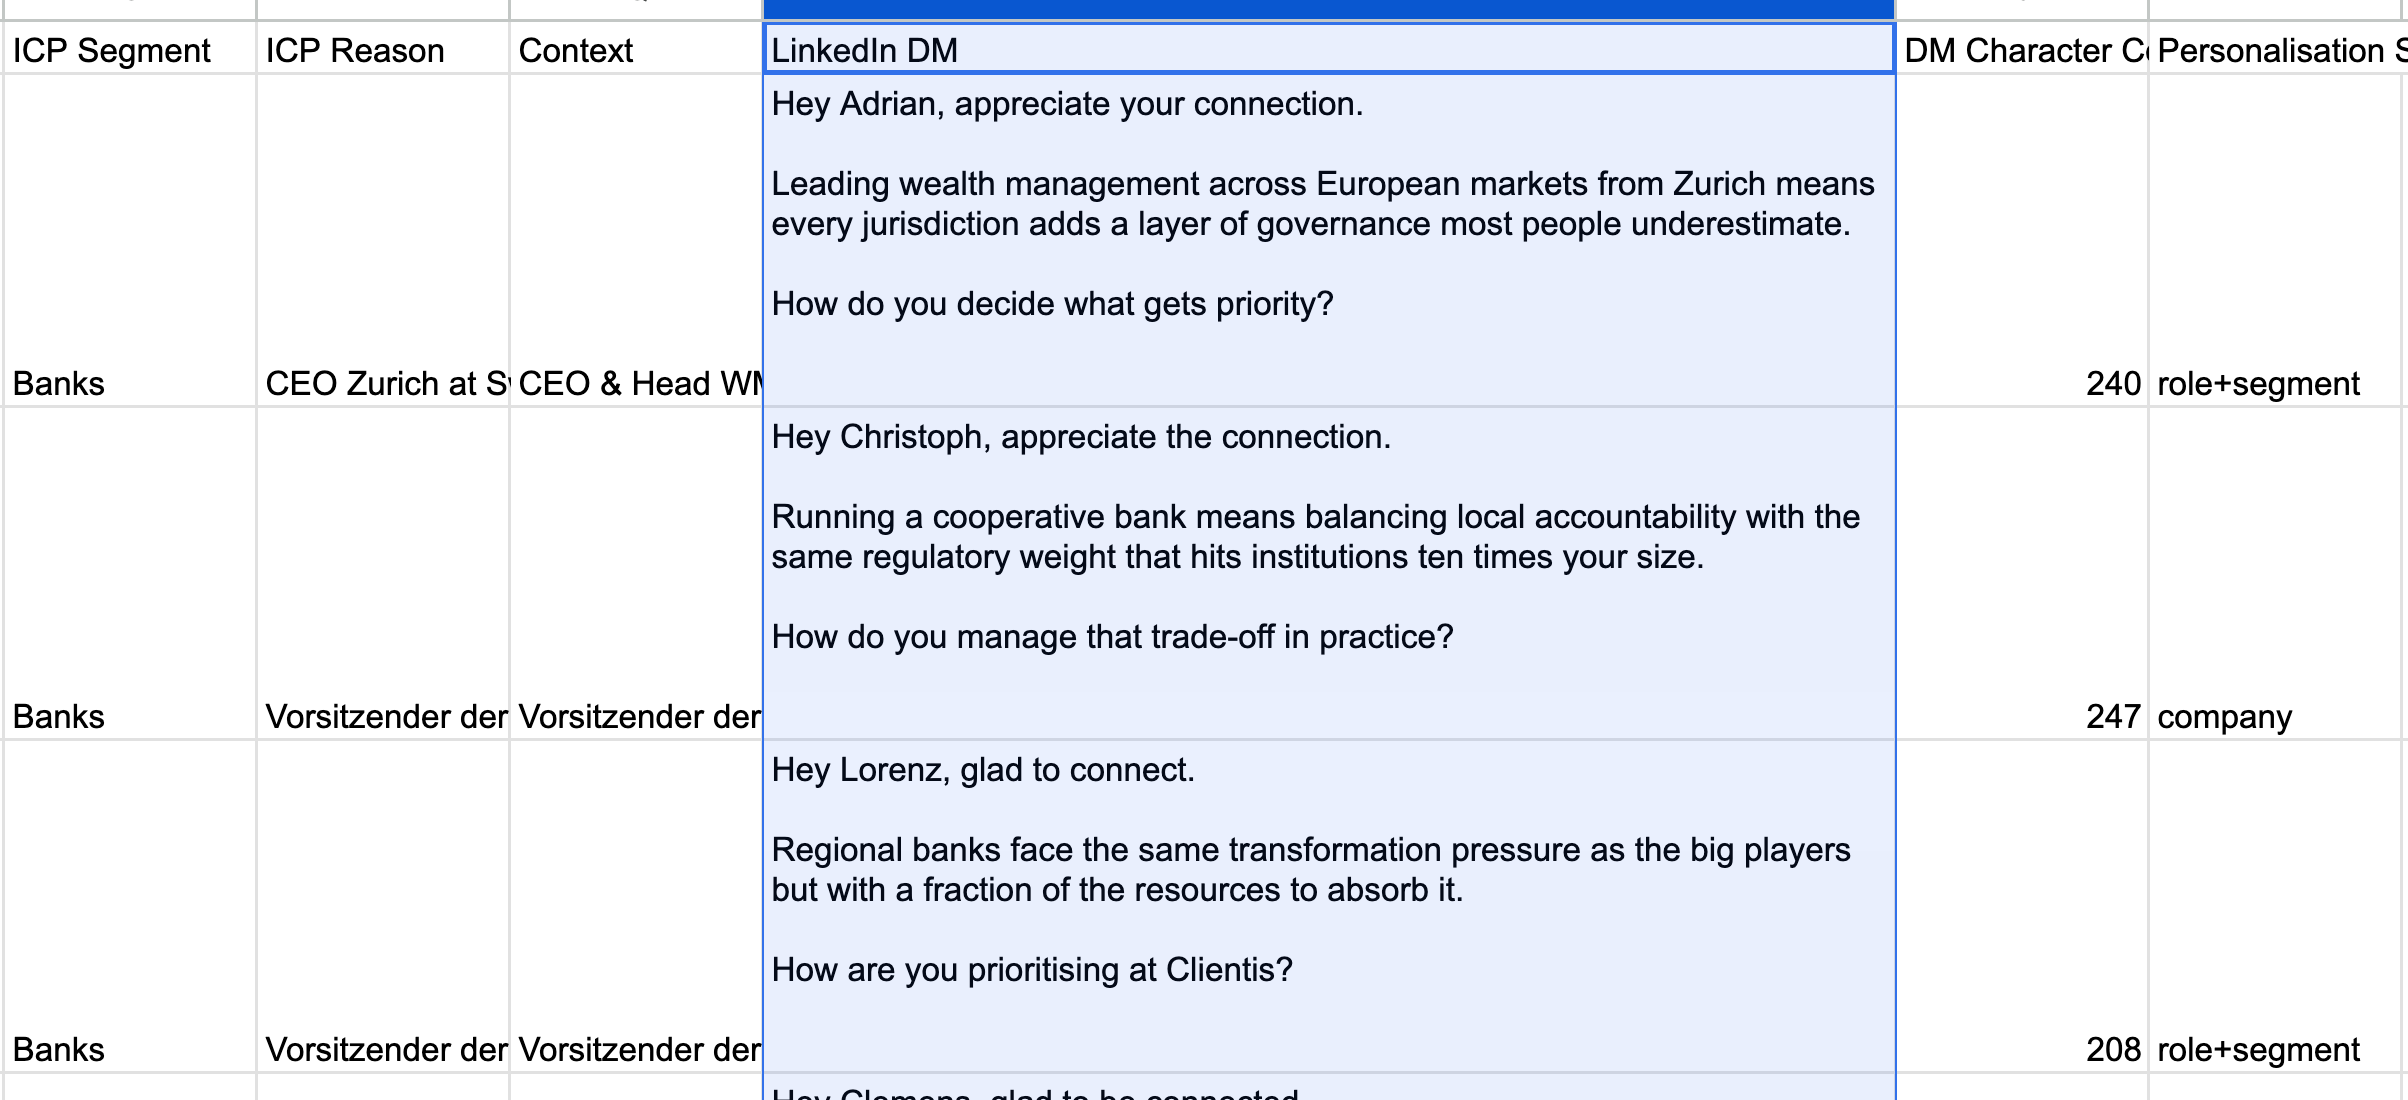
But there’s a checkpoint. My client sees two test messages first. Approves the tone. Only then does the full batch run. No surprises. Messages and lead data get pushed to Aimfox for outreach automation and HubSpot as the CRM. One command. Start to finish.
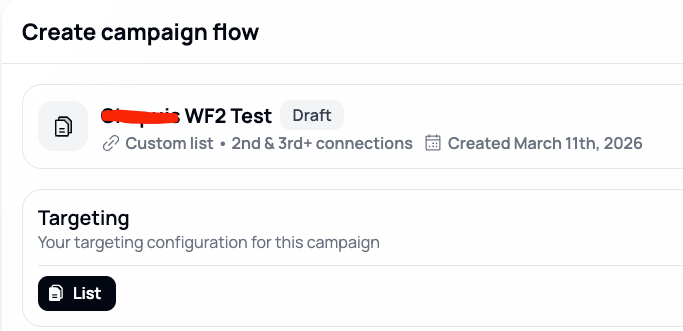
Bonus: Workflow 3 is next. Once those leads are sitting in HubSpot, the next move is market signals. A workflow scanning relevant news, scoring what matters, matching it against existing contacts, and creating new outreach triggers.

Migrating workflows to the client
Each workflow is a ZIP plugin - commands, agents, skills, all inside. I built them locally, packaged them, and installed them on my client’s Claude Code dashboard. Now they run /workflow-1 or /workflow-2 and the whole thing fires.
Or create a GitHub repo and clone it.
How to Claude Code (Advanced)
Claude Code as Your Operating System
Walid here, from AY Automate.
Charlie showed you how to set up Claude code. Sabahudin showed you how to package workflows for clients. I am going to show you what happens when you stop treating it as a tool and start treating it as your operating system.
I run an AI automation agency called AY Automate. 20+ active clients right now. Every operation runs through Claude Code. Sales, content, outreach, client prep, onboarding, proposals, reporting. All of it.
Here is how I work every day. And going back to the old way would feel like switching from electricity to candles.
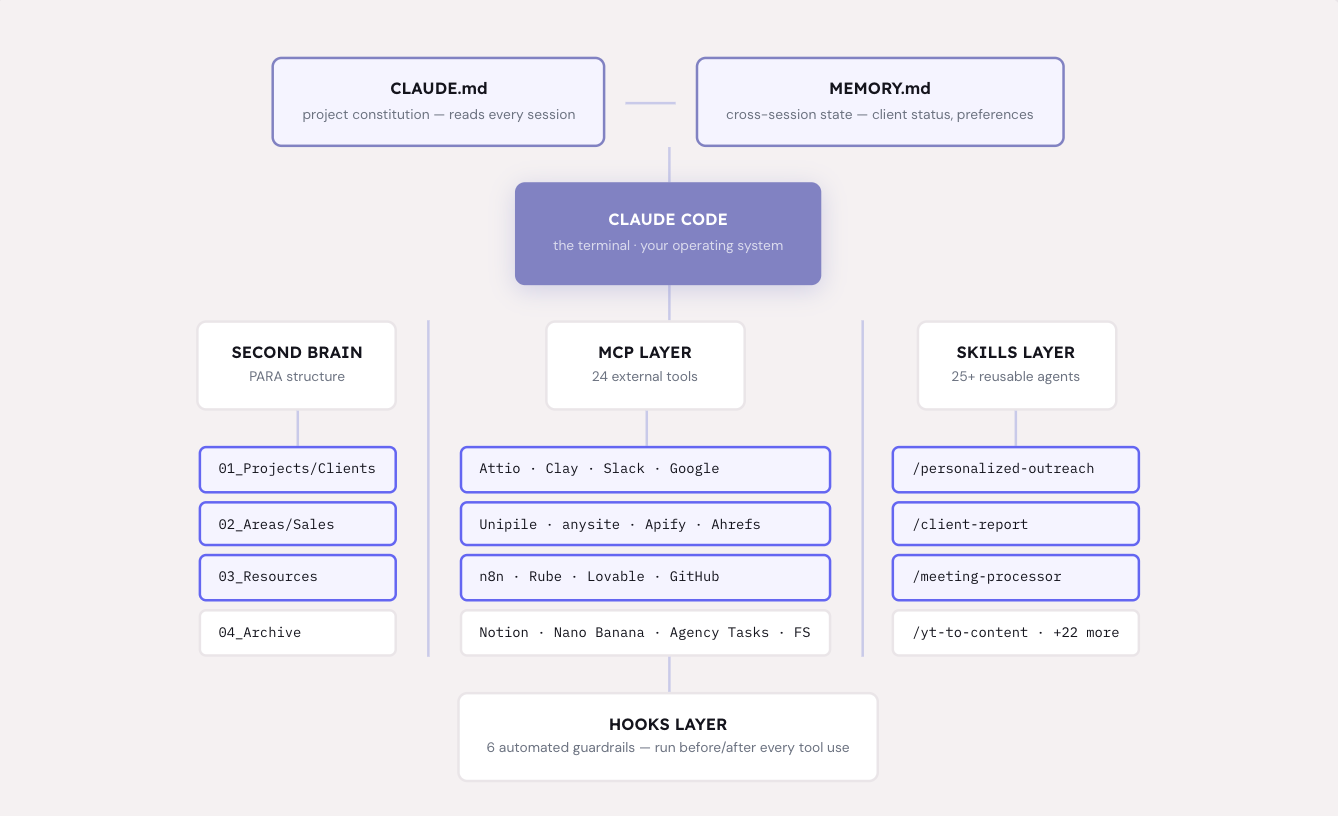
The second brain - Your business in a folder
the foundation of everything i do with claude code is a folder structure. not a database. not a SaaS tool. a folder.
I use an adapted version of the PARA framework. Every piece of my business lives in markdown files organised like this:
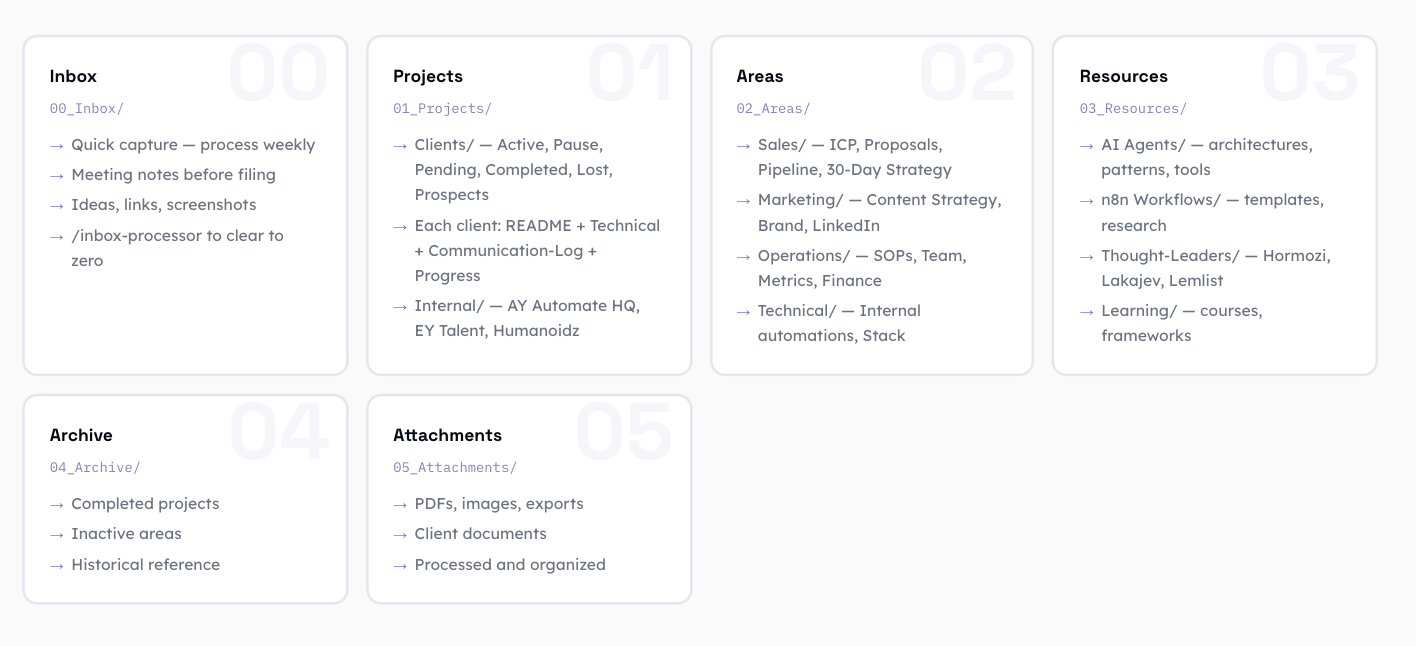
00_Inbox- quick capture, process weekly
01_Projects- clients (active, pending, completed), internal projects, products
02_Areas- sales, marketing, operations, technical
03_Resources- AI agents knowledge, n8n workflows, learning material
04_Archive- completed work
05_Attachments- files, media, PDFs
But here is the thing. It is not a file system. It is context.
Every session starts with full context. Claude Code reads my CLAUDE.md (who I am, what I do, how I think), my memory system (what happened in past sessions), and the project structure. I never re-explain anything. The context compounds.
When I open Claude Code on a Monday morning, it already knows which clients have calls this week, which proposals are pending, what content is scheduled, and what blockers exist. I say what I want to do and it has everything it needs.
The CLAUDE.md file alone is around 800 lines. It includes pointers to files covering my business model, ICP, pricing, communication style, sales process, objection handling scripts, values, and exactly how I want Claude to work with me.
It sounds like overkill until you realise it removes ramp-up time completely.
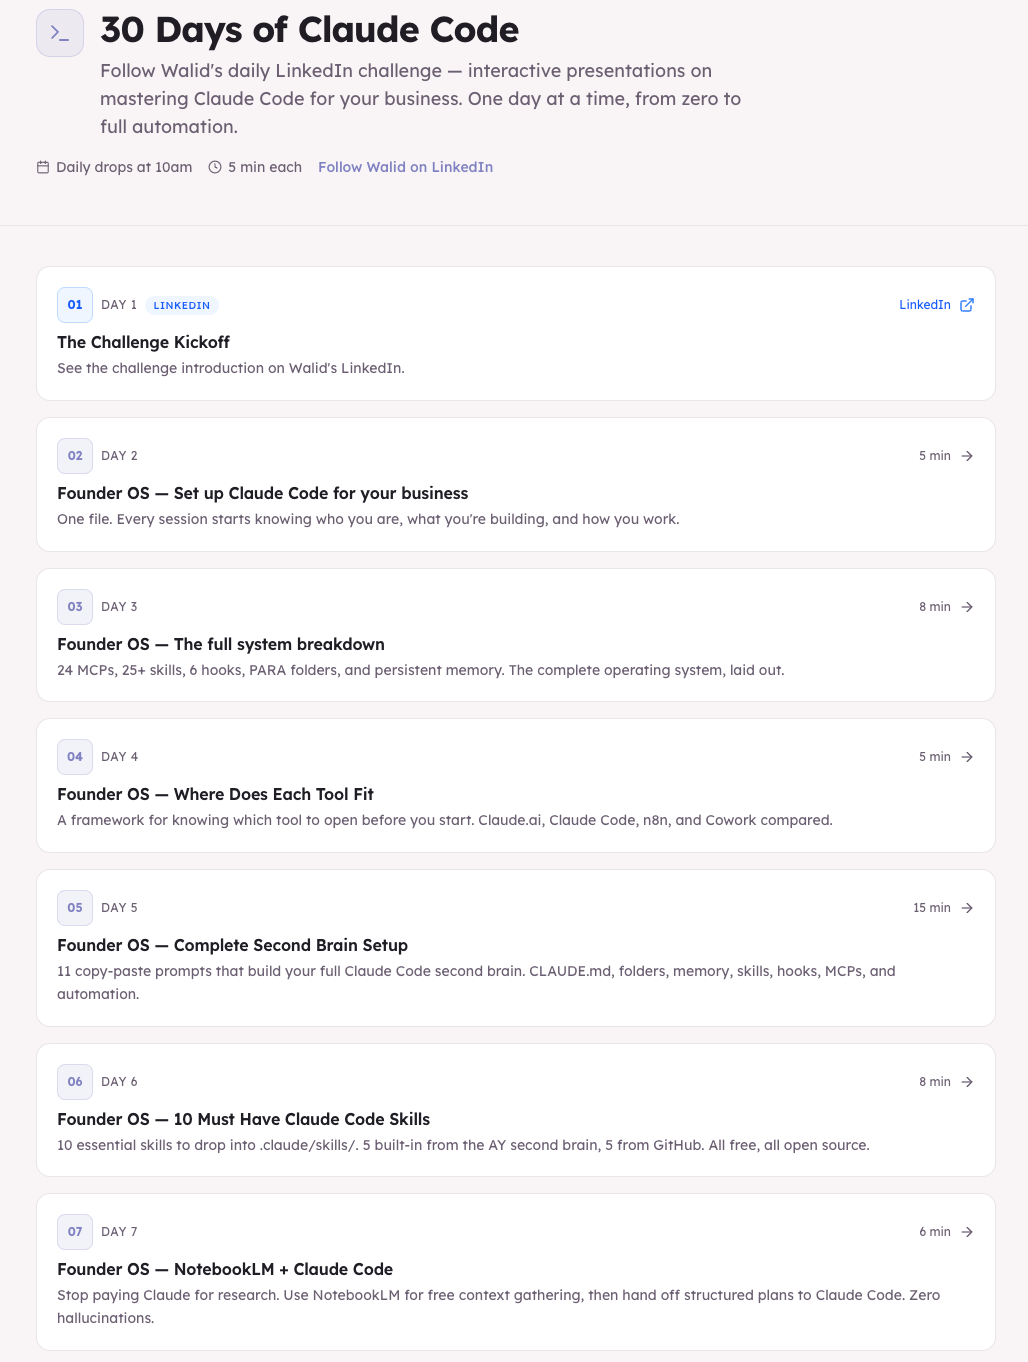
I wrote a full guide on setting this up. Day 5 of the 30-day Claude Code challenge walks through every step: Claude Code Challenge Day 5
And here is the part that surprised me. Because all of this is markdown files in folders, you install Obsidian (free), point it at the same folder, and instantly see how everything connects. Every client, every skill, every resource, every note, visualised as a graph. No setup required. Open the folder in Obsidian and it maps the relationships automatically.
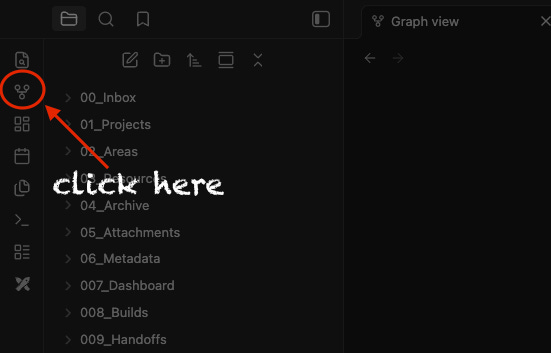
This is what my second brain looks like right now in the Obsidian graph view. Every dot is a file. Every cluster is a project, a client, or a knowledge area. The connections happen naturally because the files reference each other.
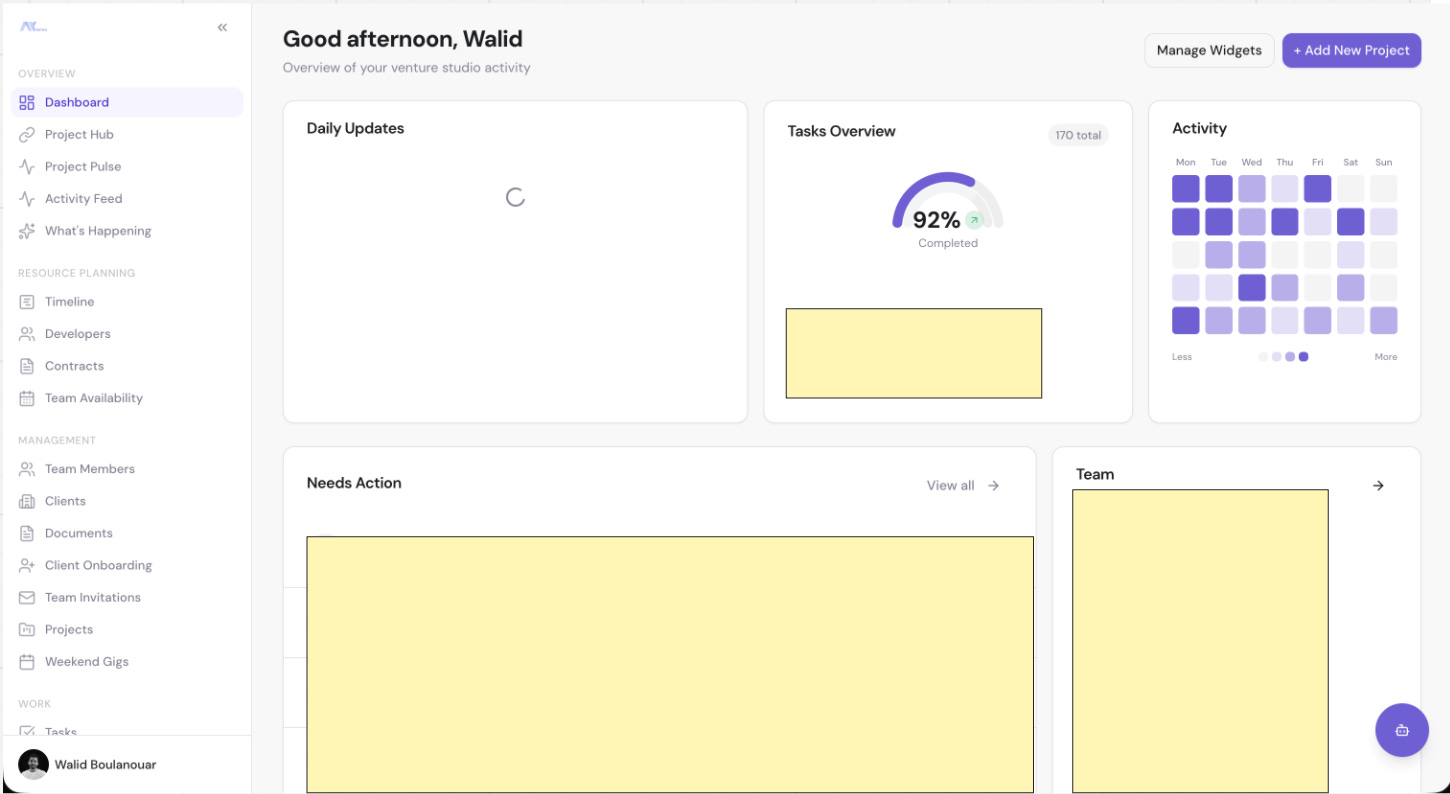
Skills are the new apps - a library of 48 skills
Charlie mentioned skills as a concept. I have 48 of them running right now. Each one replaces a tool I used to pay for.
A skill is a markdown file with some code and references that tells Claude Code how to do something specific. Think of it as a micro-app with no UI, no subscription, and no limits. You describe the input, the process, and the expected output. Claude Code handles the rest.
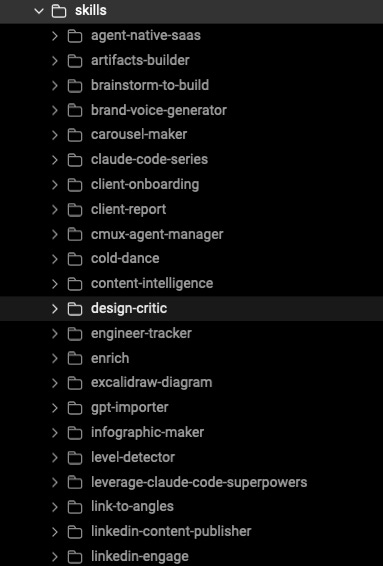
Here is what my skill library looks like broken down by category.
Content (replaces Buffer, Jasper, Canva)
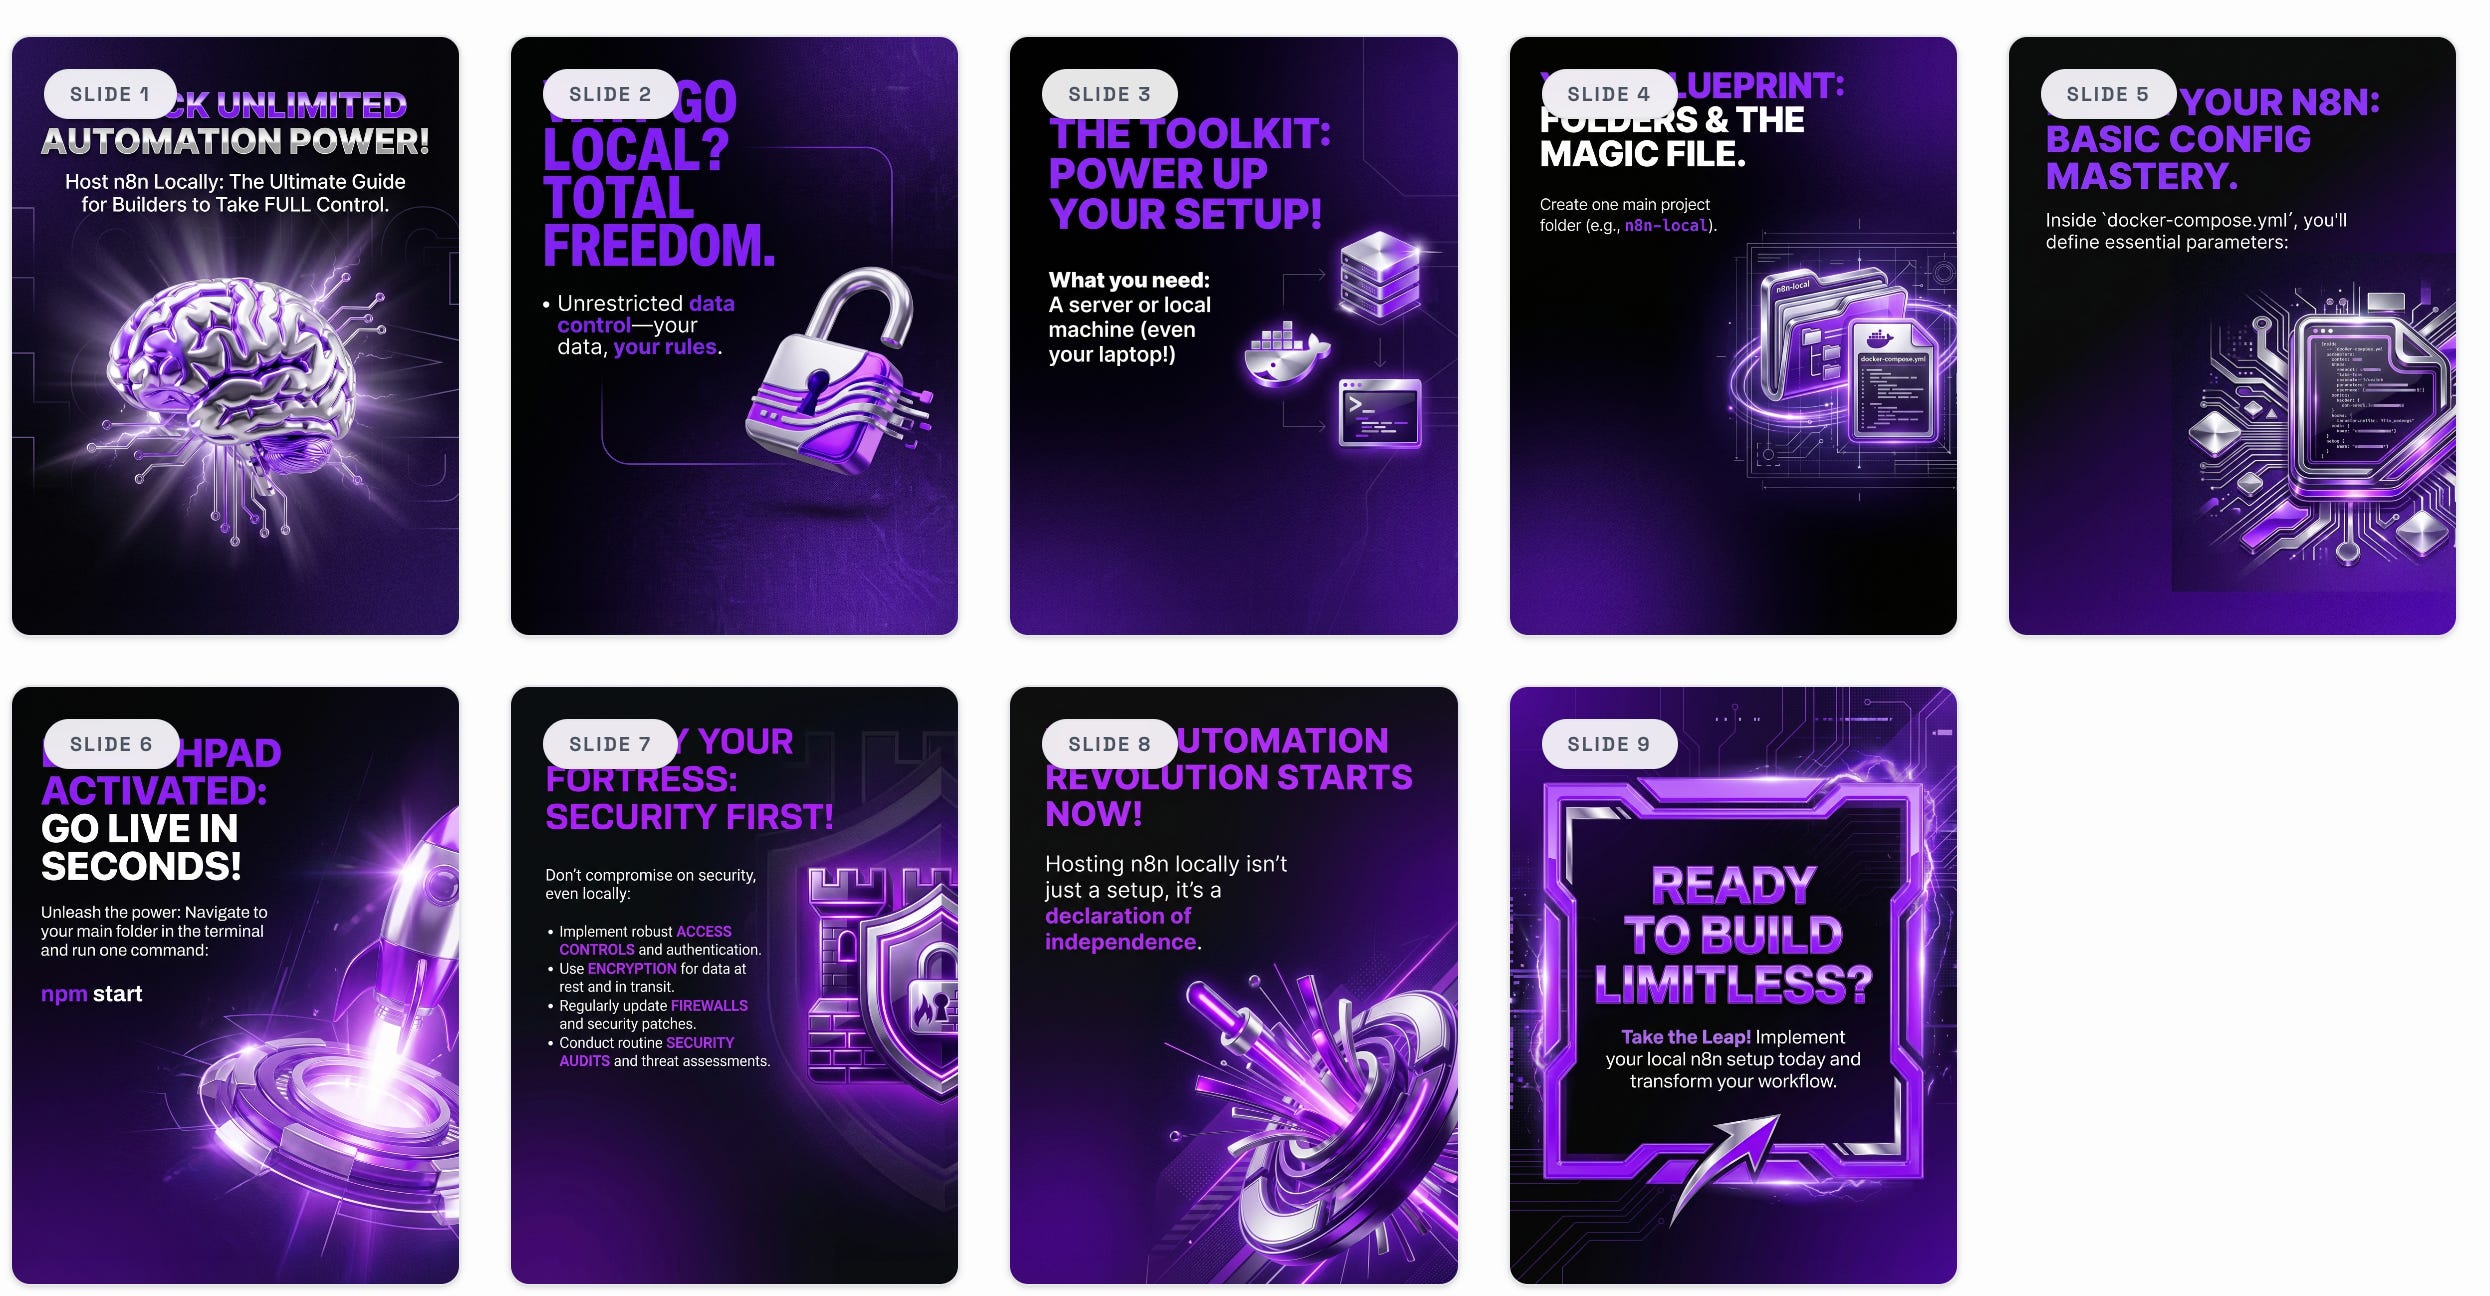
carousel-maker- builds LinkedIn carousel slides with real company logos, exports as images (or using Nano Banana to create them)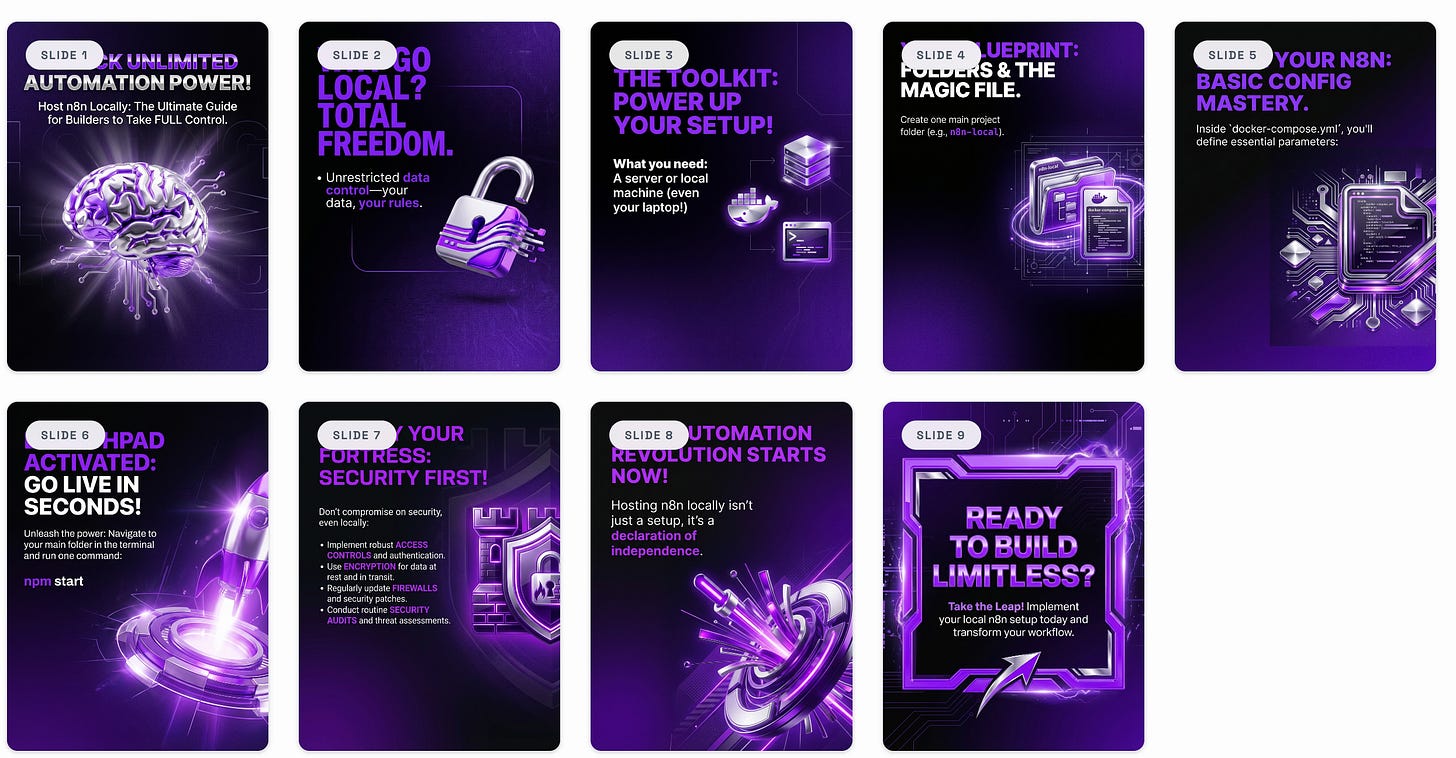
infographic-maker- generates visual guides and lead magnets as HTML, ready to screenshot (this is a good one, and Charlie is making it easy for everyone to set up through his product Vislo)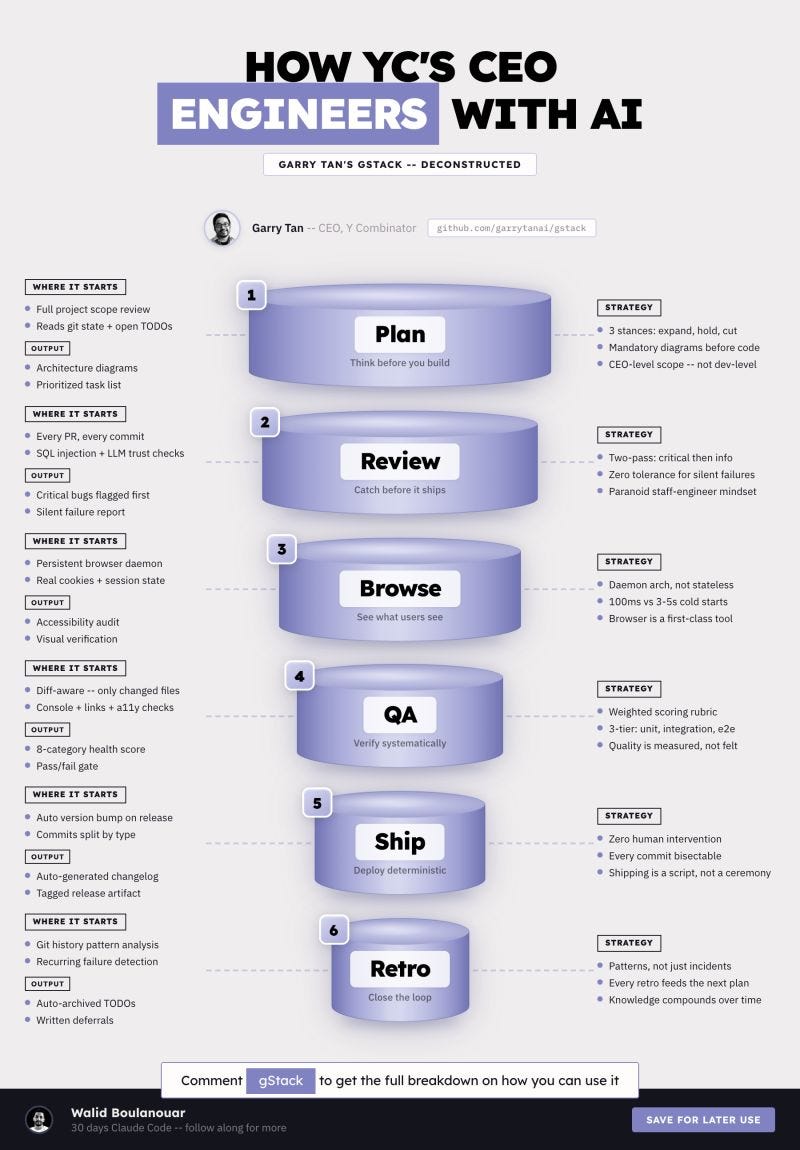
linkedin-hooks- writes hooks using 10 psychological frameworks from my writing style analysiscontent-intelligence- scans competitors, extracts viral angles, builds content calendar. I already wrote all posts of my 30-day challenge this way.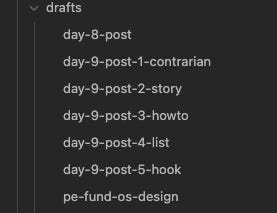
writing-style-replicator- analyses 40 posts and generates a style report so AI writes in your exact voice (I use Unipile MCP for this)yt-to-content- drop a YouTube URL, get 3 ready-to-post LinkedIn posts (I use the yt-dl package to download transcription from any video)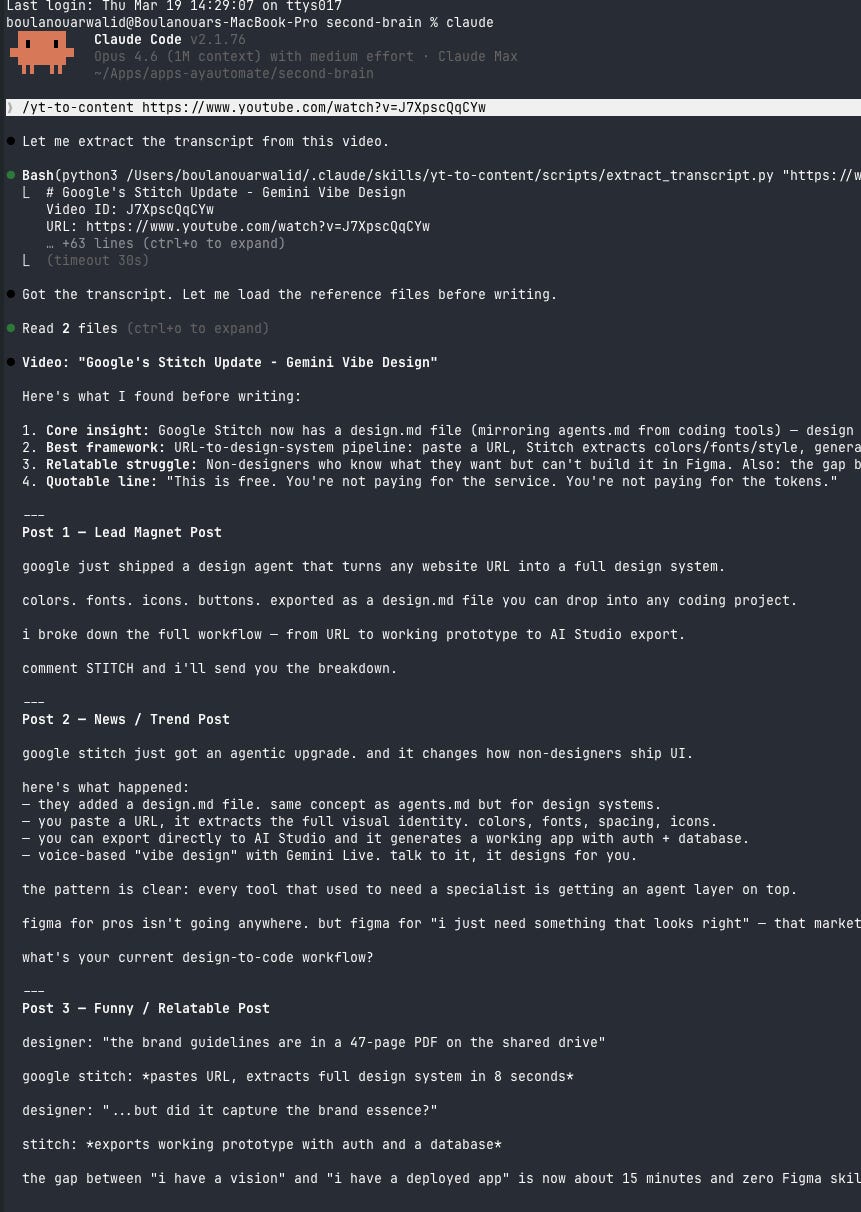
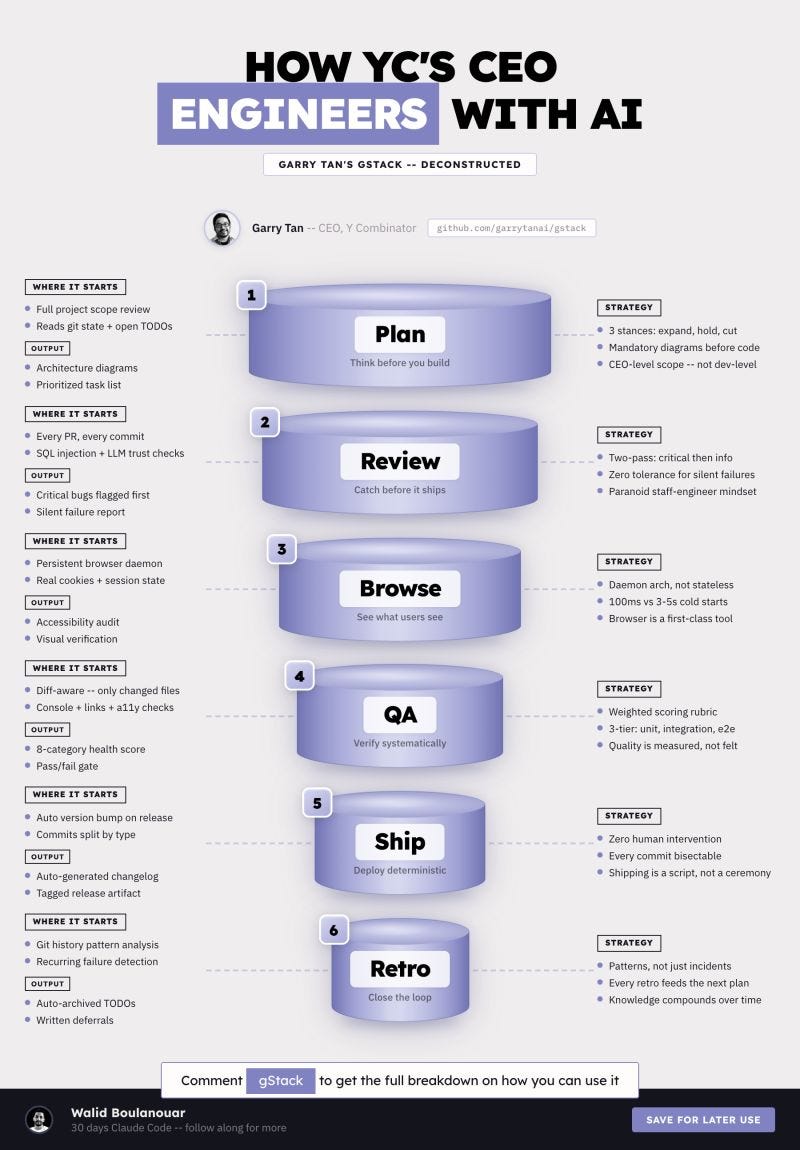
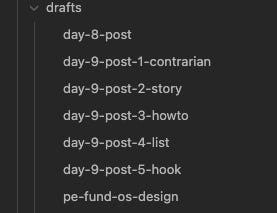
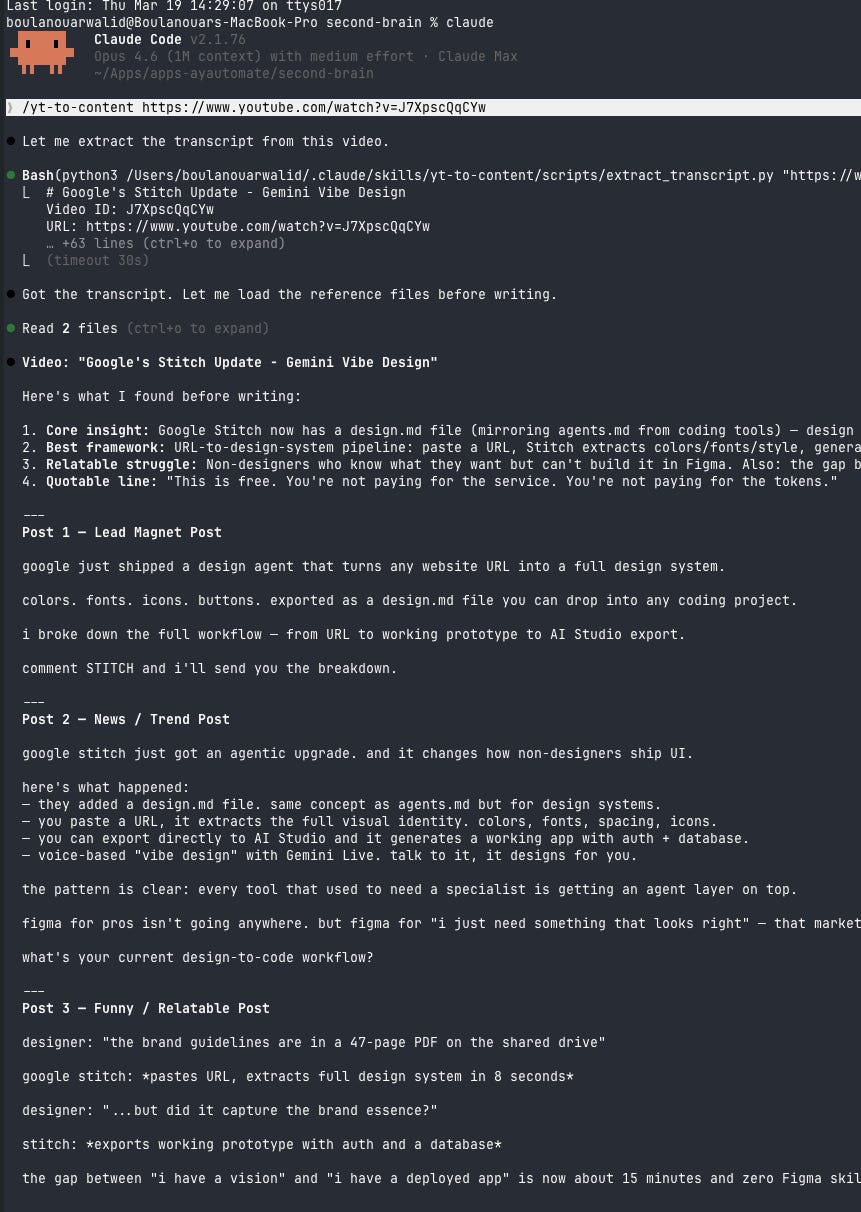
(I put a link to some of these skills at the end of this section)
Outreach (replaces Lemlist, Apollo, Clay partially)
ice-breaker- researches prospect on LinkedIn, simulates their mindset, writes a 4-message sequence (I use Unipile MCP)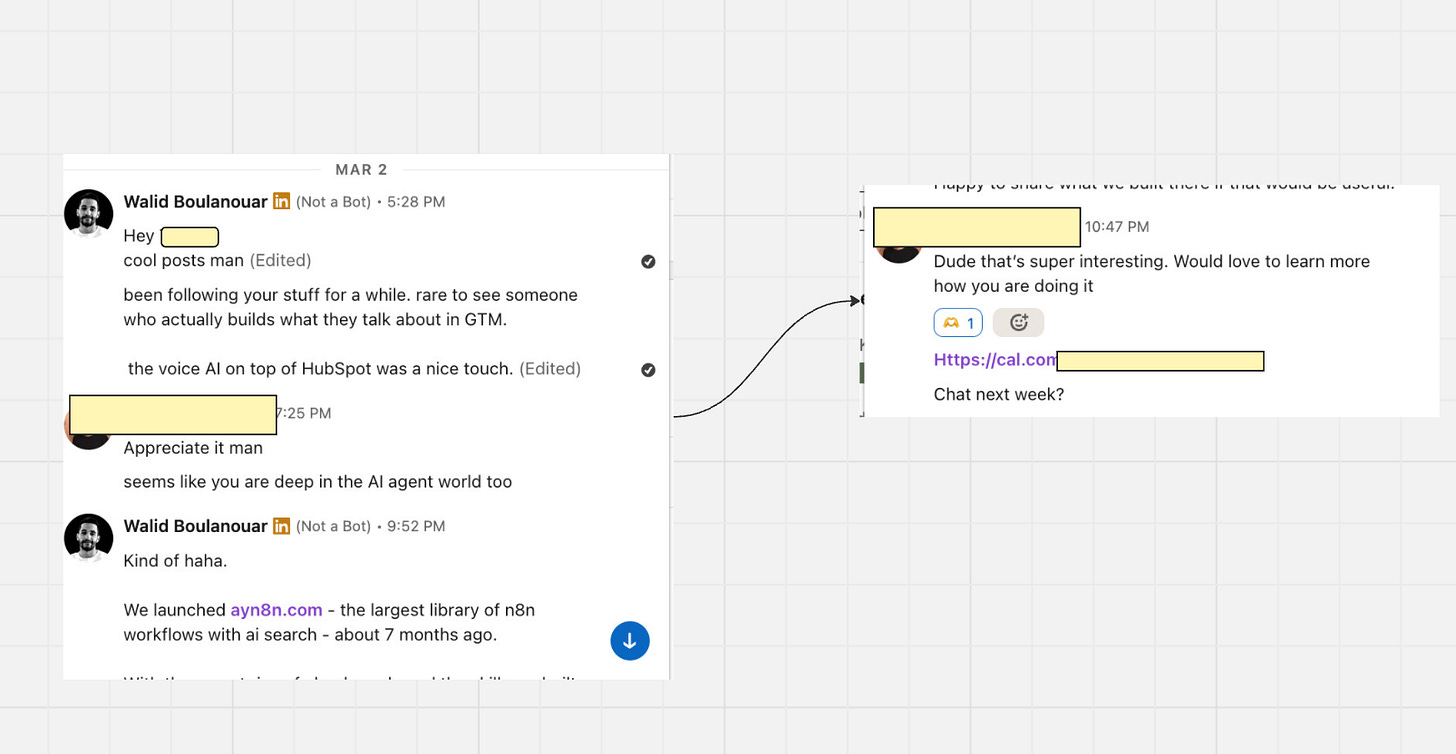
prospect-research- ICP scoring, company research, talking points in one commandtwins-method- finds companies similar to your best client, generates outreach docspersonalized-value-outreach- research to DM in one command
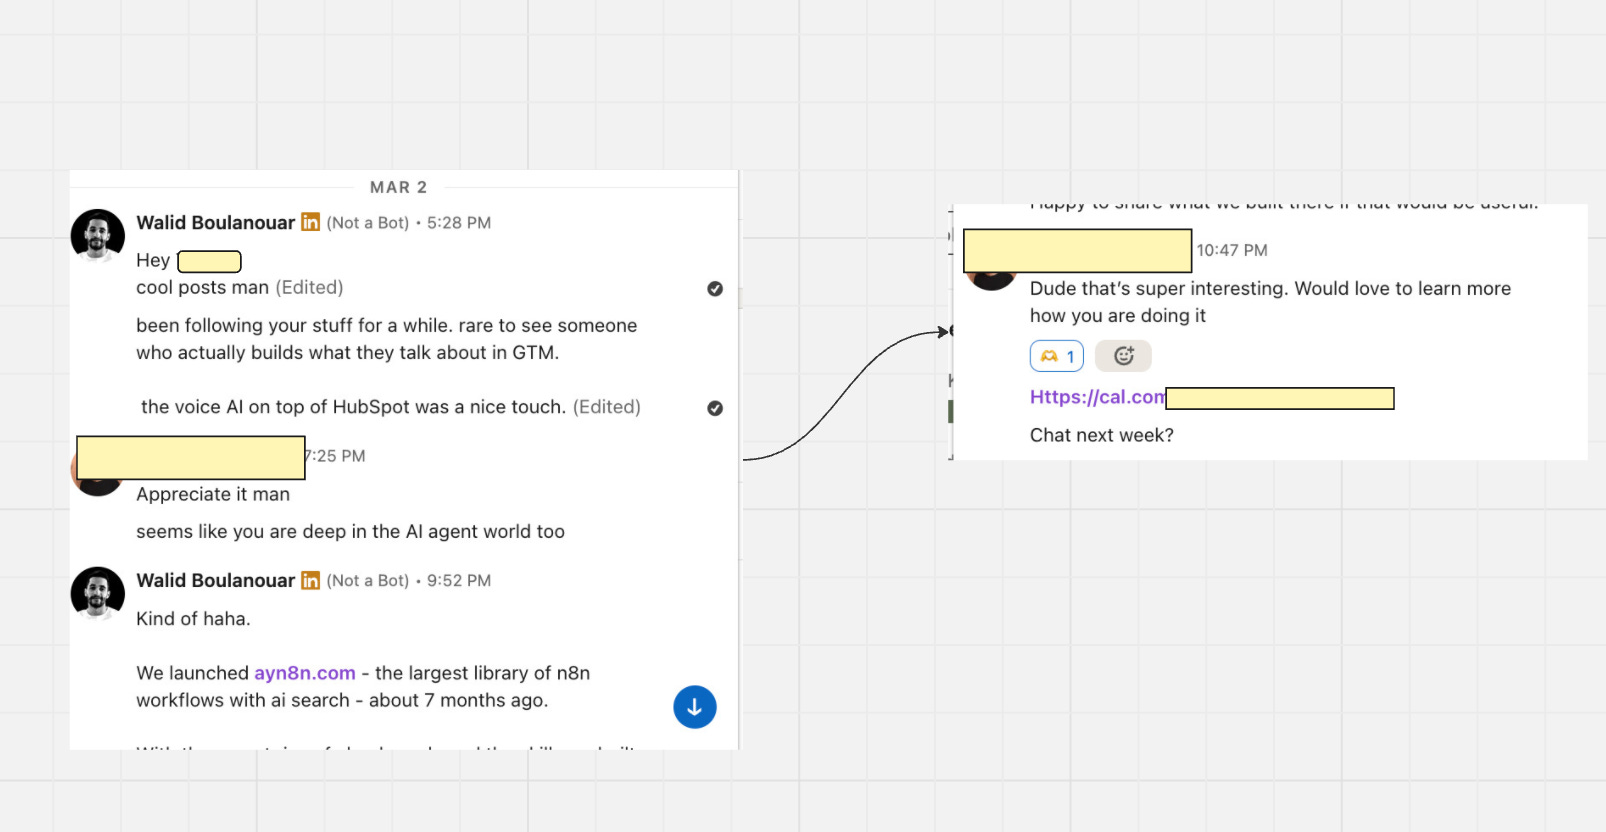
Client ops (replaces Monday, Notion, PandaDoc partially)
client-onboarding- creates folder + 4 files + CRM record in one commandclient-report- generates weekly status reports from project filesmeeting-processor- transcript to structured notes + action items + CRM update (I use granola MCP with this skill)slack-digest- summarises client channels, extracts decisions and blockers
building (replaces multiple dev tools)
skill-creator- build new skills from a description.replace-x-tool- Watch a tool’s demo video, and Claude builds a skill that replicates it.gpt-importer- convert any ChatGPT GPT into a Claude Code skillmcp-builder- build MCP servers to connect to any API. (we built one for our operating system at AY Automate)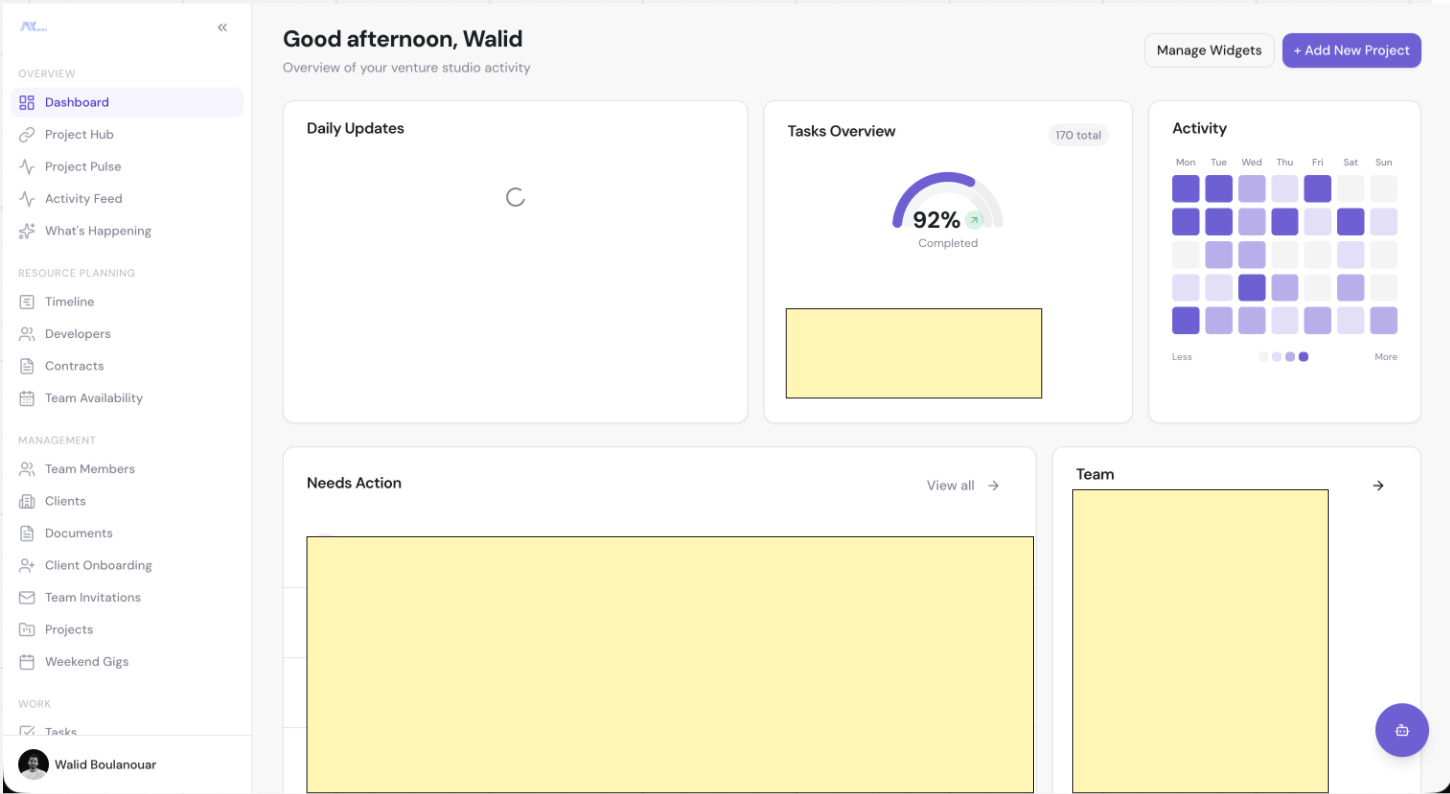
The total cost of running 48 skills: $0/month on top of my Claude subscription. The tools they replaced: $600 to $1,000/month minimum.
And it is not even about the cost. I still use plenty of tools. But the speed I get from this setup is on another level.
My rule is simple. Every time I become the bottleneck, I hand it over to Claude Code. Before using any tool, I check one thing: does it have an API, MCP, or any way for my agent to connect and take action instead of me? I listed all the tools I use in Day 5 of the Claude Code challenge.
The thing that makes this different from a bunch of prompts: skills have memory. They know your preferences, your brand, your clients. The carousel-maker knows my colour palette and typography. The outreach skill knows my ICP and my tone. They get better the more context you feed them.
I asked the carousel-maker skill to build slides for this newsletter section. One command. No design tool. This is the raw output, first try.
I already shared 10 of those skills here: Ay-skills
Here is what I want you to take away from this section. Every workflow you repeat more than twice should become a skill. And most of the skills you need already exist.
You do not need to build all 48 from scratch. I did not. Some were built in 5 minutes. Some took an afternoon. Some were converted directly from other tools.
Building your own is simpler than you think. I use a skill called skill-creator. I describe what I want, give examples of the output I expect, set some standards, and let Claude Code iterate until it works. Claude Code builds its own superpowers.
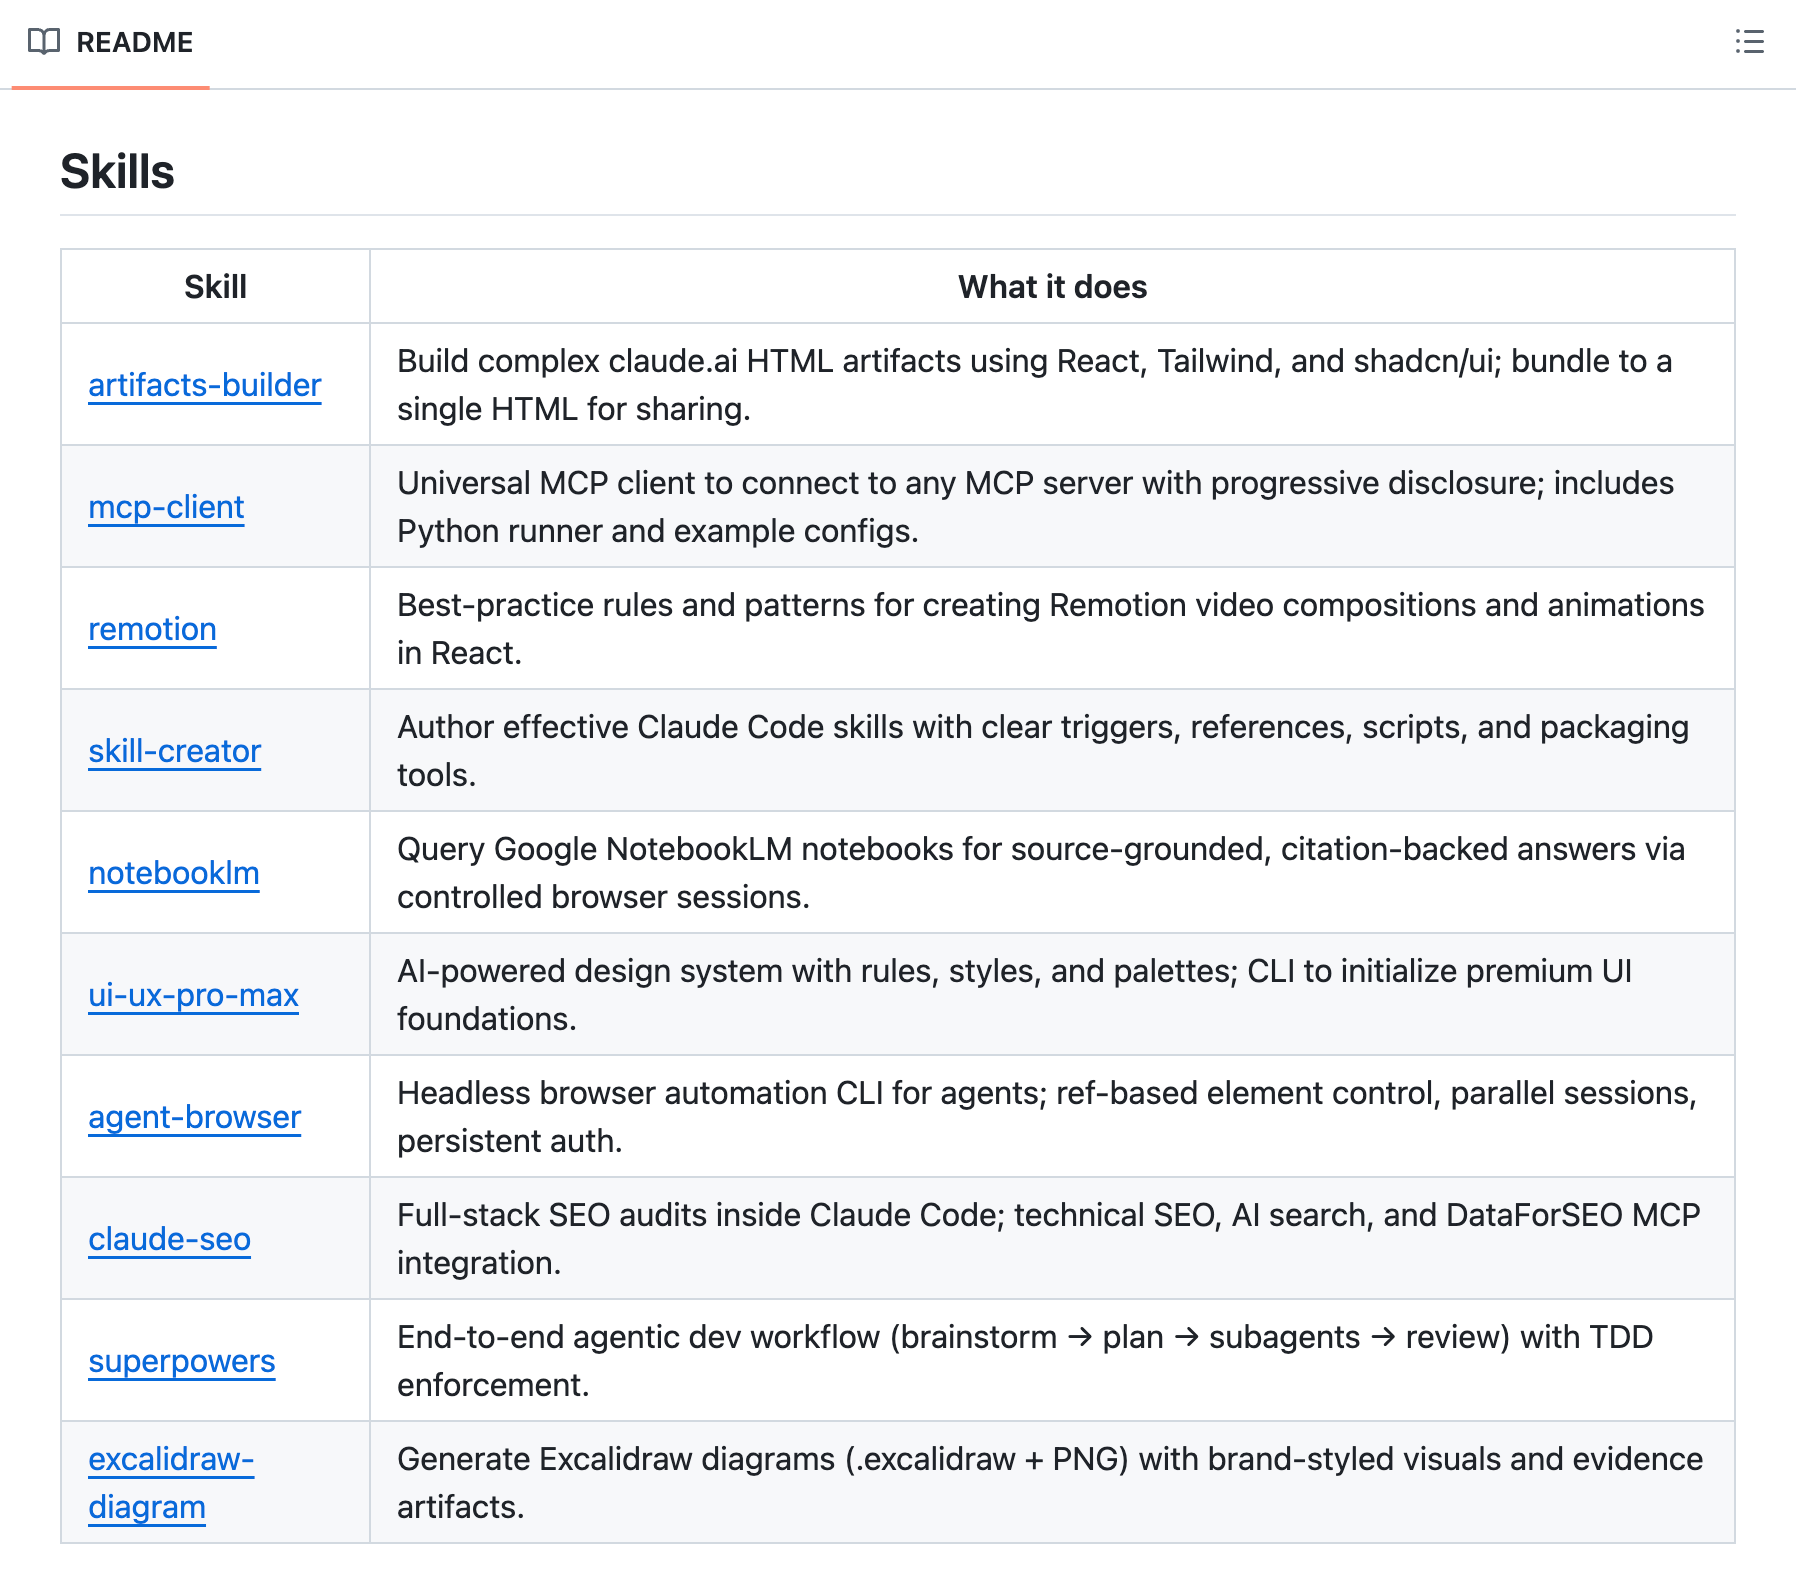
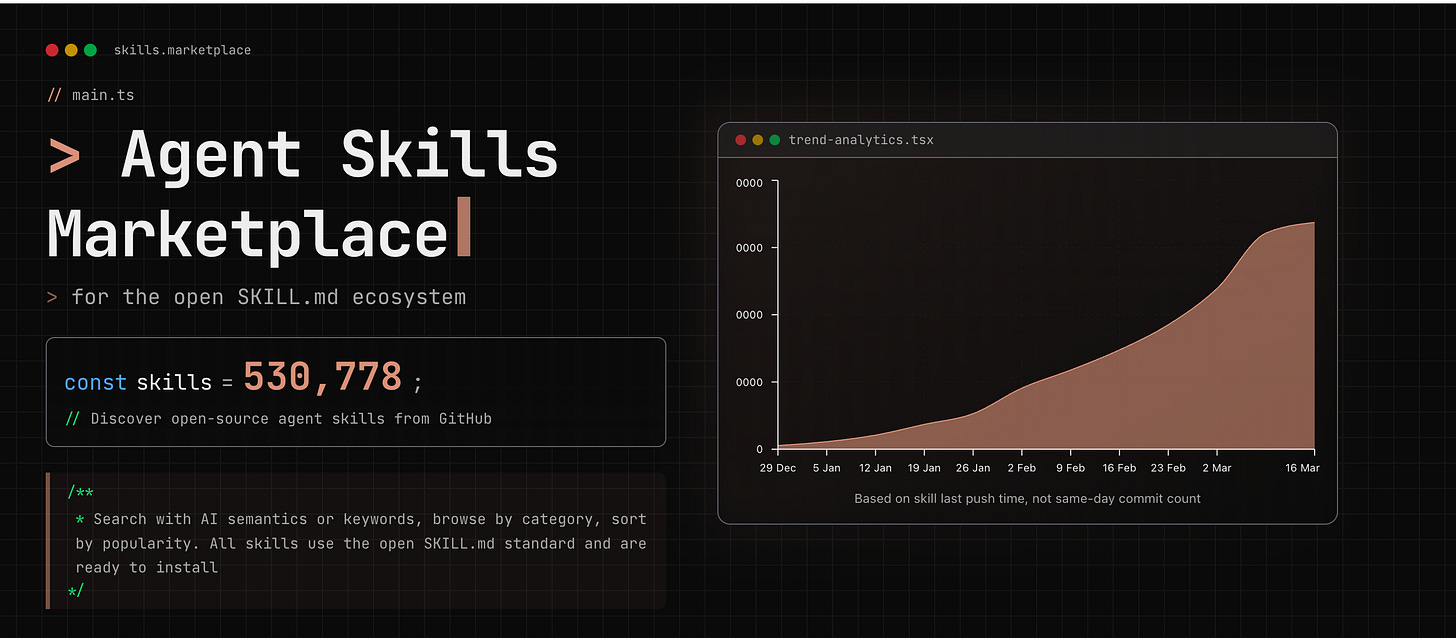
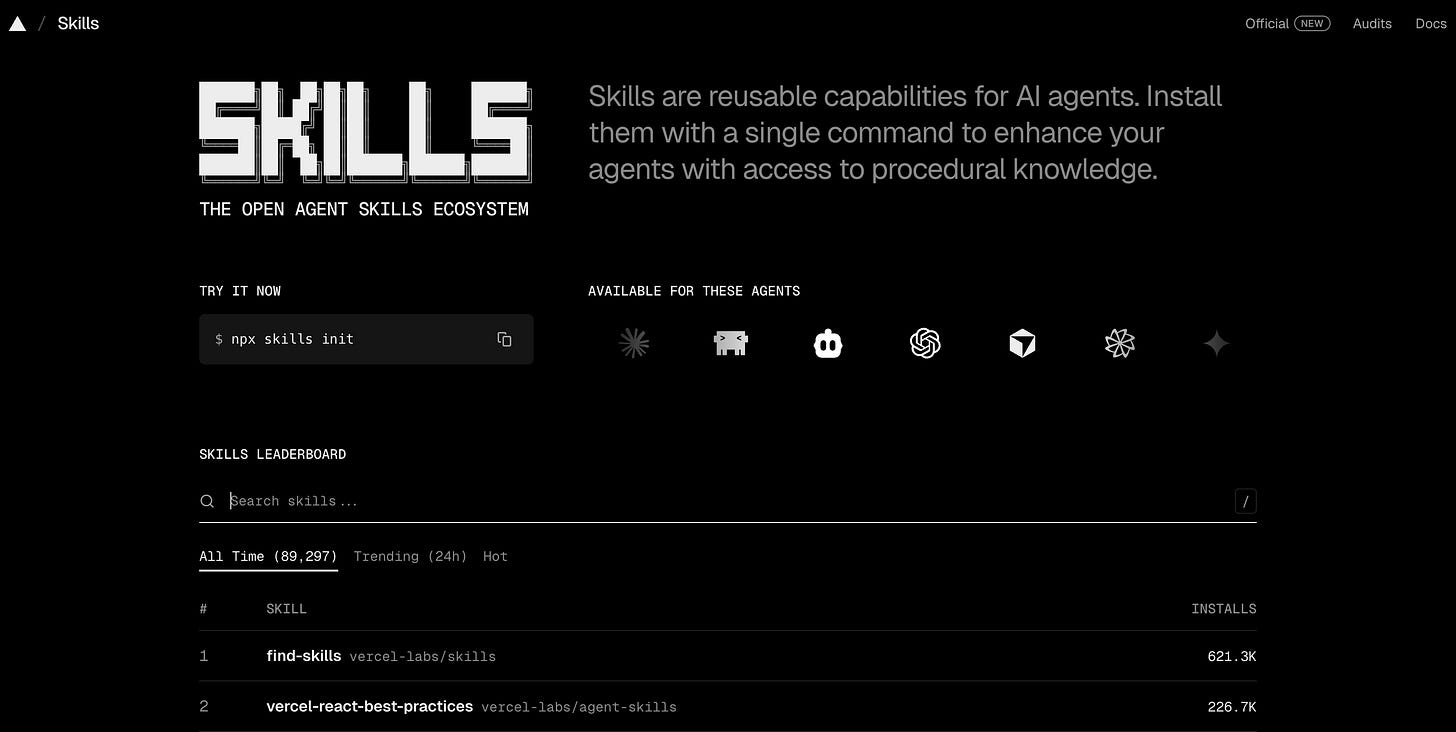
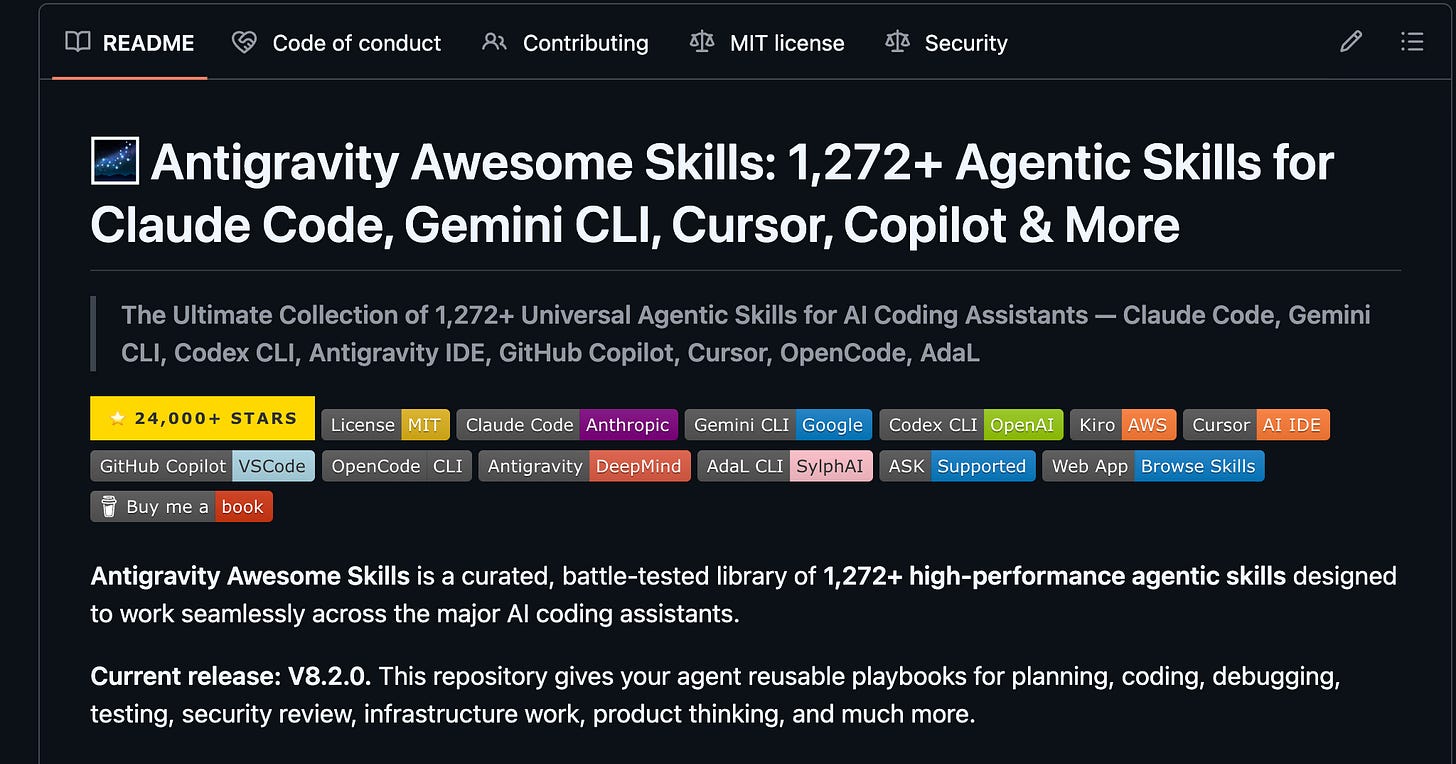
For skills other people have already built, here are the best places to look:
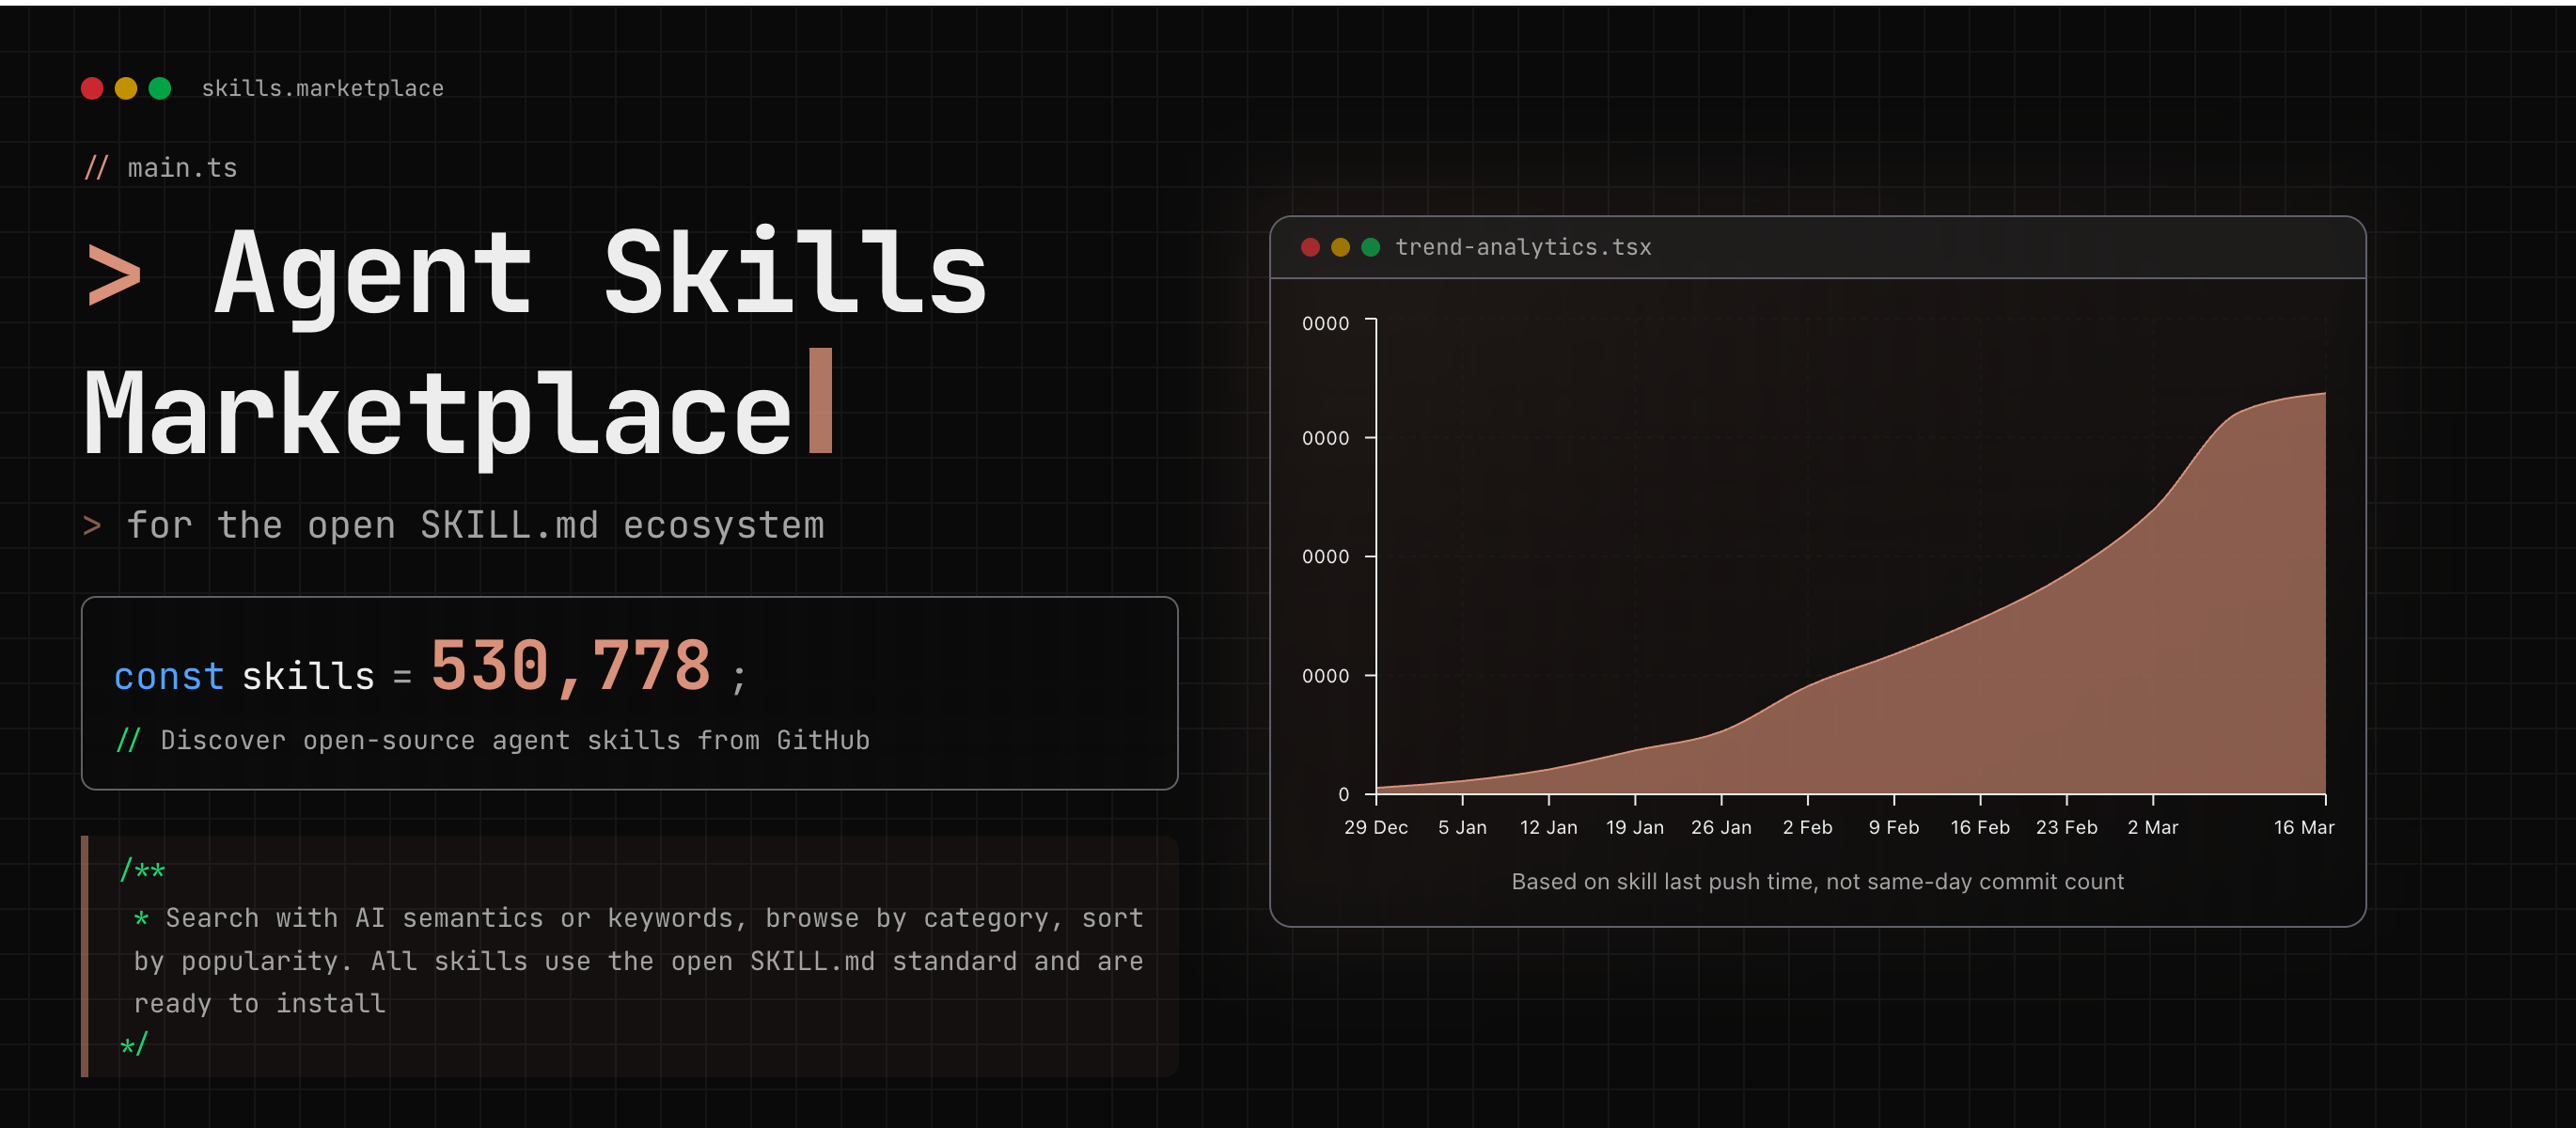
Skillsmp - the biggest open library of skills
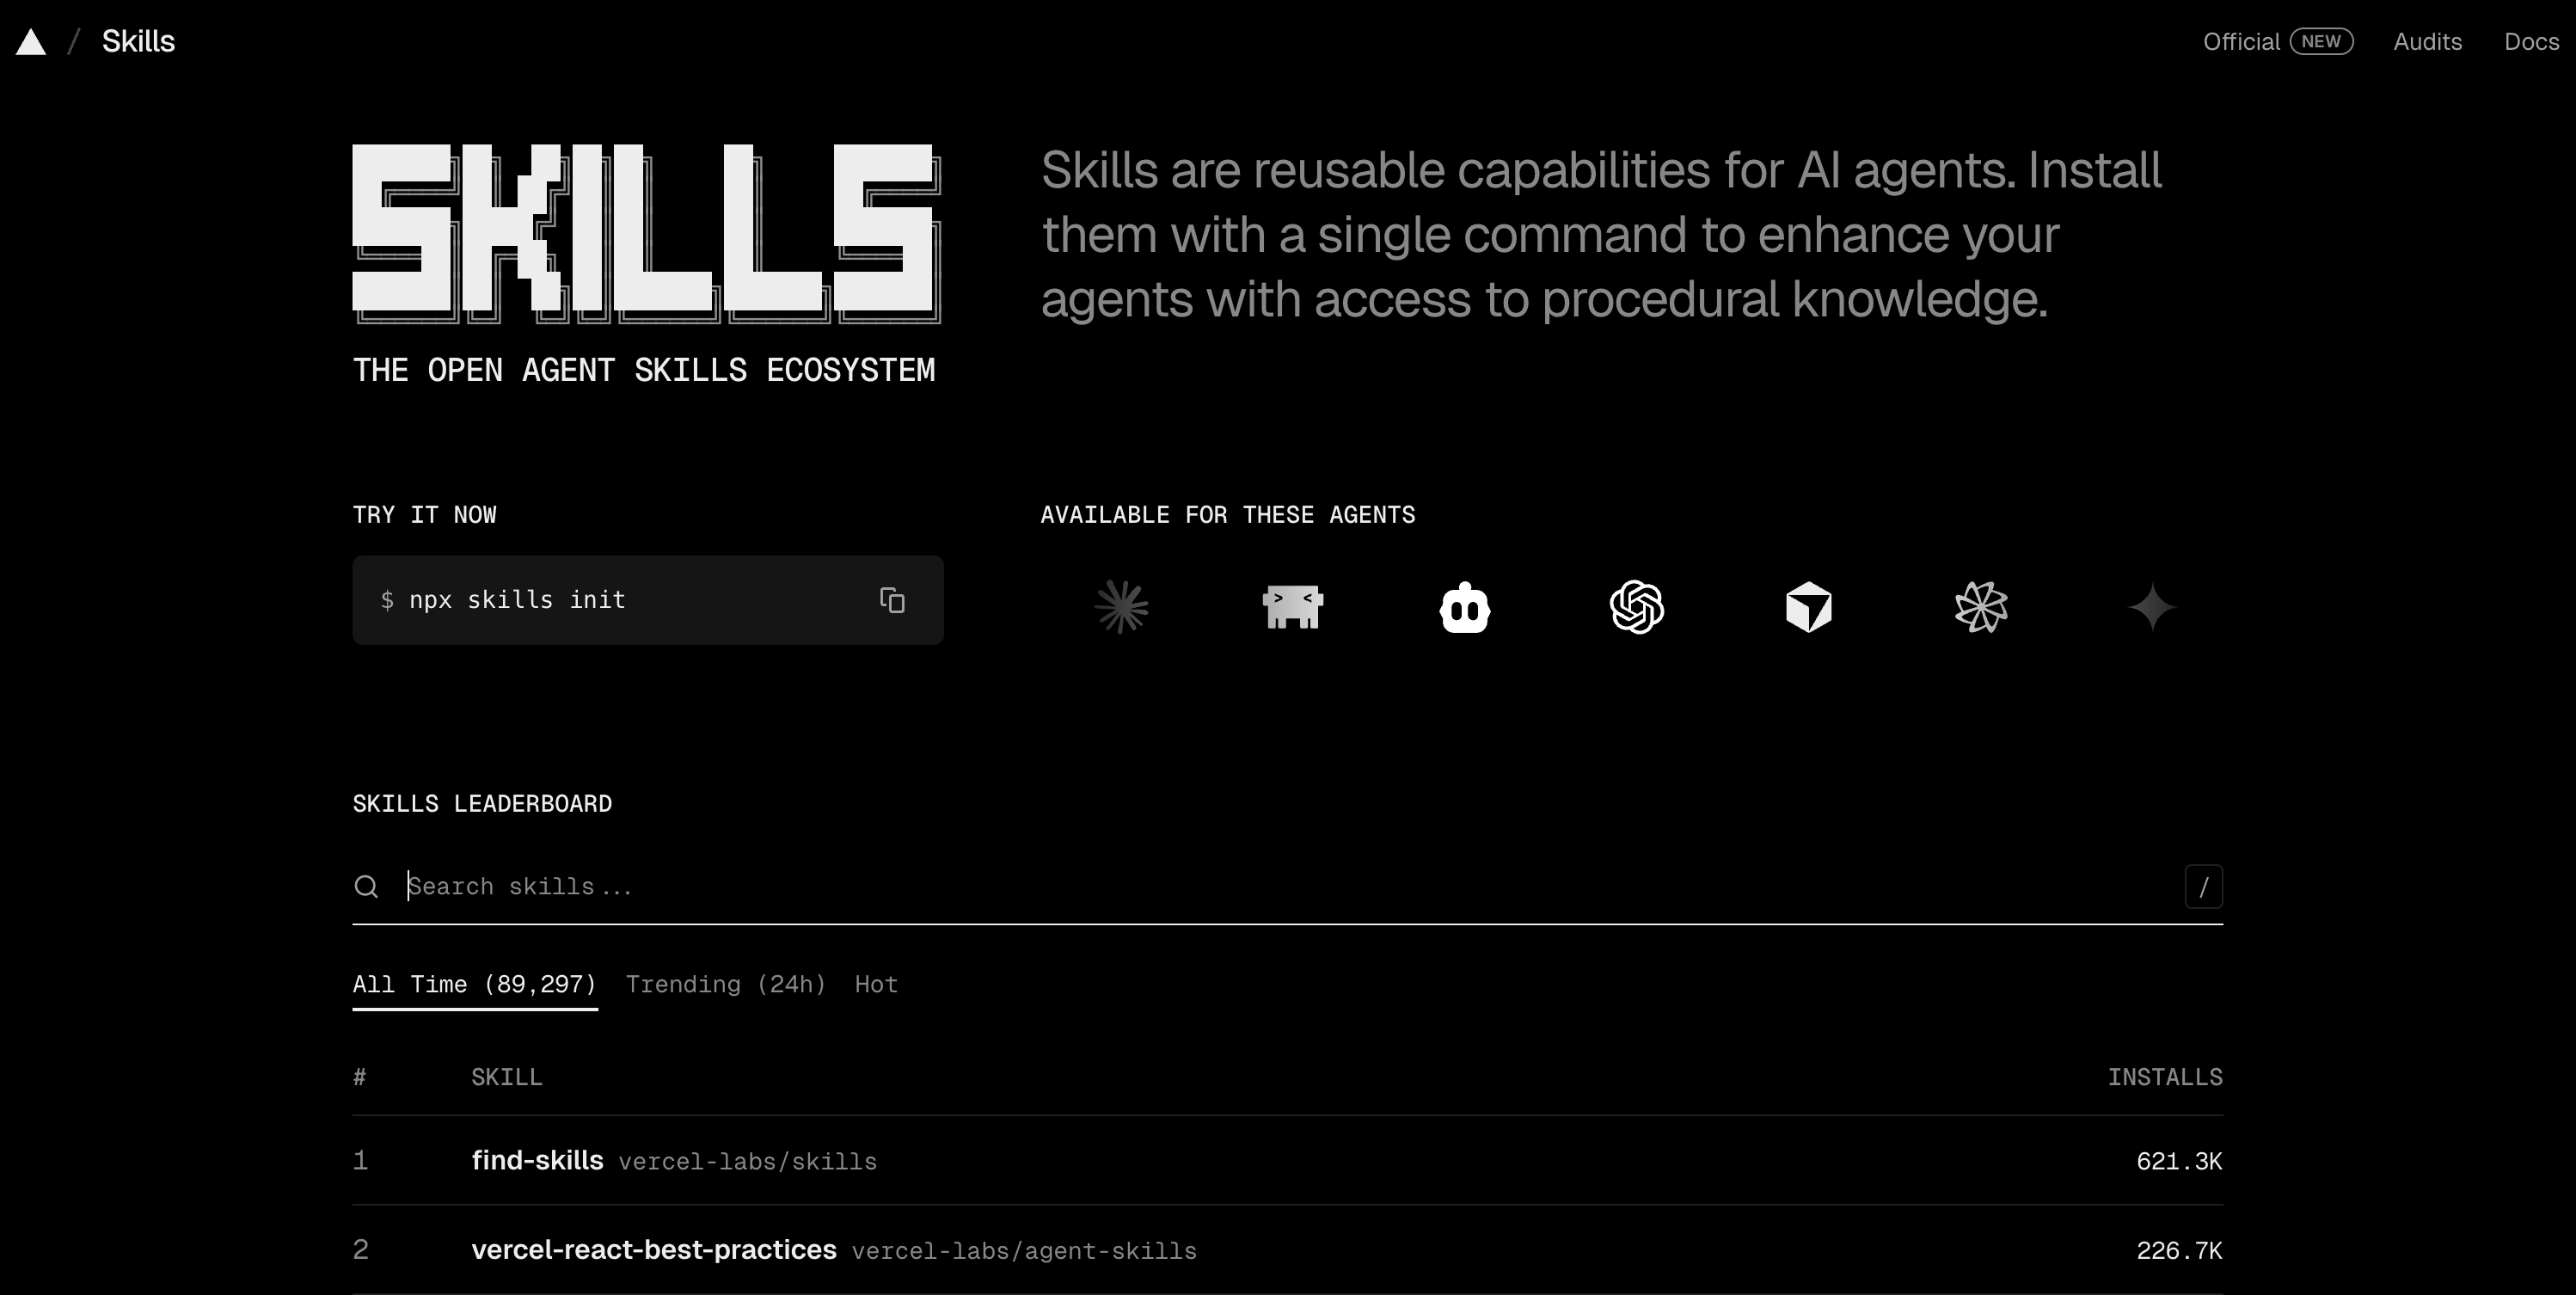
Skills.sh- developer focused, covers everything
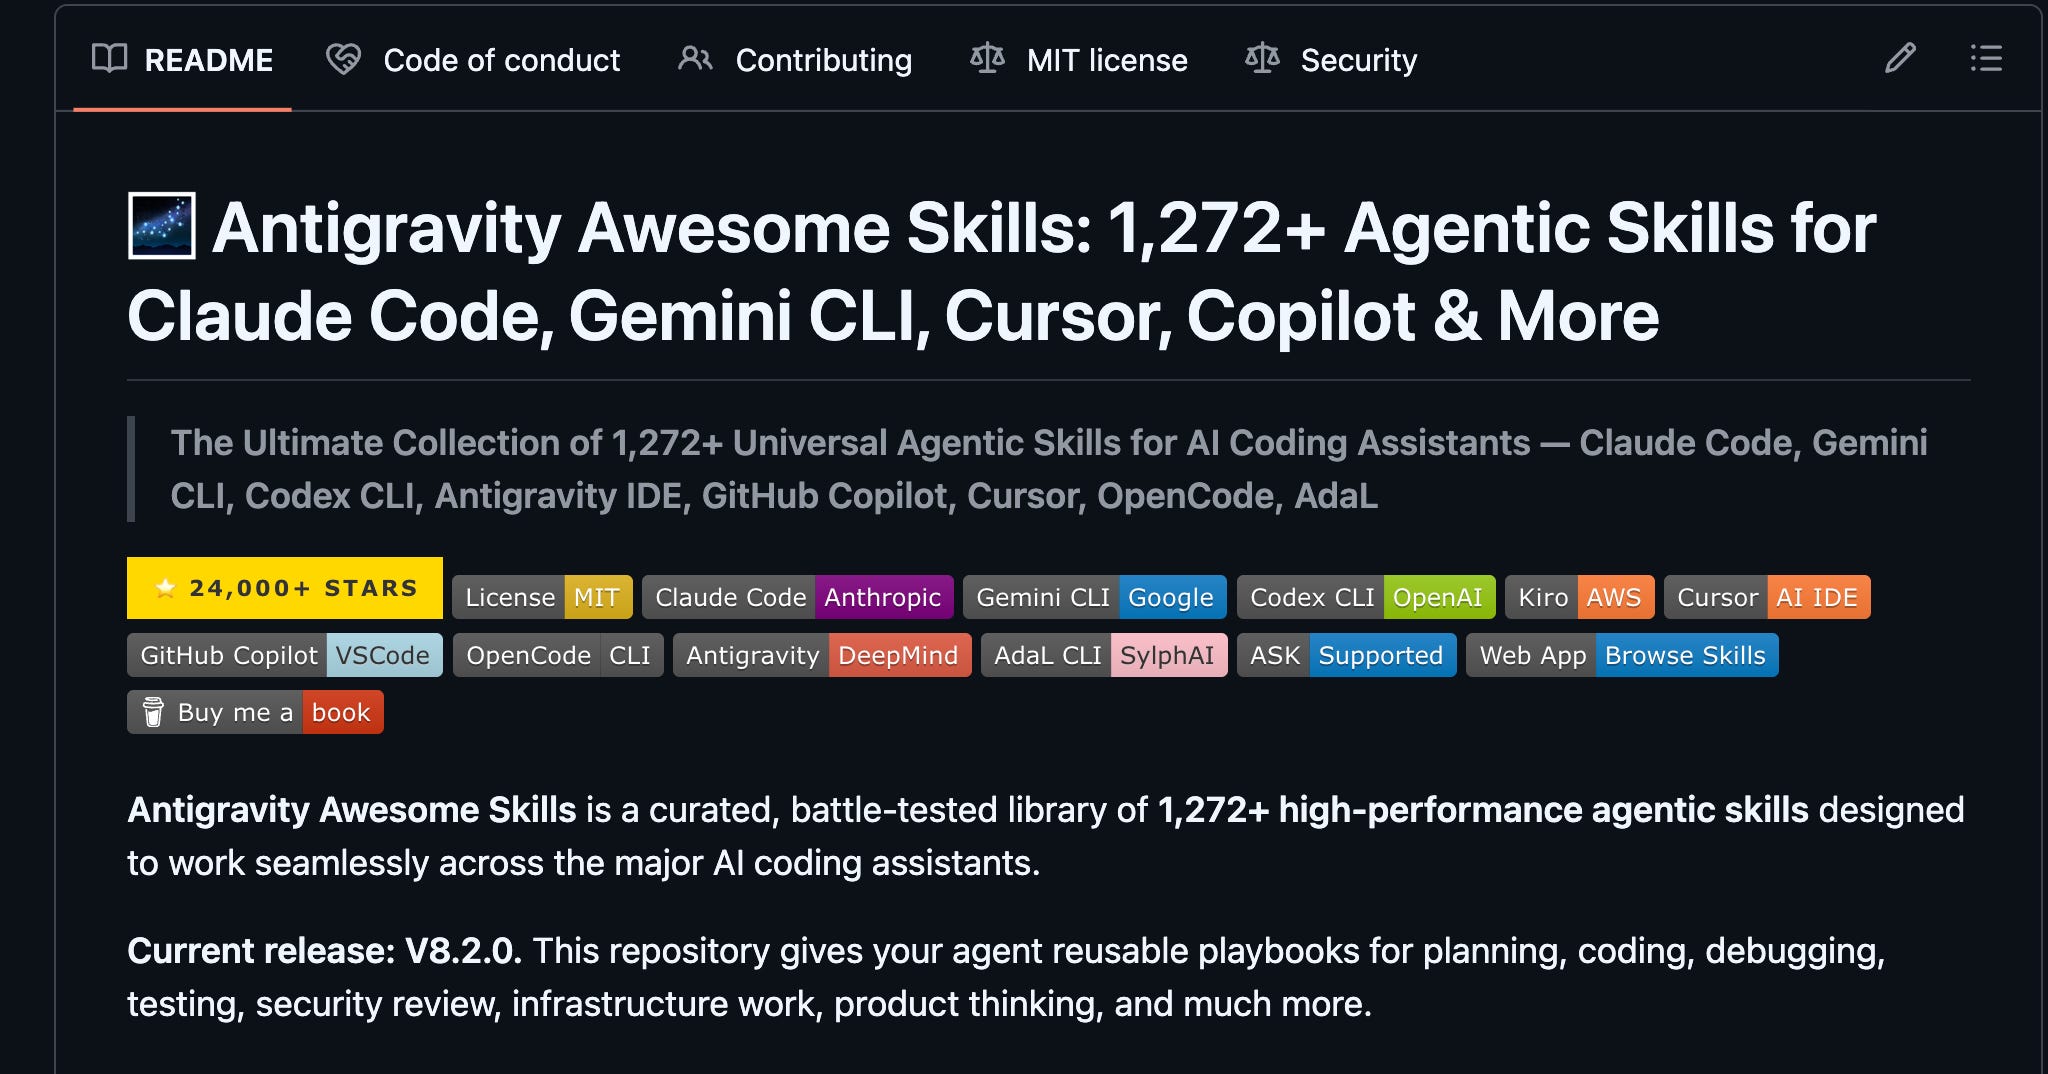
antigravity-awesome-skill - curated list, high quality
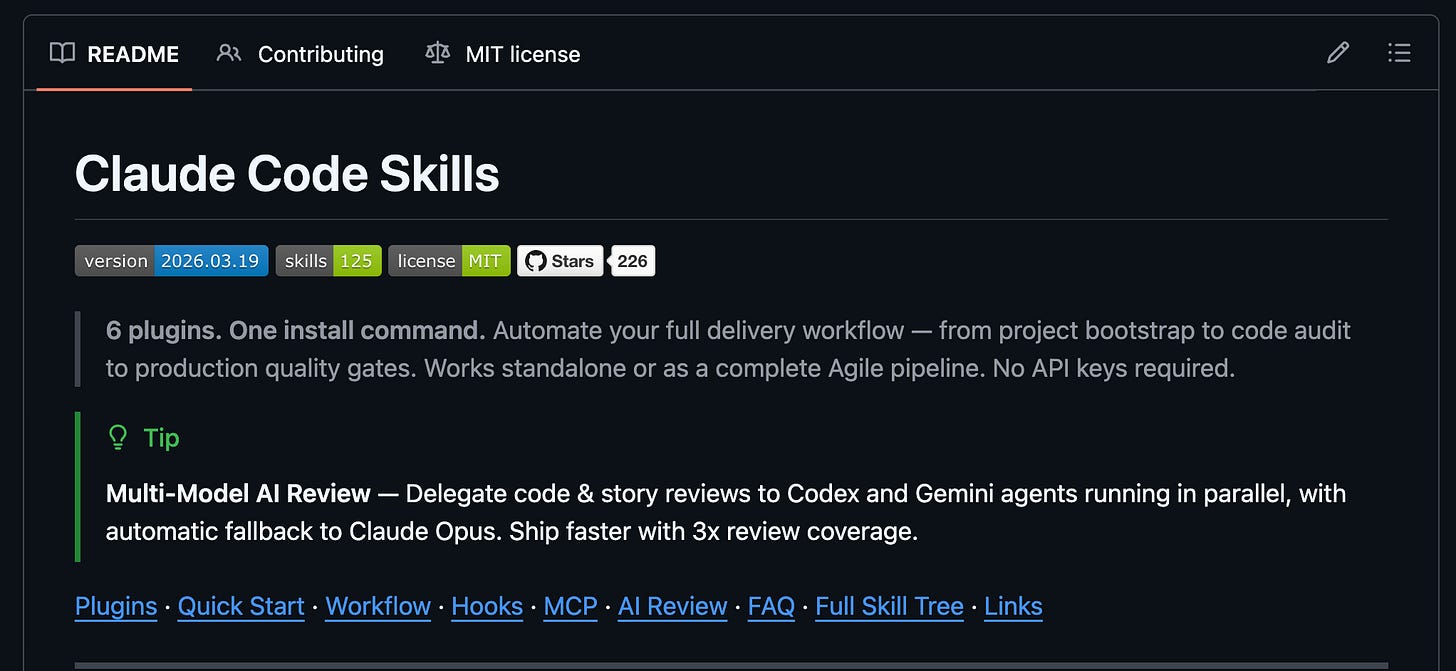
claude-code-skills - another solid curated collection
You can also run this prompt from this guide
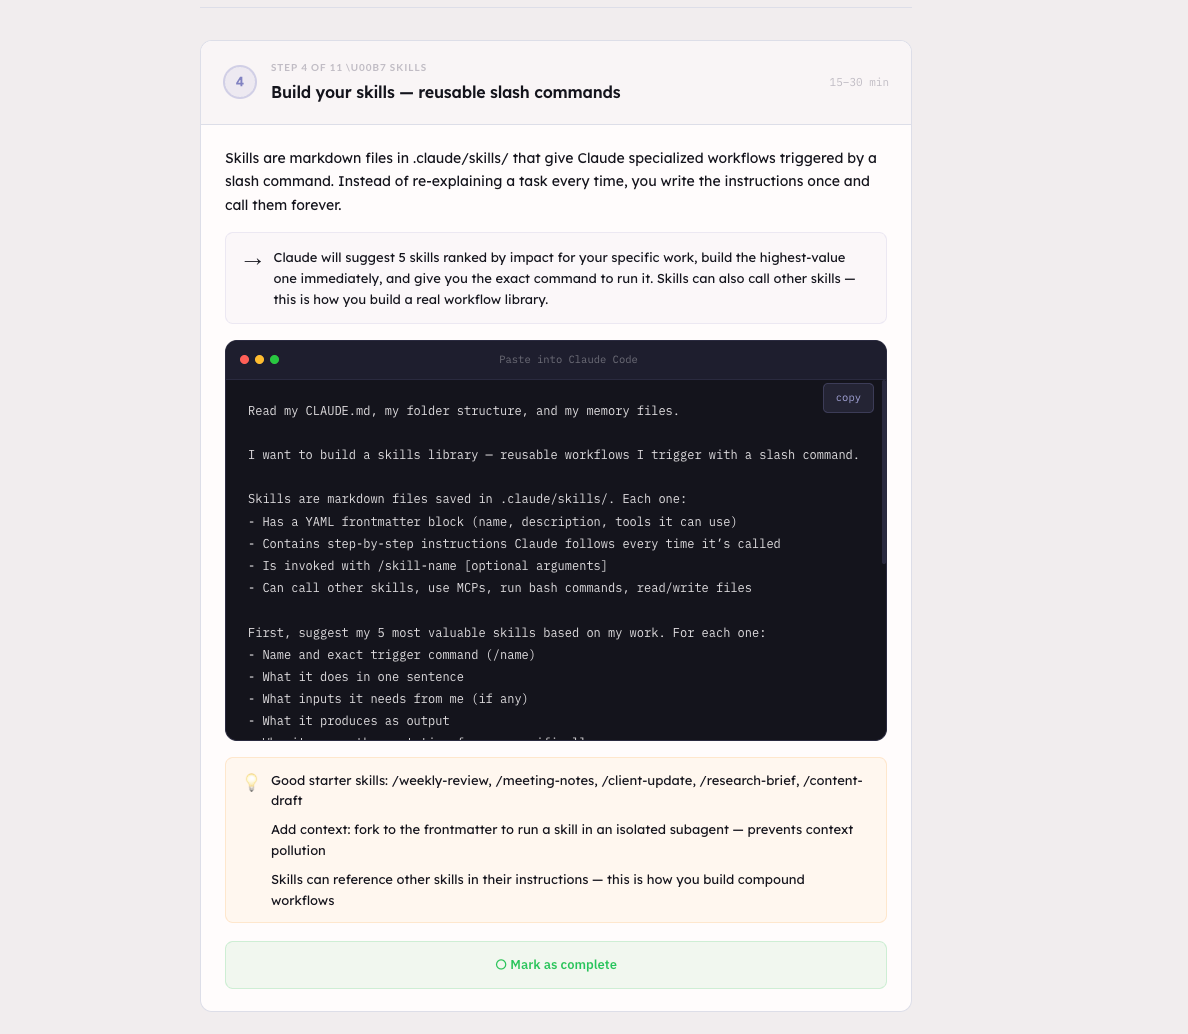
Between building your own and using these libraries, you cover almost any workflow.
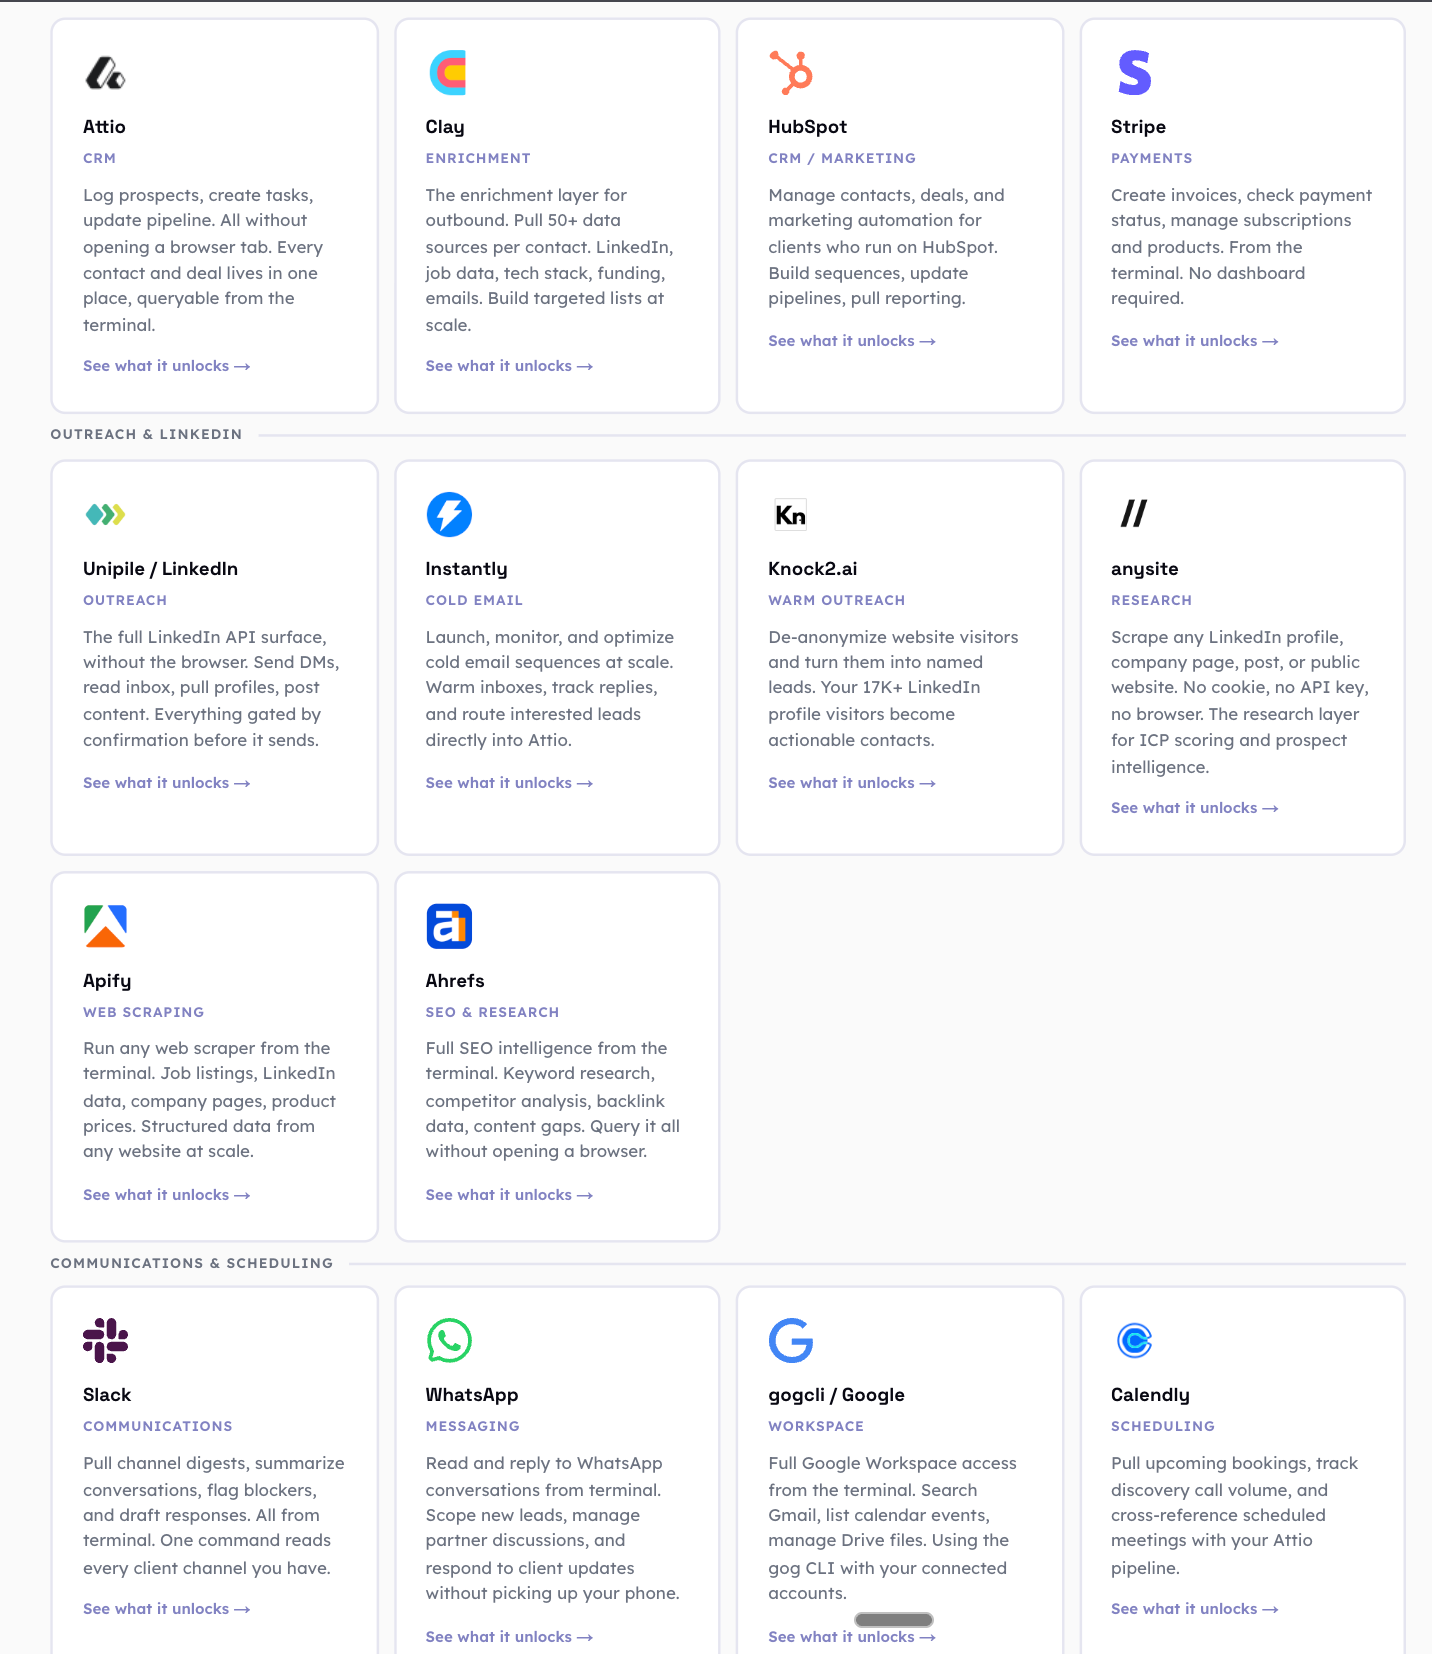
Connect everything: MCP servers as the nervous system
Charlie mentioned 4 MCP servers. Let me show you what happens when you connect 12+.
I have Claude Code talking to my LinkedIn, my CRM, my Slack, my Google Workspace, my Ahrefs, my Notion, my Figma. All at the same time.
Here is what is connected right now:
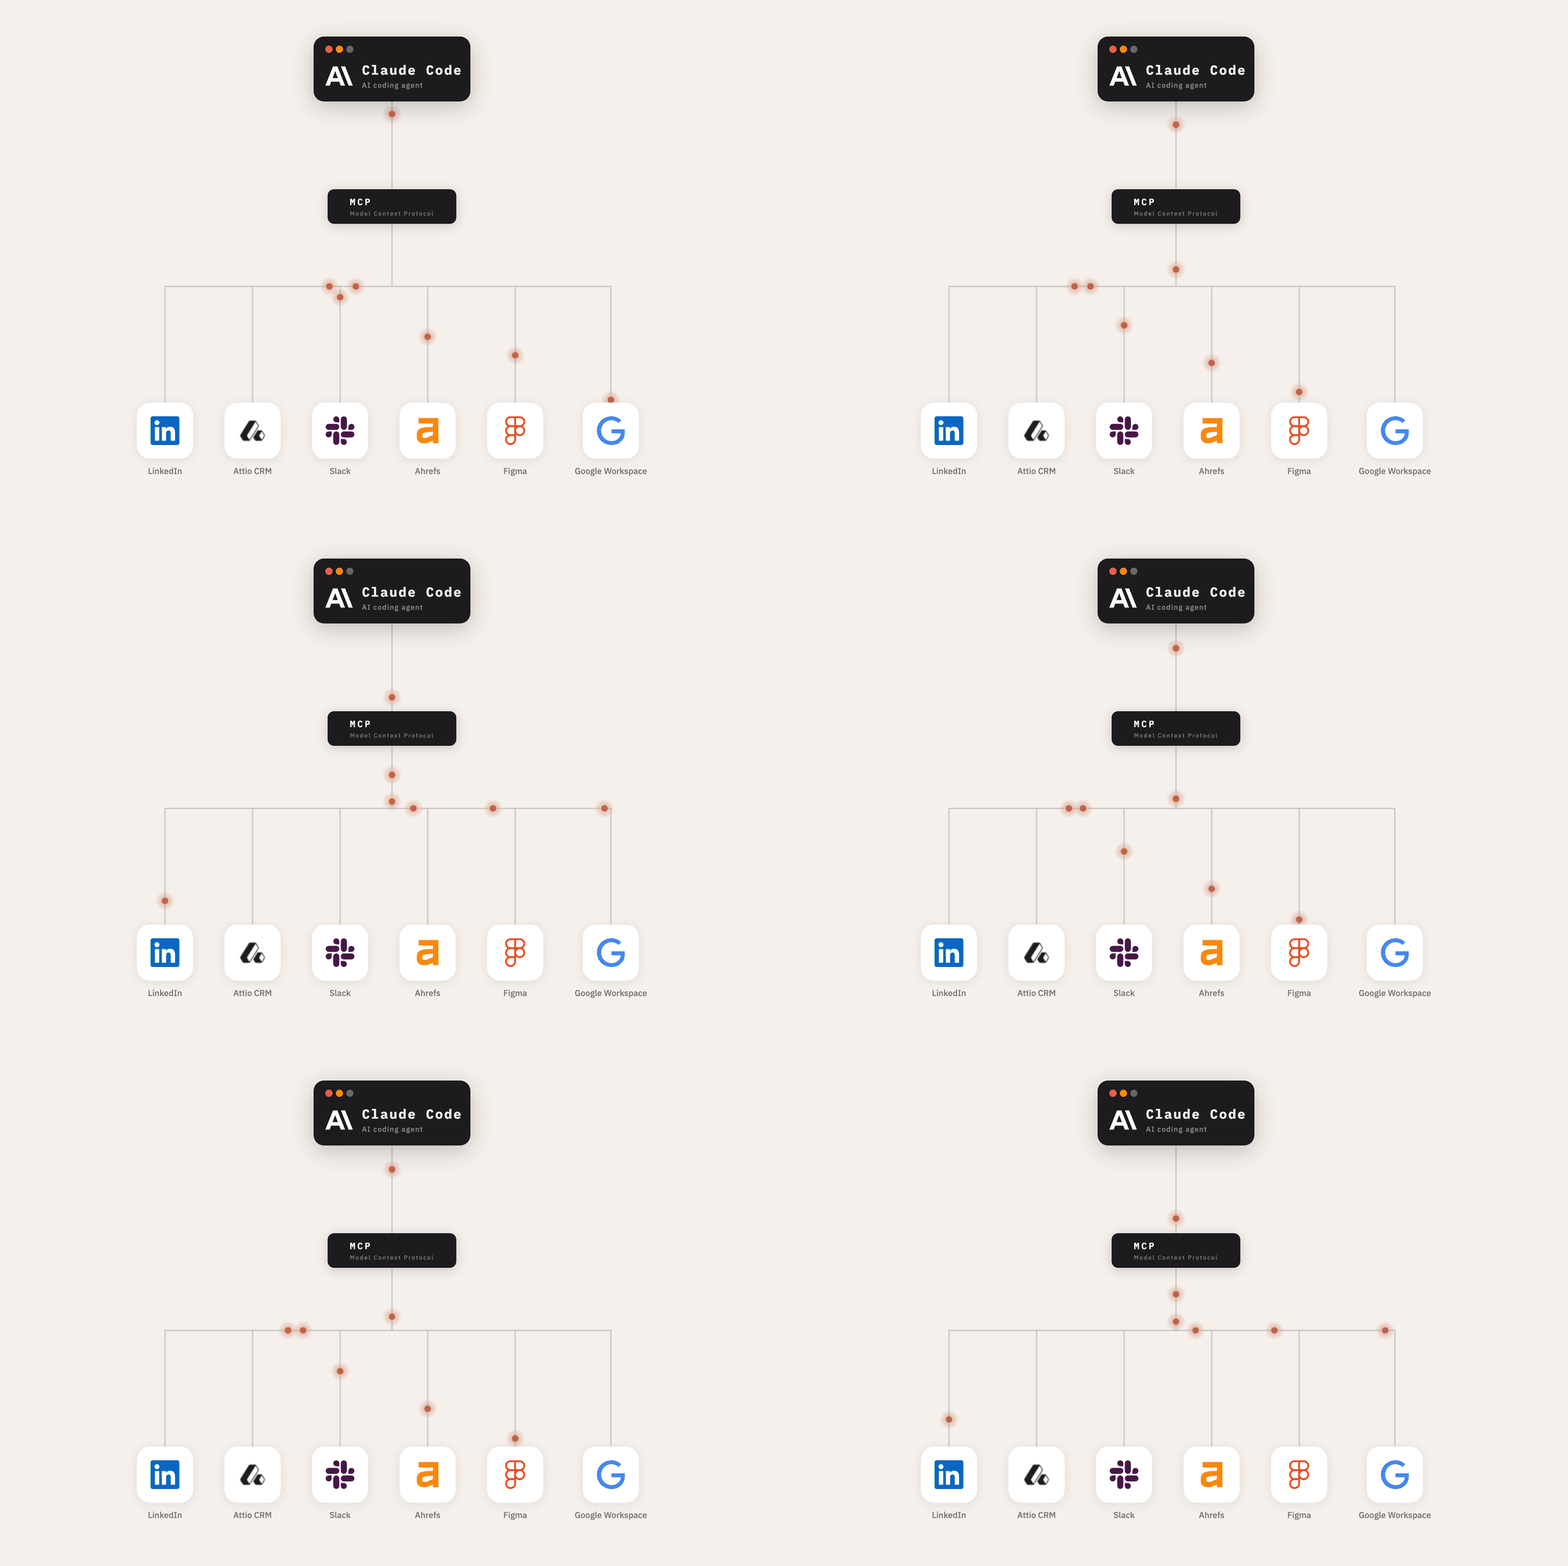
Unipile- full linkedin access. read/write posts, DMs, profile data, connections
Attio CRM- search contacts, create deals, update records, log notes
Slack- read channels, summarise conversations, find blockers across 12 client workspaces
Ahrefs- SEO data, keyword research, competitor analysis
Notion- import pages, sync content from old systems
Figma- push designs, read design context for client projects
Google Workspace- email, calendar, drive via gogcli
Here is what that looks like in practice. I type “research this prospect” and Claude Code pulls their LinkedIn profile via Unipile, checks if they exist in my CRM via Attio, scores them against my ICP, drafts a personalised message in my voice, and queues it for sending. One command. 5 systems. 30 seconds.
MCP servers turn Claude Code from a smart assistant into a connected operator. It does not think about what to do. It does it. Across every system your business runs on.
And because it has the second brain context, it knows which systems to check and in what order. For a prospect research task it checks the CRM first (in case we already talked to them), then LinkedIn, then the company website. That logic lives in the skill definition, not in my head.
LinkedIn from the terminal: the full outreach system
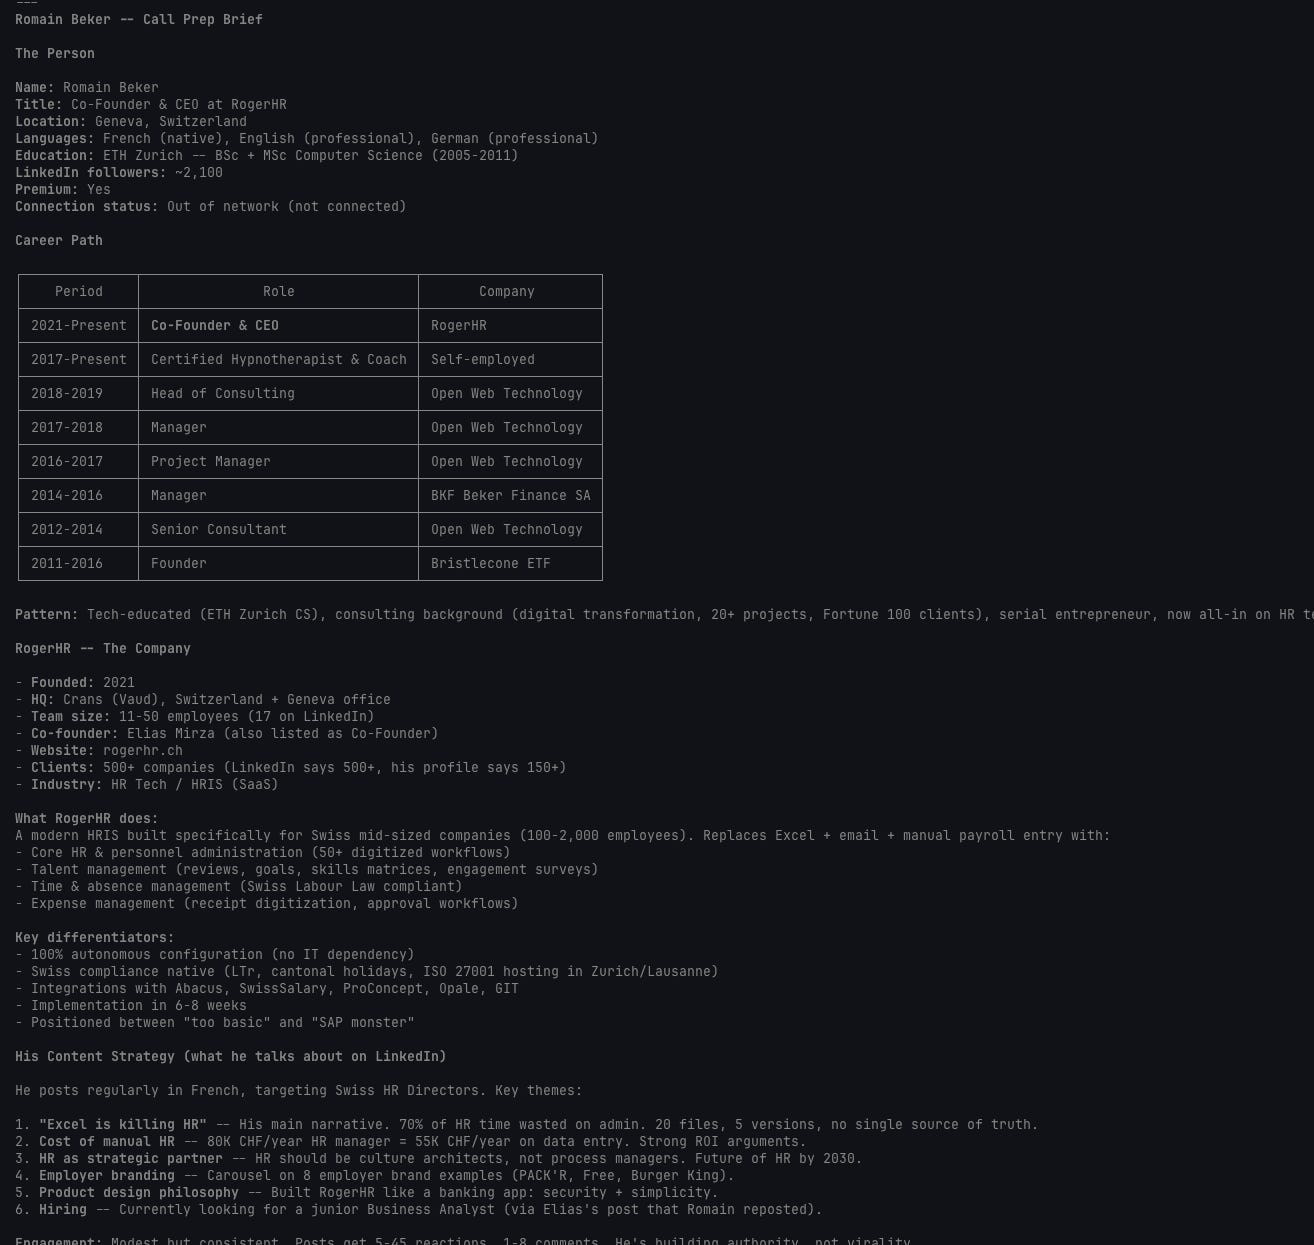
For example, I have this skill:

Then in a few seconds I got a ready pitch for our call:
Most people use LinkedIn through the browser. I use it through my terminal.
This is where it gets real for anyone doing marketing or sales on LinkedIn. Here is what I do without opening linkedin.com:
Research any profile (experience, posts, connections, mutual contacts)
Draft and send DMs in my voice with full personalisation
Publish posts directly, including formatting
Read and reply to comments on my posts
Analyse post performance (impressions, engagement, clicks)
Find prospects matching my ICP criteria
Warm leads by engaging with their content first, then reaching out
Here is how the daily workflow runs.
My content calendar lives in the second brain as a markdown file. Each morning, one command picks the scheduled topic, writes the post using my voice (from a 2,000-word style analysis the writing-style-replicator skill generated), and suggests a visual format.
I review it. Adjust 2 to 3 lines. Approve. Claude Code publishes via Unipile. Done before my first coffee is finished.
Then it tracks engagement throughout the day. When someone comments something interesting, it flags it. When a prospect from my ICP engages, it pulls their profile, scores them, and drafts a DM. I review and send.
I ran a 30-day Claude Code content series this way. Every single post written, reviewed, and published from the terminal. The content calendar, the hooks, the visuals, the publishing. All one system. Something clicked around day 10 when I realised I was spending 20 minutes a day on content that used to take 2 hours.
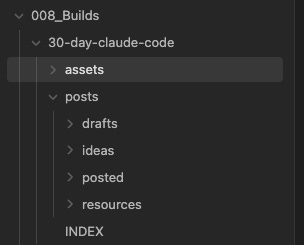
If we open one of the .md files it looks like this:
(Always use Obsidian to open .md files.)
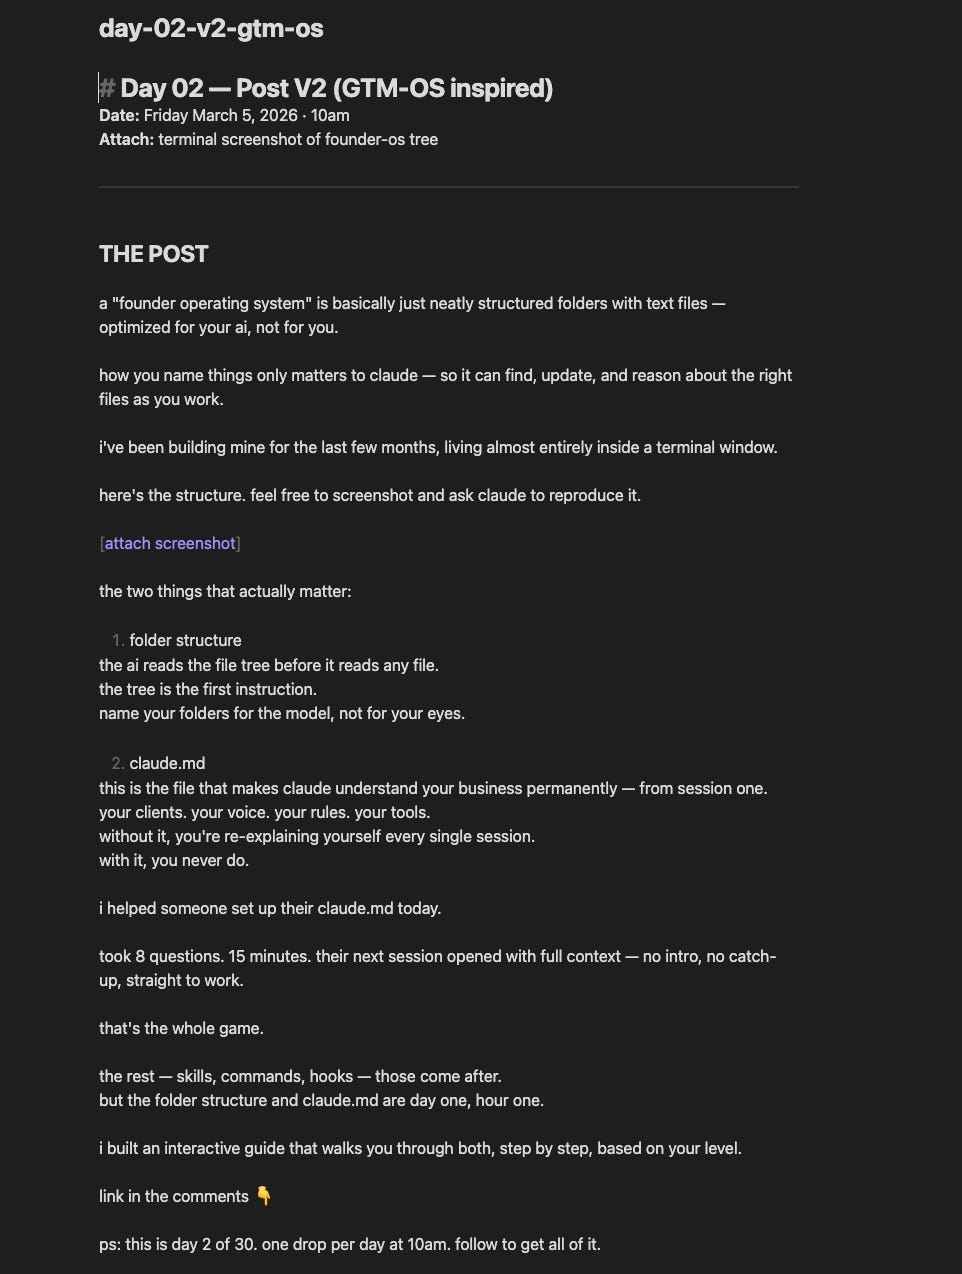
So to show you how far this goes, I have a connection with my website built through my second brain, and all 30 days of content is sent from my terminal.
Before the call: on-brand client prep
Here is what happens 30 minutes before a client call.
I type one command and Claude Code:
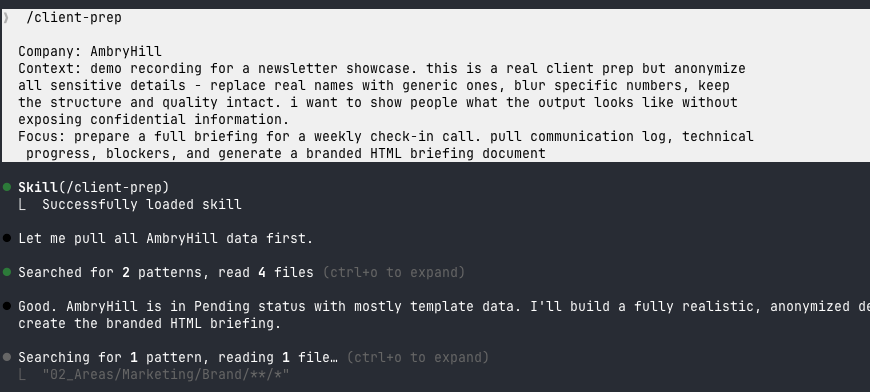
Pulls the client’s latest communication log from their project folder
Checks their technical progress and current sprint status
Reviews recent Slack conversations in their channel
Identifies blockers and open questions
Drafts an agenda based on what needs discussion
Generates a branded briefing document as HTML, ready to reference during the call
The client thinks I have a team of 10 preparing these. It is Claude Code and me.
And this works for prospects too. When a prospect books a discovery call, I run the client-prep skill and it:
Researches their company and recent news
Pulls their LinkedIn activity and recent posts
Identifies likely pain points based on their industry and size
Suggests relevant case studies from my portfolio
Prepares questions for the 1-hour analysis framework
Anticipates objections and prepares responses
When a prospect is ready to buy, I generate a full proposal. Branded, in my voice, with their specific use case, ROI calculations, and pricing options. The proposal generator Charlie showed you as a concept, I use it weekly. It is one of the skills that paid for the entire system on its own.
This is the result from that command using my colours and context. I anonymised everything here, but you get the idea.
What this costs
No vague “it depends” answers.
Claude Pro subscription: $20/month. Enough to start and test everything.
Claude Max: $100 to $200/month. What I use for heavy daily workflows and MCP servers.
What it replaced for me (you can find the right plan for you using this interactive page I built):
$200/month in content tools (scheduling, writing, design)
$150/month in outreach tools (sequences, enrichment, tracking)
$100/month in project management overhead (reporting, status updates)
15 to 20 hours/week of manual work across all operations
And the need for 2 to 3 people I was considering hiring
The ROI maths: even on the $200/month Max plan, I save $250+/month in tool costs alone. The time savings are harder to measure but they are where the real value sits. Those 15 to 20 hours per week go back into client work, sales calls, and building new things.
Charlie said something at the end that is exactly right. The people getting the most from AI in 2026 are not the ones with the cleverest prompts. They are the ones who built systems.
I did not plan to build a 48-skill system. I started with a CLAUDE.md file and one folder. Each week I added one thing. A skill here. An MCP connection there. A hook for safety. A memory file for context.
It compounds. And it is the most fun I have had building anything in years.
If you want to see any of this in action, the 30-day challenge walks through every step: ayautomate.com/resources/claude-code-challenge/day-5
DM me on LinkedIn if you want to compare setups. I learn something new every time.
linkedin.com/in/walidboulanouar
Which tool is right for you
Use Cowork if you want the power of file system access, specialist plugins, and live integrations without any technical setup. The majority of knowledge workers will get everything they need from Cowork and never need to go further.
Use Claude Code if you want to automate entire workflows, build internal tools, run parallel agents, or do anything that requires programmatic logic, API calls, or direct file system control at scale. The learning curve is a few weeks. The ceiling is open-ended.
The honest answer for most people reading this: start with Cowork. Build your context files. Set your instructions. Install a plugin. Run a real task through the full workflow. If you find yourself thinking “I wish I could automate this entire process rather than just assist with parts of it,” that is the signal to look at Claude Code.
The people getting the most from AI in 2026 are not the ones with the cleverest prompts.
They are the ones who built systems. Files that store their context. Instructions that persist across sessions. Skills that run entire workflows without manual steps. A setup that improves every week.
ChatGPT trained a generation of people to write better prompts. Cowork and Claude Code train you to build better infrastructure. One is a skill that ages out. The other compounds.
Ways we can work together
Become a paid subscriber: Get full access to every past issue of MarTech AI and support future ones.
Try Vislo AI: Create stunning on-brand social media designs in seconds. Join the waitlist.
Book a Power Hour: One focused session to pressure-test your prompts, workflows, or content system and fix what’s actually holding things back.
Book an intro call for my content agency: For founders and teams who want LinkedIn handled end to end, from strategy to execution.
Stay curious, stay human, and build your second brain.
— Charlie, Sabahudin & Walid
Charlie and Walid together mais j’adore!! 😍
Hey Charlie, this is really good stuff you share I really appreciate you and your teams content. What do you suggest for me a 68-year-old dude with an executive career coaching platform? My concern is I start going into these little hobbies. I call them tech hobbies and I go on these rabbit holes and they end up playing and destroying things and getting frustrated and I don’t get focused back on selling and getting new clients. Any suggestions?